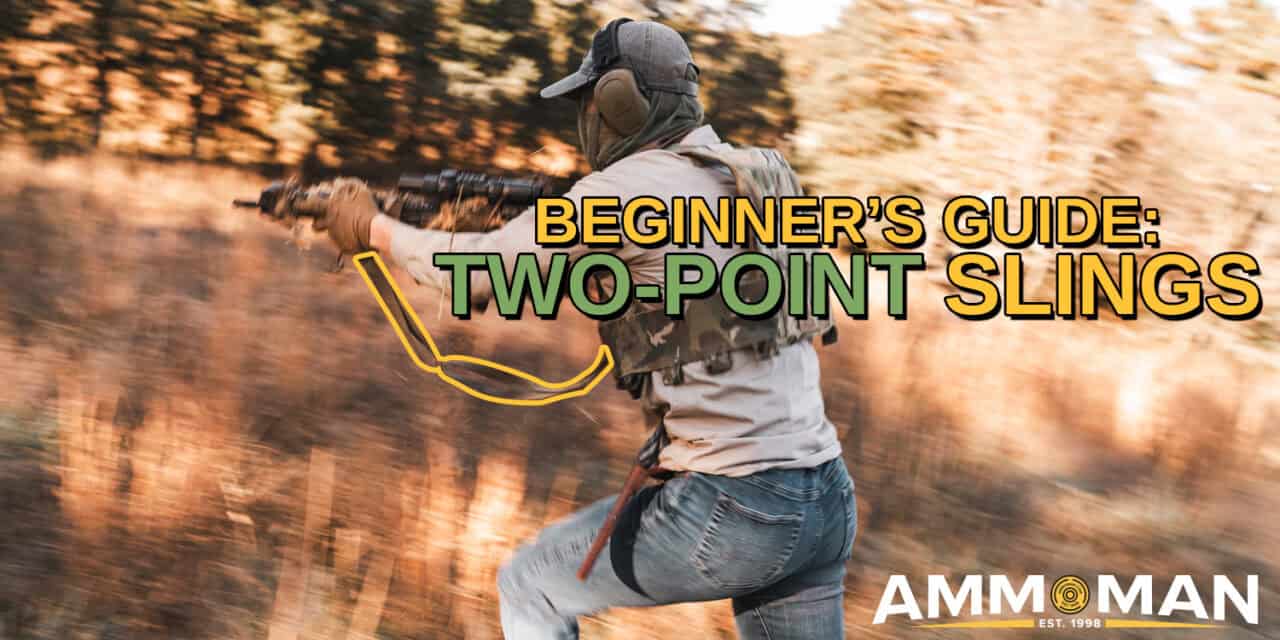
So you’ve decided to buy a 2 point sling, but do you know how to use it?
Some say that having a sling for your rifle is like having a holster for your gun. I don’t disagree with this sentiment entirely, but I believe there is more nuance to selecting and using a sling. The mere presence of a sling alone is only going to get in your way unless you first:
- Own a quality sling, that is set up correctly for you and fits your needs.
- Have training in sling use/manipulation.
Here’s what we are going to cover:
- How to Set Up a 2 Point Sling
- Mounting Points For a 2 Point Sling
- Common Ready Positions of a Rifle
- How to Use an Adjustable 2 Point Sling
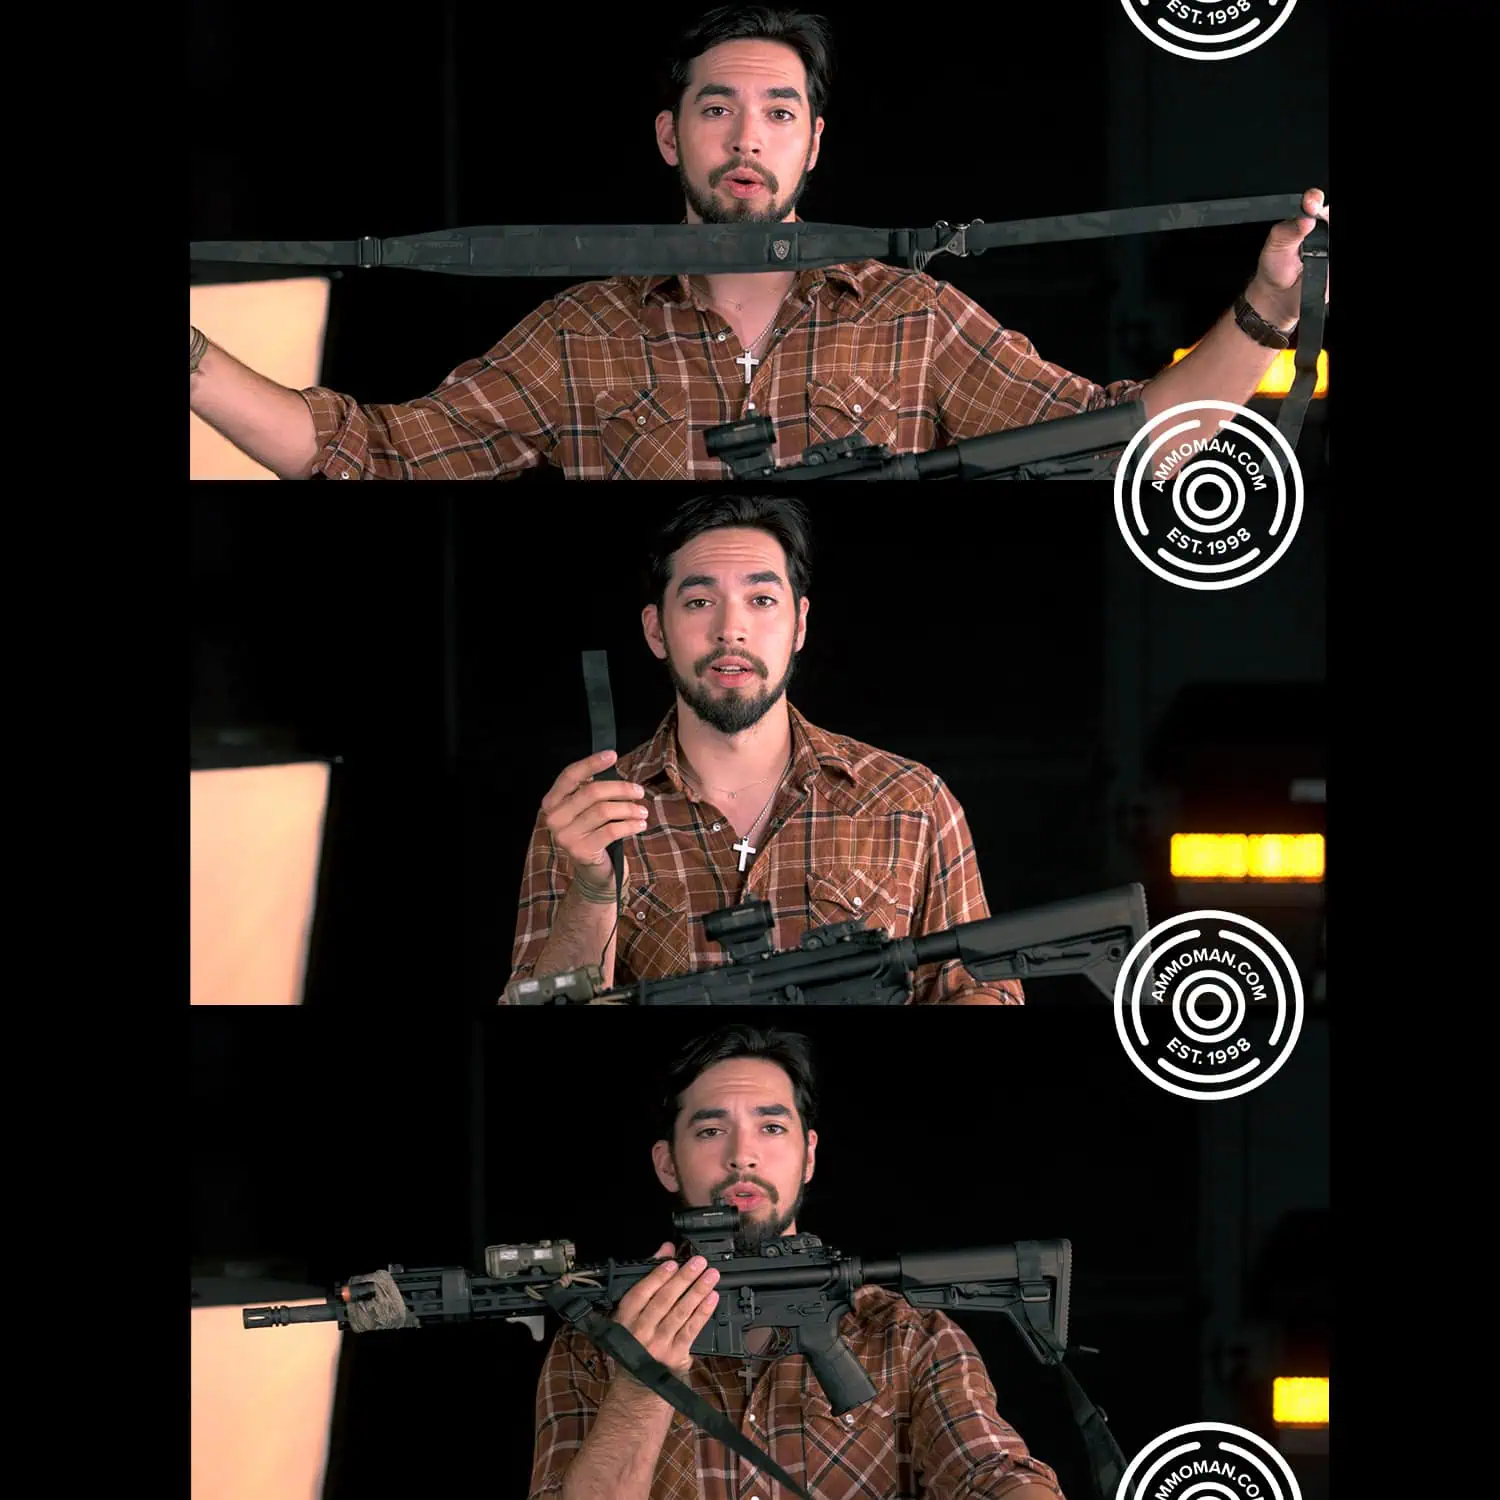
For a more in depth look at the process, watch the video below:
How to Set Up a 2 Point Sling
Not knowing where to mount your sling on your rifle to how to set it up can leave you feeling like you are underutilizing the sling. Creating confusion and either getting in your way, or causing frustration (only exacerbated by improper use) resulting in ditching the sling from your rifle altogether.
Disclaimer: Why You Shouldn’t Cut Your Sling Right Away
When you unbox your sling, it will most likely come with an excessive amount of material. Do not be alarmed, this is intentional. In order to satisfy a wide variety of body types and size of weapons systems, manufacturers leave long tails of material so that the sling can be sized correctly for the user’s needs.
Setting up a sling on a rifle
Try not to get in a rush and chop off the excess material after getting it sized to your body. You may need to make further adjustments later on that you didn’t realize you needed, or did not account for different clothing or equipment you typically wear during use. Leave at least 4″-5″ on both ends of the sling after sizing it to avoid heartache two months down the line.
You can always trim more, you can NEVER add back…
Sling Length
On a modern, adjustable two-point sling there are two ends used to mount the sling directly to a rifle. First, tighten the variable adjustment portion until all of the slack in the sling is removed. Sizing the sling with the variable adjustment “wide open” or to the maximum length will prevent you from being able to introduce slack when needed, during use.
Now you can loosely but securely mount the sling to each end of the rifle and begin to adjust it’s length accordingly.
With the rifle slung around your body properly, adjust the tri-glides on the opposing ends of the sling. Work each end tighter until the rifle is snug against your body, yet still able to shoulder it in a firing position.
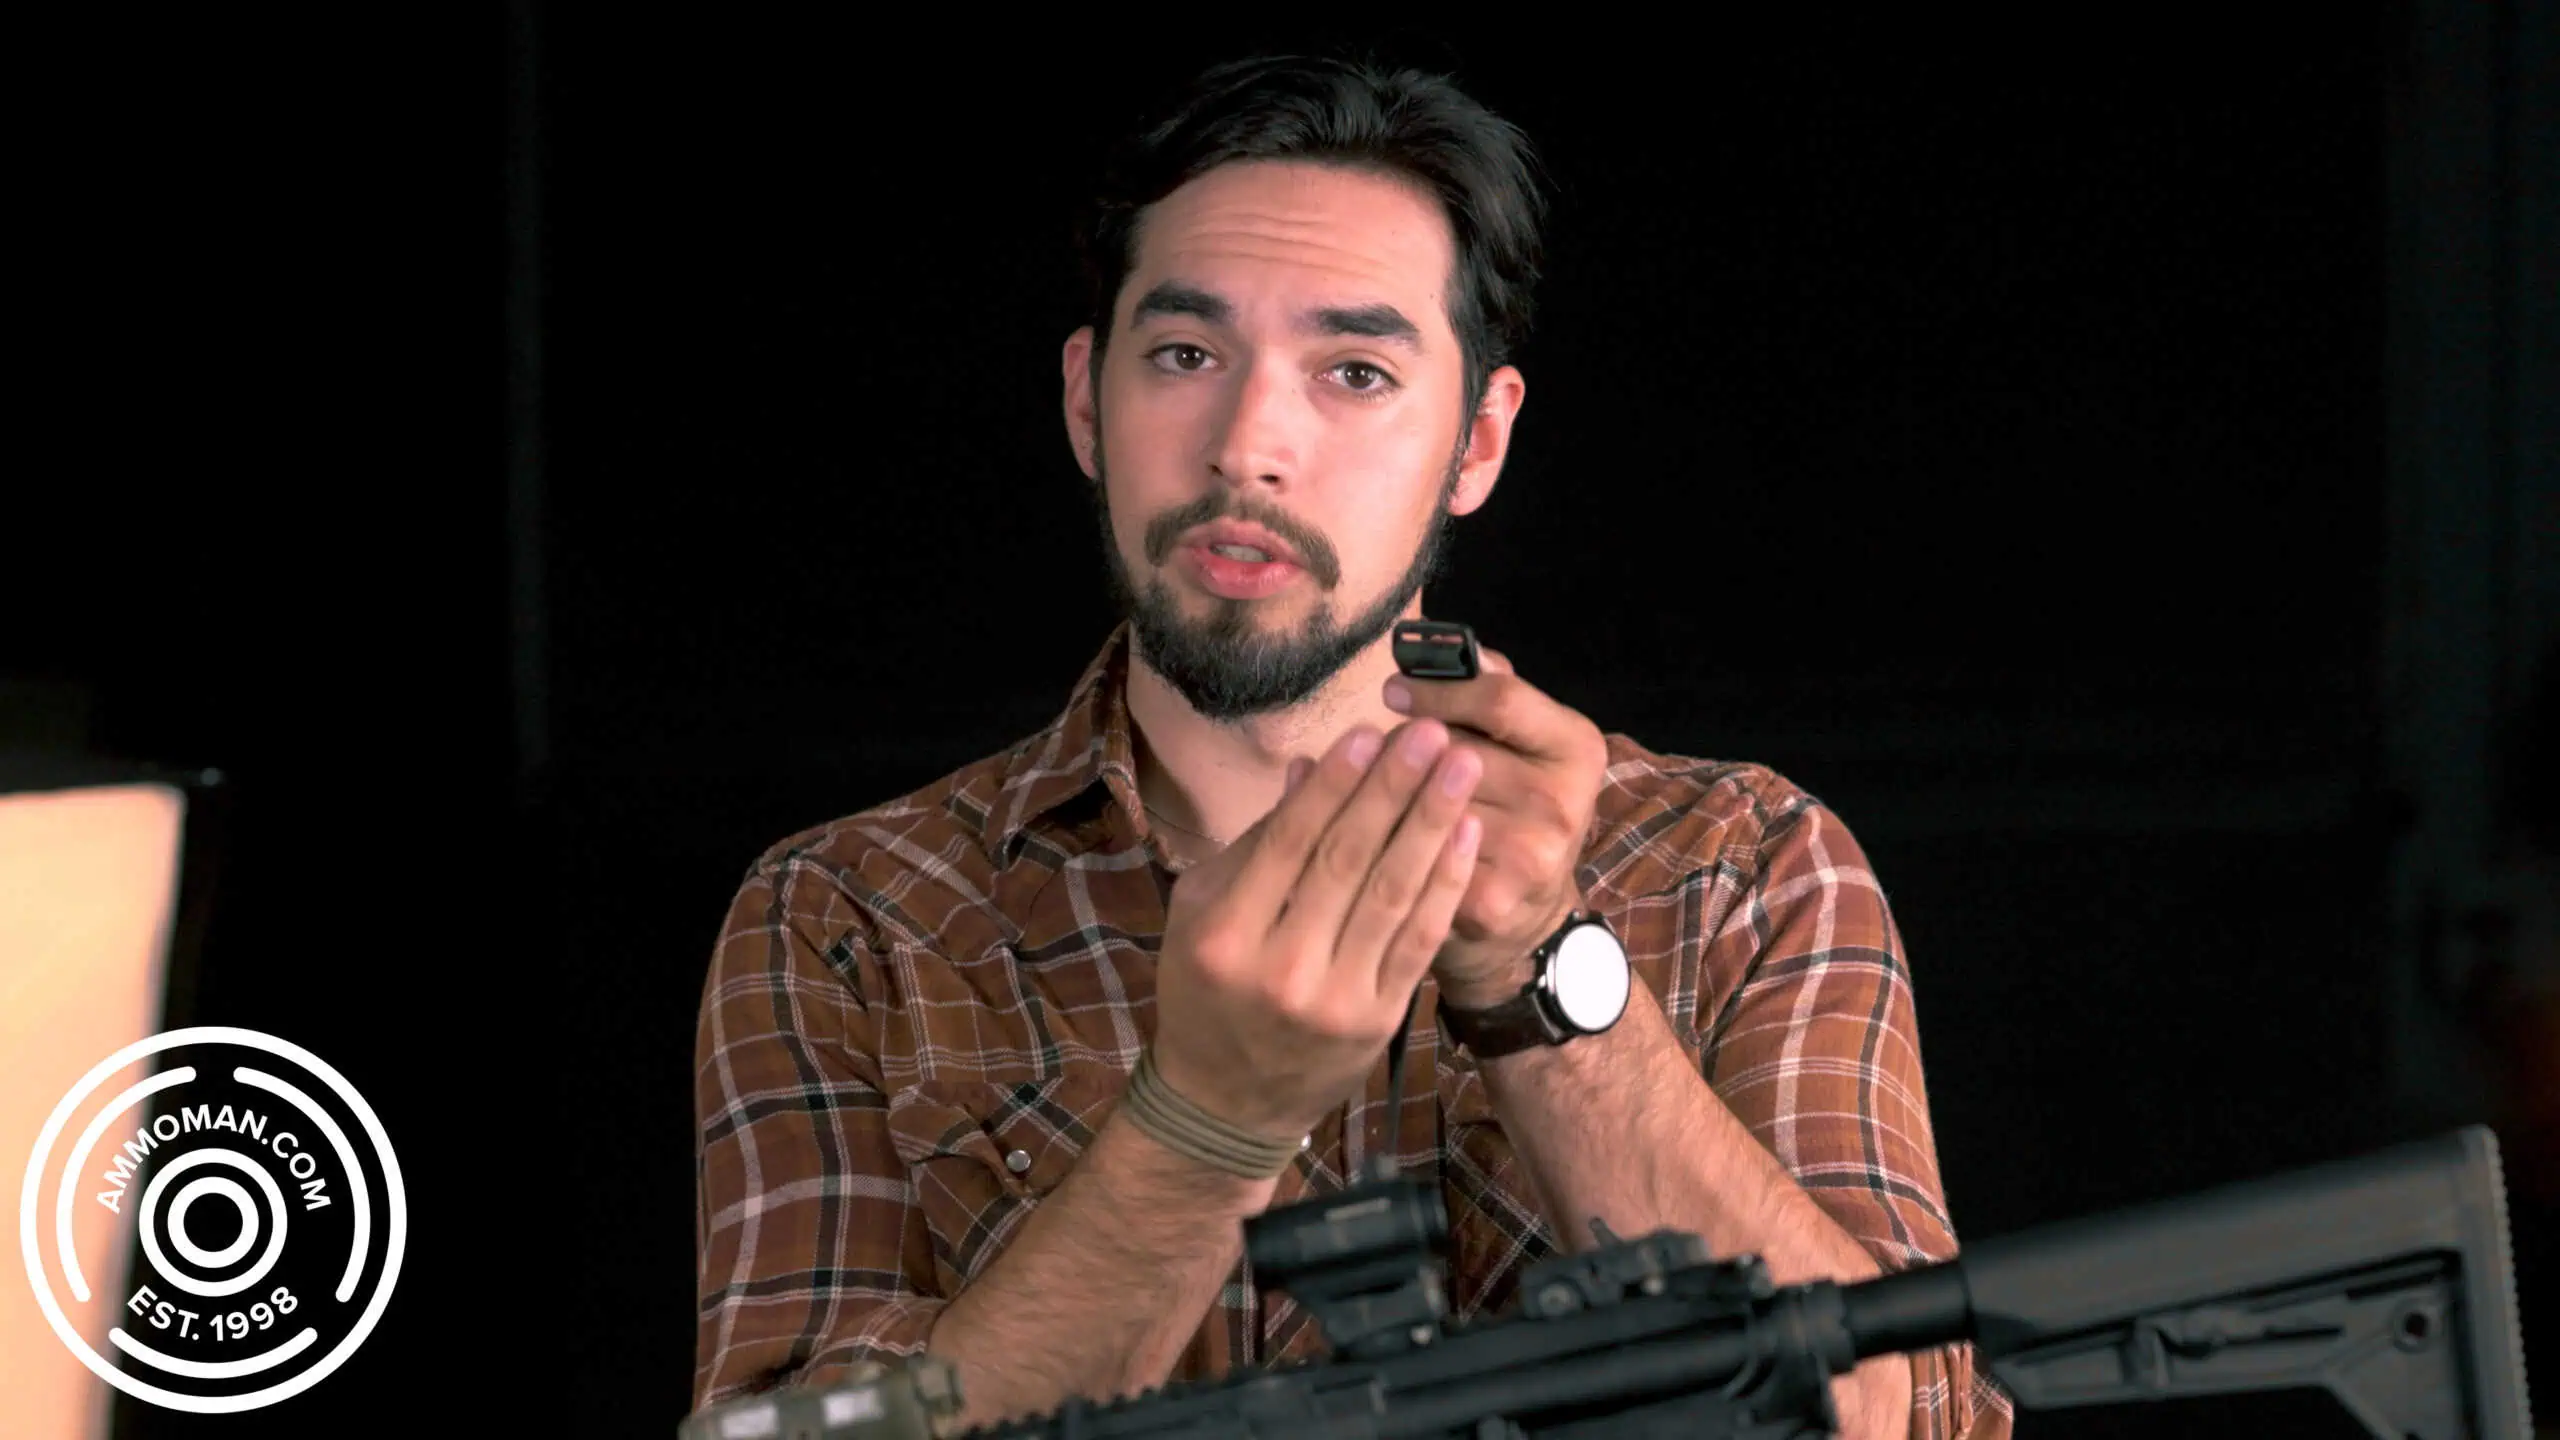
Tri-glide sling mount
The sling should be locked in to your body when hanging in it’s shortest position. When fully loosened, you should be able to freely move between any of the common “ready” positions without the sling inhibiting you from manipulating the necessary functions of your rifle.
Mounting Points For a 2 Point Sling
There are generally four different points you can mount a sling to a rifle. Of course there are small variances in-between these points, and I do suggest that you try out as many different placements as possible in order to understand what works best for you. For now I am only going to cover the basic four points and which combinations I use the most often.
Far Ends of the Rifle
The longest standing and widely used mounting points is the far opposing ends of the rifle. This position has been used on many rifles since the invention of slings. You can utilize multiple techniques to build solid tension for shooting fast up close or to lock-in for a far shot.
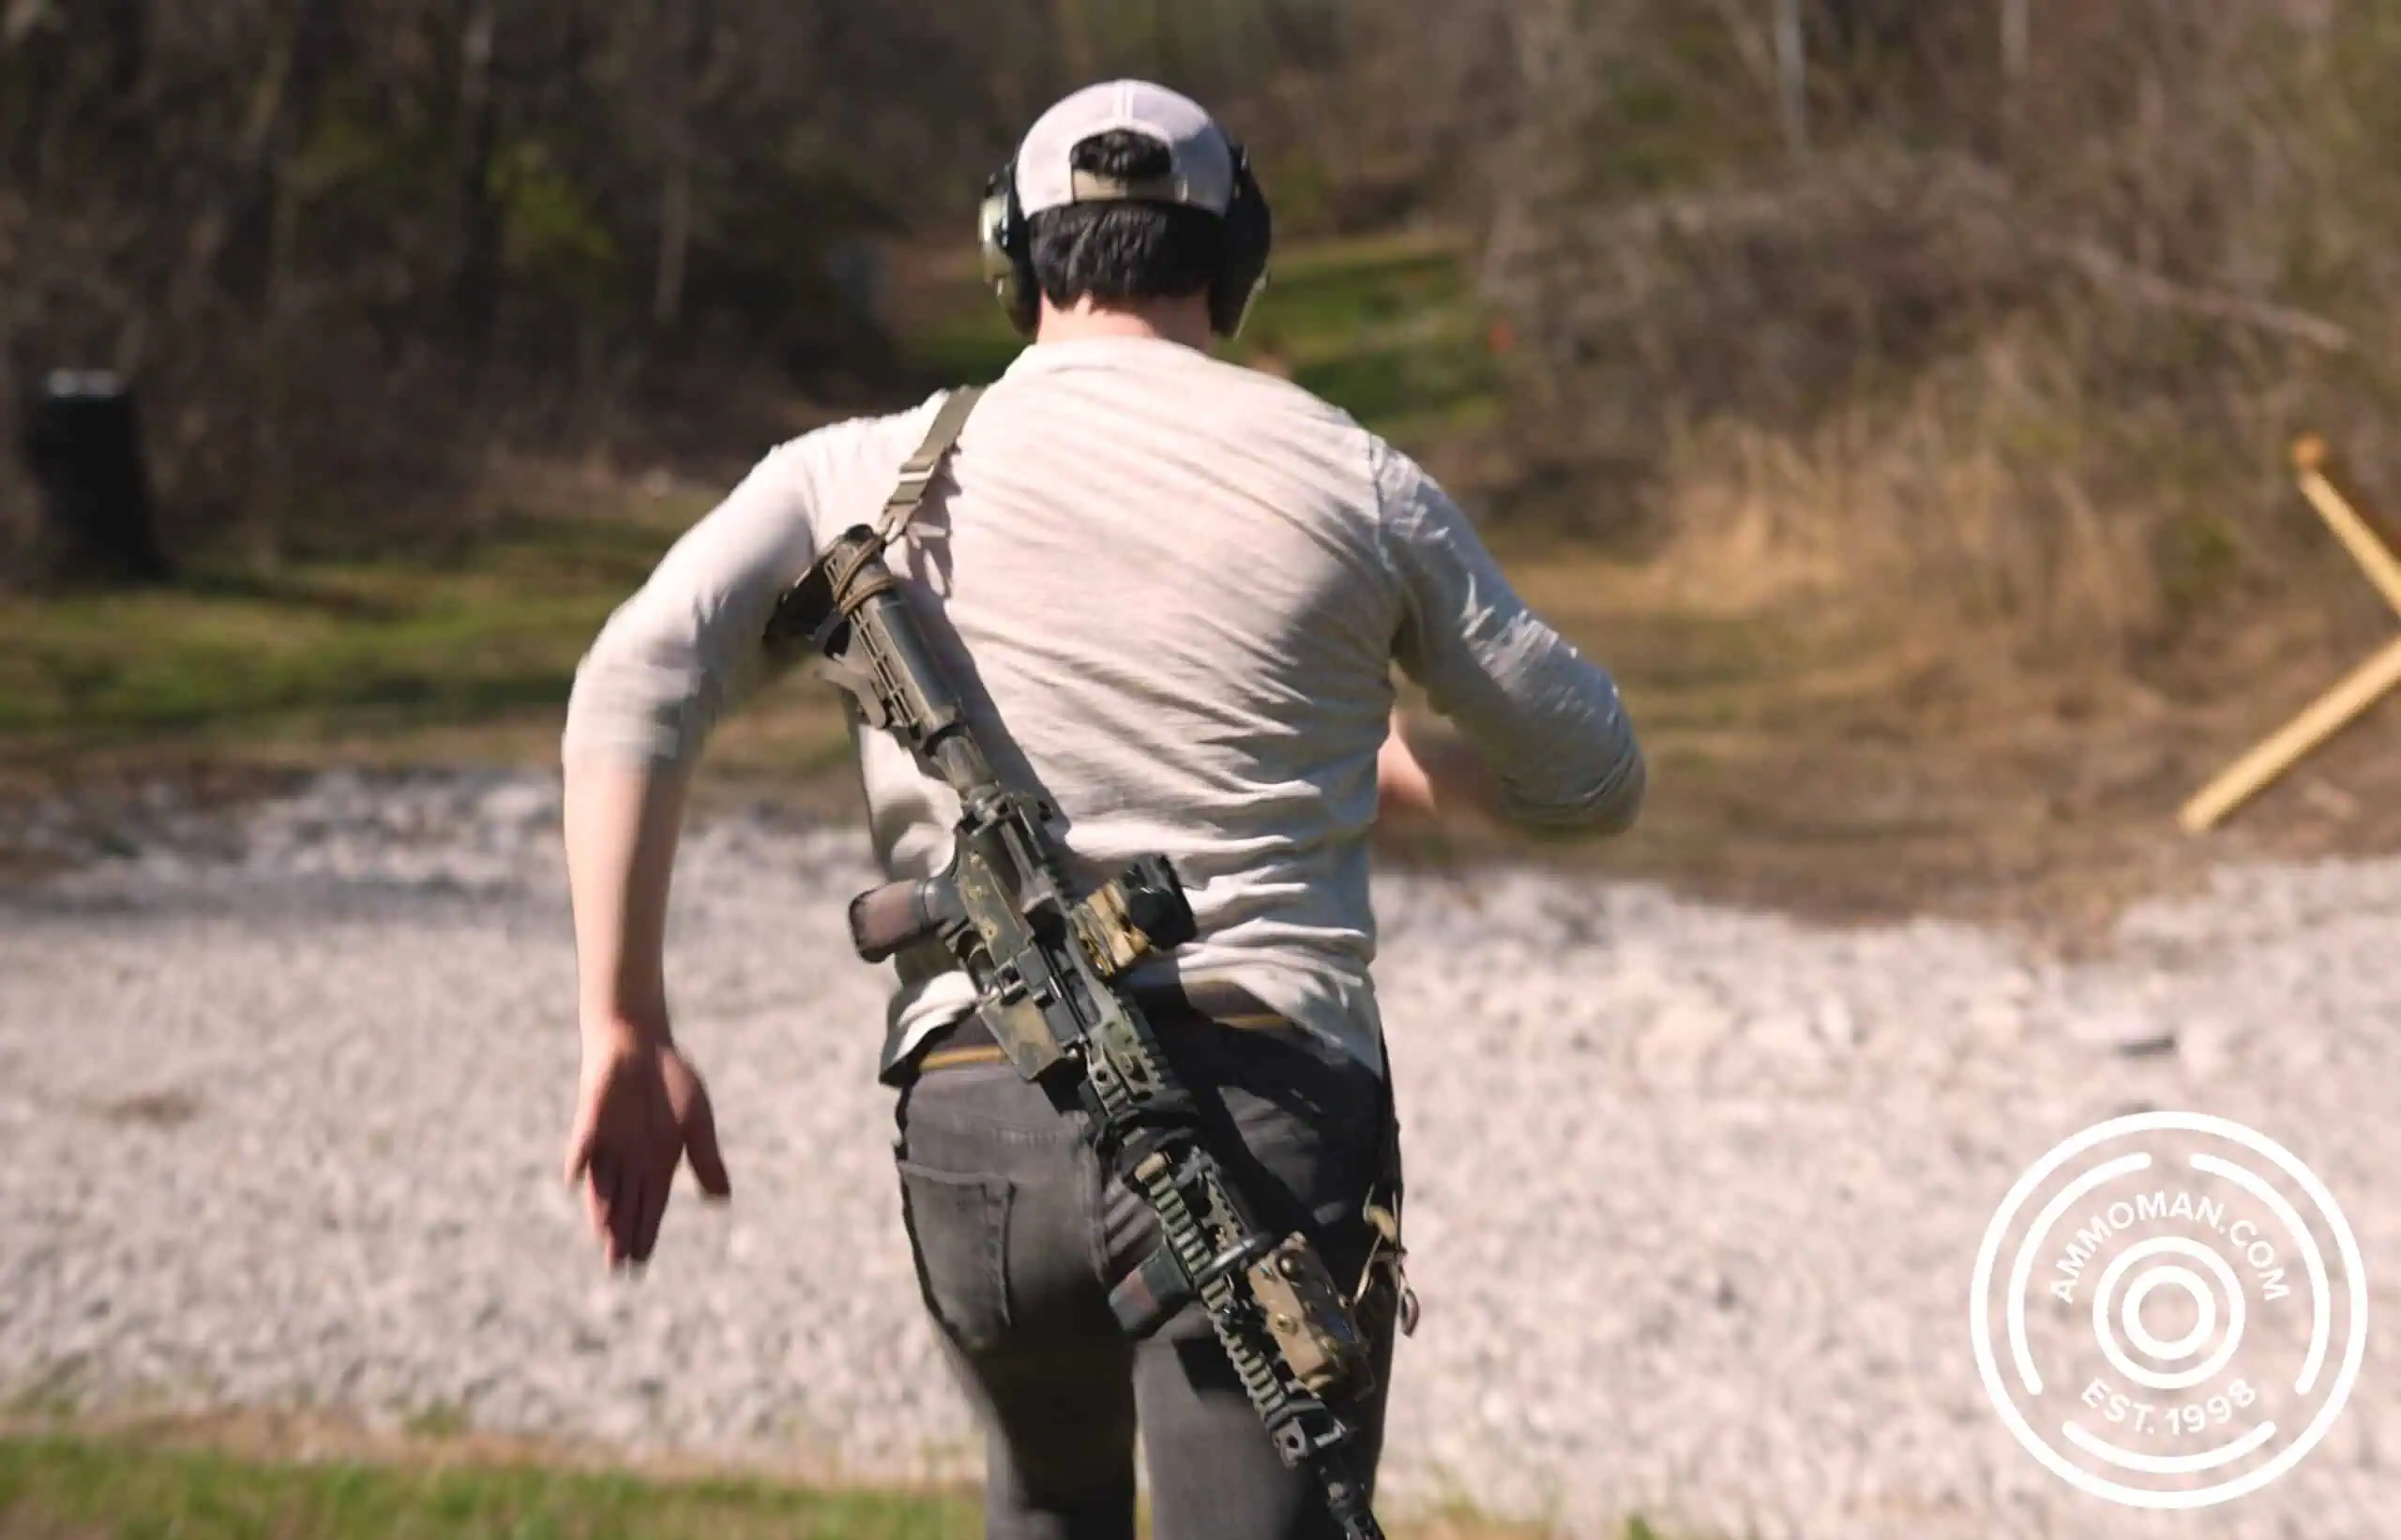
Running with an AR15 slung on the back
It also is probably my favorite mounting solution for carrying a rifle across the back. Because the sling is anchored at the far ends, it shifts minimally when walking, running, or climbing.
As for the disadvantages, it requires a lot of training to get comfortable manipulating your rifle with the sling directly over your arm when extended while shooting, reloading, or transitioning to your pistol. It is also can be difficult to switch the rifle into your opposite shoulder unless you put time into training. All of these problems are only amplified when you are wearing heavy armor or thick clothing with a lot of supplementary gear and equipment.
The Tactical “Necklace”
The way people have solved these issues is either through training, or by taking their support arm out of the sling and wearing their sling like a “necklace.” This introduces much welcomed slack in the sling that helps with maneuvering the rifle in complex positions.
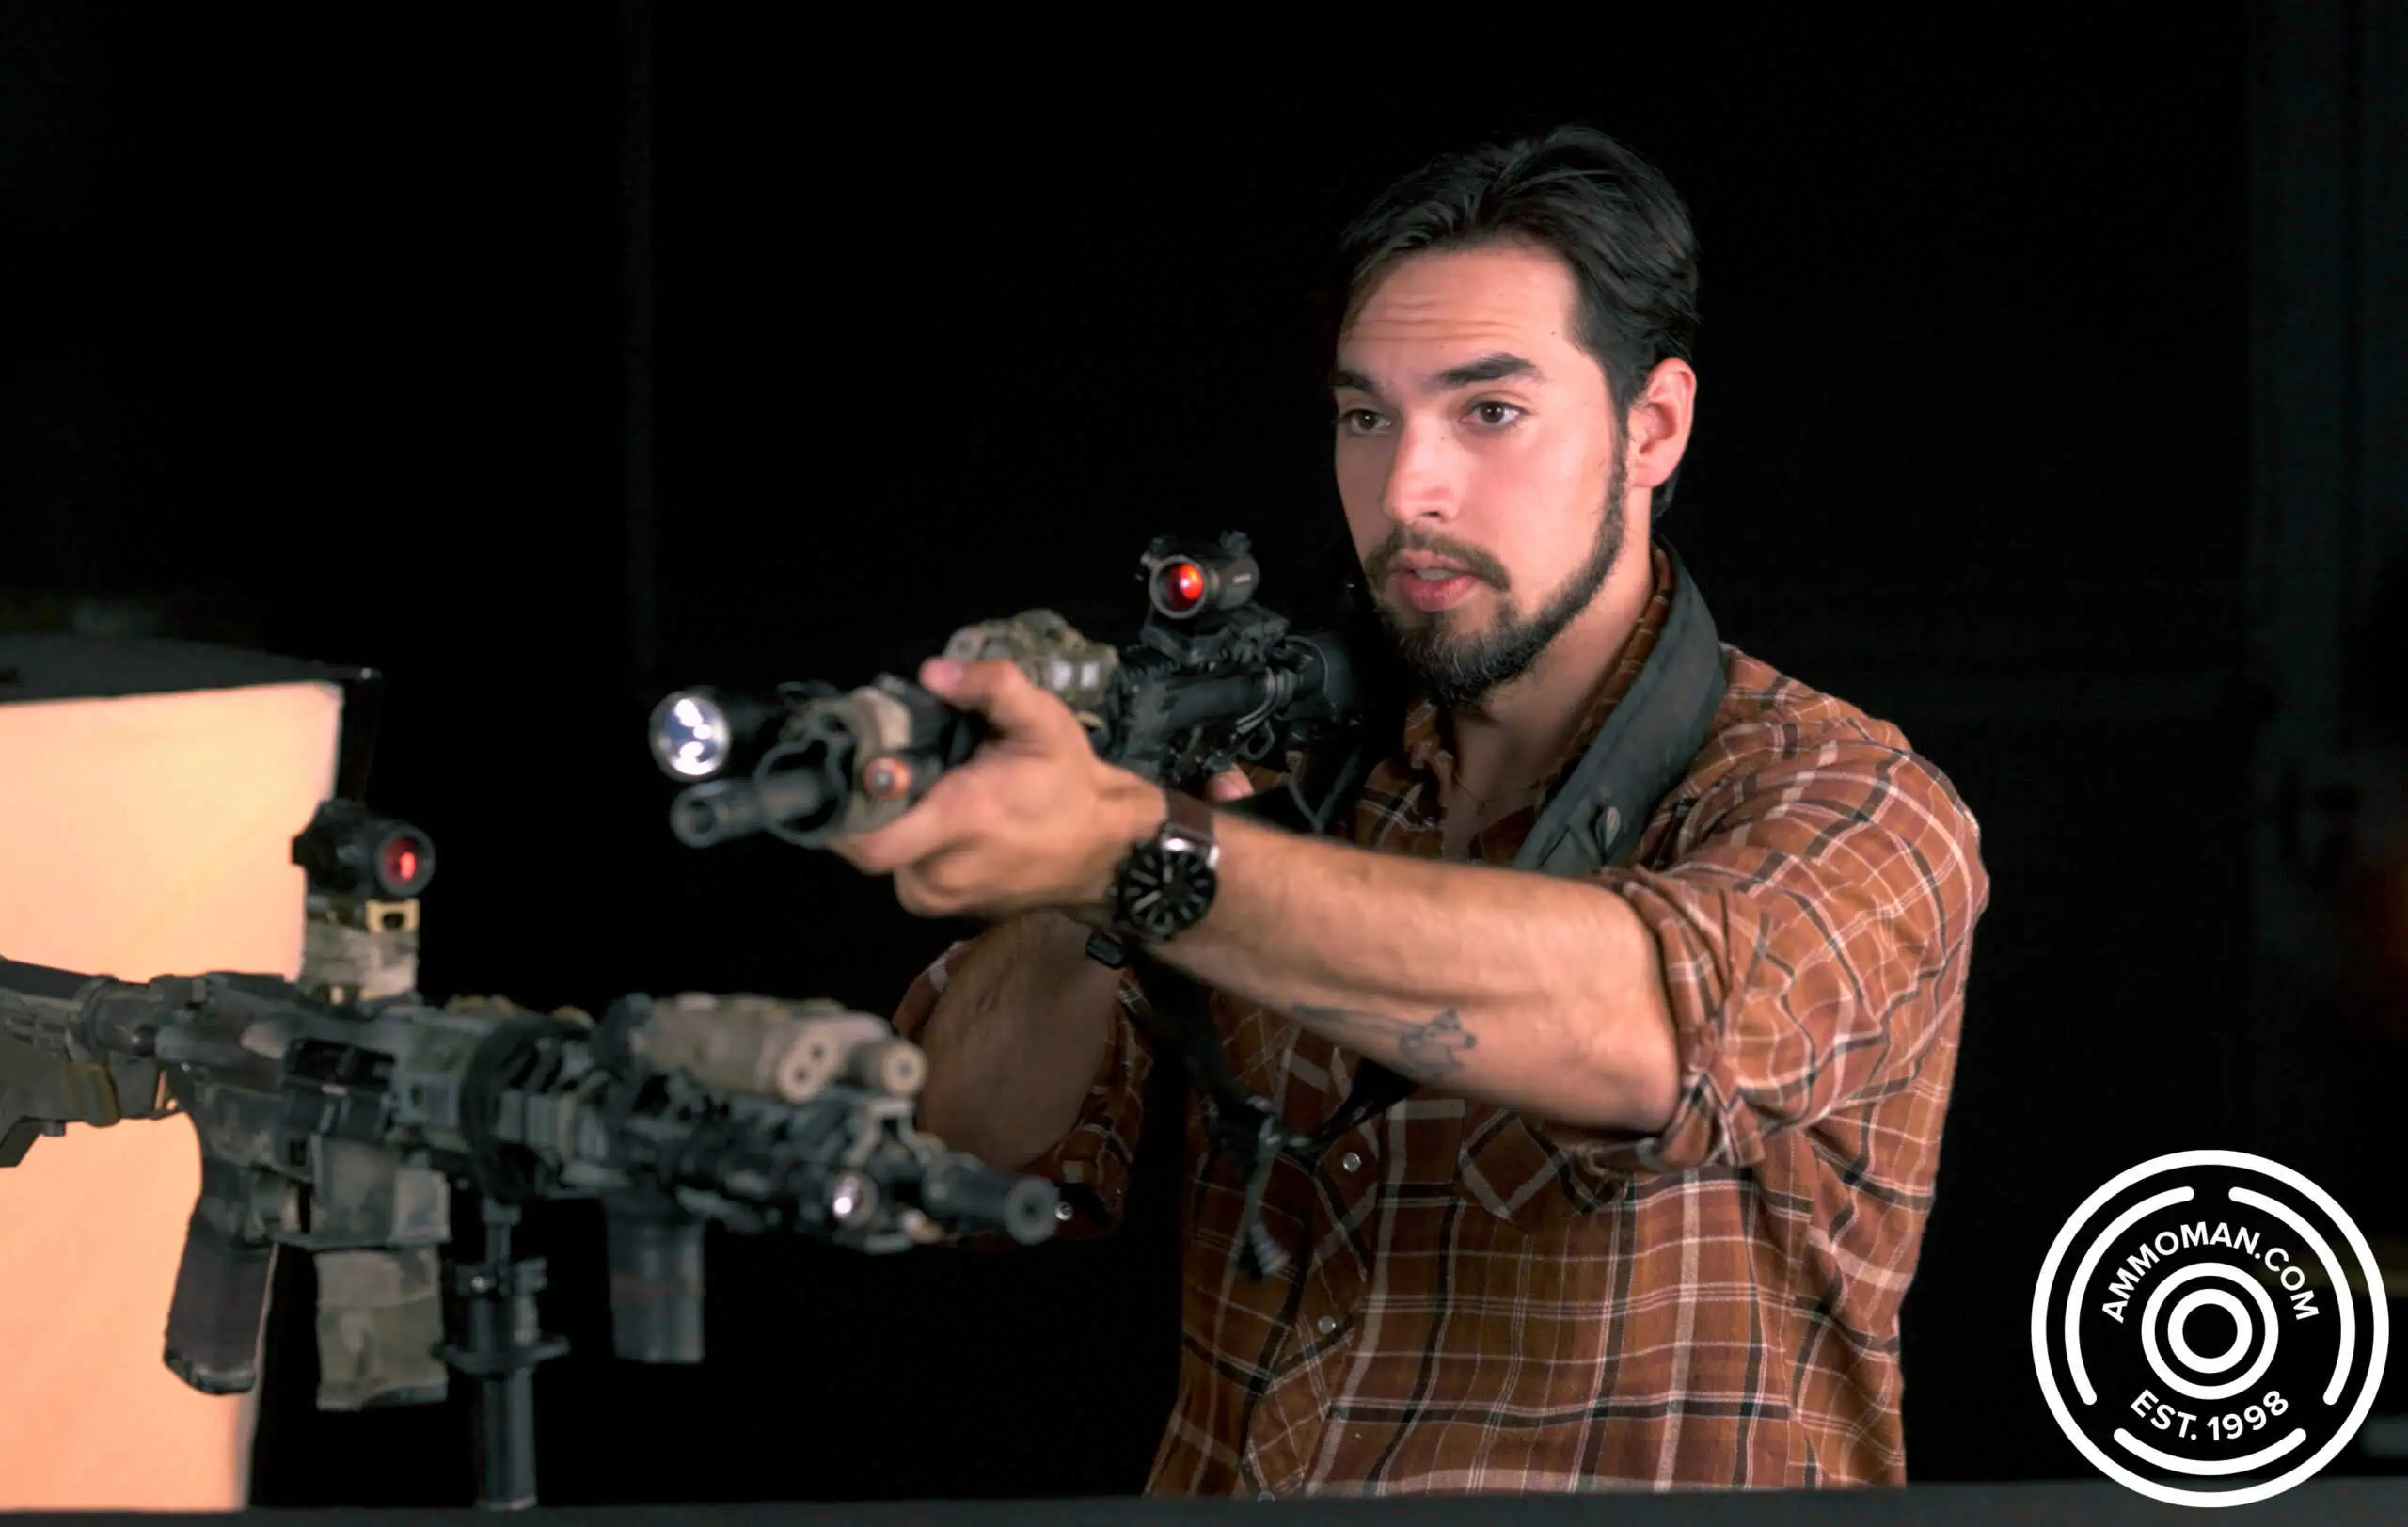
Tactical “Necklace”
I do sometimes resort to this necklace style when I need extra relief in the sling but I personally try to avoid it as it does not offer me the shooting support that I actually have the sling for. Additionally, the weight of the rifle is transferred to my neck which is weak, instead of across my back which is far stronger.
Close Together
Another common setup is mounting the ends of the sling close together on each receiver. One at the pistol grip, and the other towards the rear of the hand guard. Where this excels is in mobility and manipulation of all parts of the rifle. Since it has a hinge point at the pistol grip, it is less prone to snagging or rubbing on the neck when switching between ready positions. It also offers enough tension to aid in building a strong shooting position.
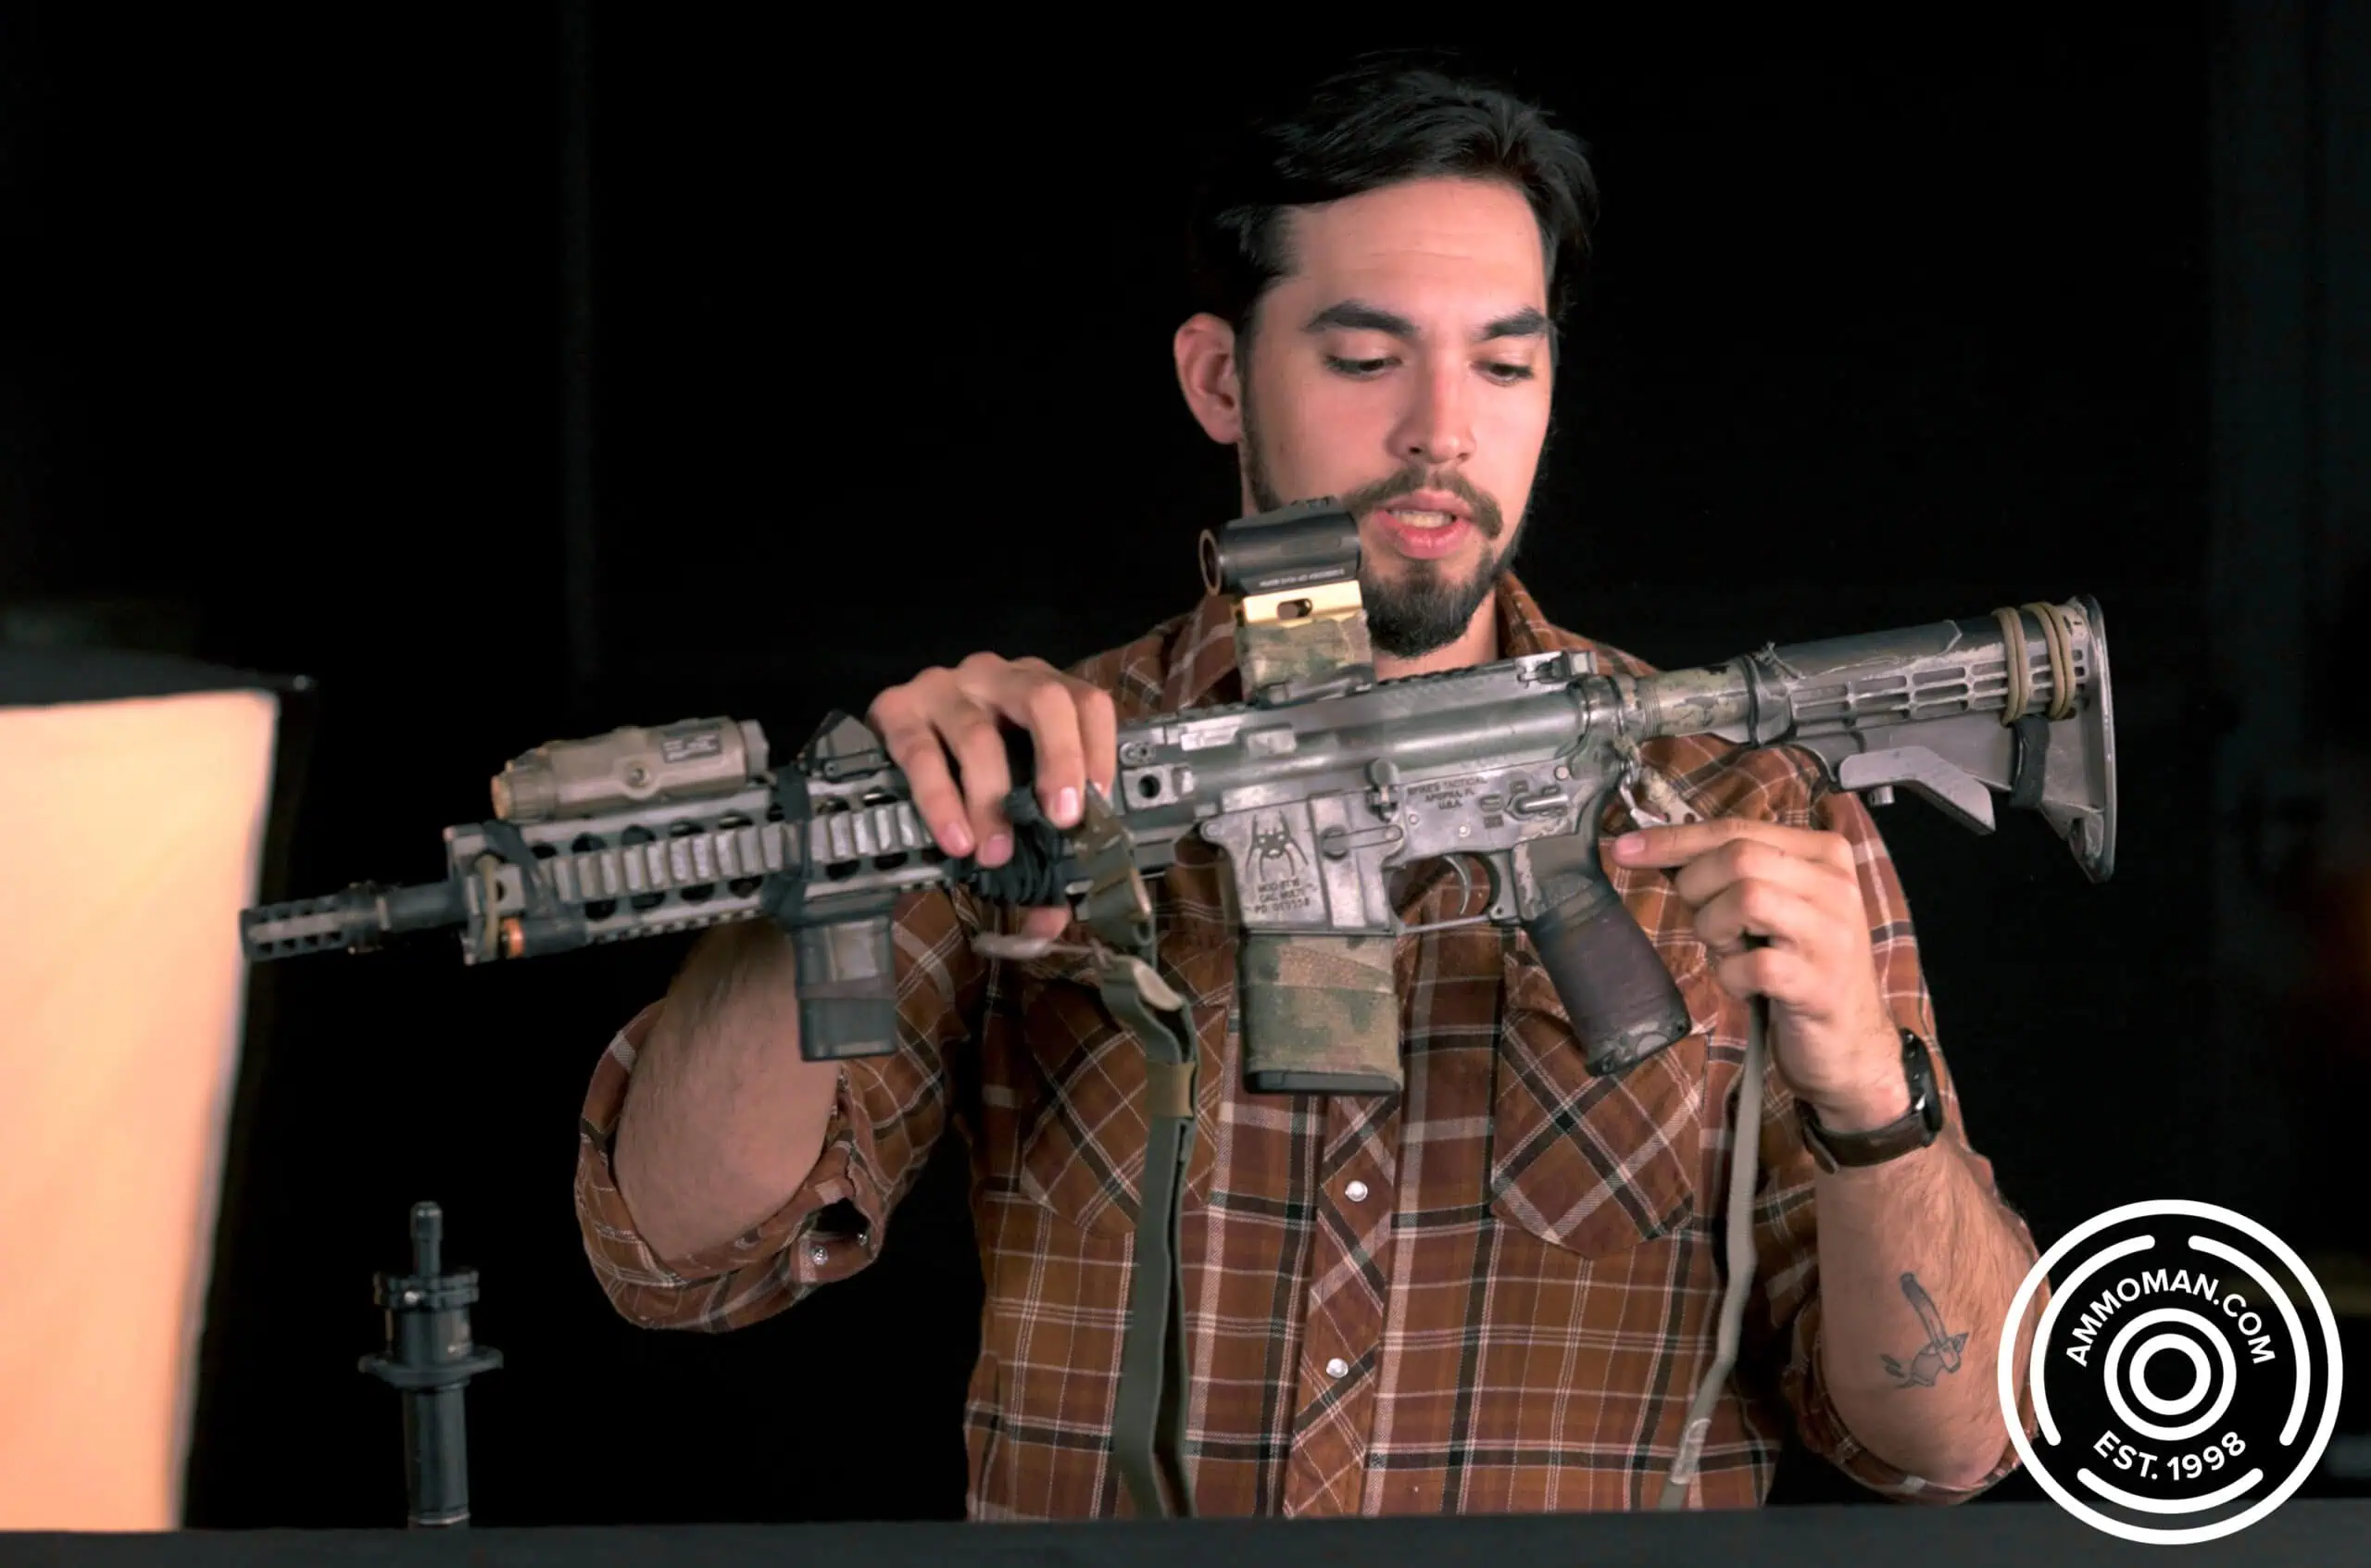
Sling mounted at close ends of each receiver on an AR15
This setup can become a nuisance however, when you need to move the rifle to your back for a long movement or another task that would require both hands. Slinging it on your back is not as stable since it has the hinge points close together instead of at opposing ends where gravity would ensure the rifle stays in place. It has a tendency to fall perpendicular to your body after a small amount of movement. This is not only a safety issue but it is uncomfortable and something you have to be sure to check and make sure is still hanging muzzle up or muzzle down, according to your preference and the situation.
Modified Mounting Points
Naturally, a modified solution takes some of the qualities of each setup and combines them. You can either mount the front end of the sling at the very far end of the rail and the rear end by the pistol grip, maintaining the hinge point I mentioned previously that makes shooting and transitioning easy.
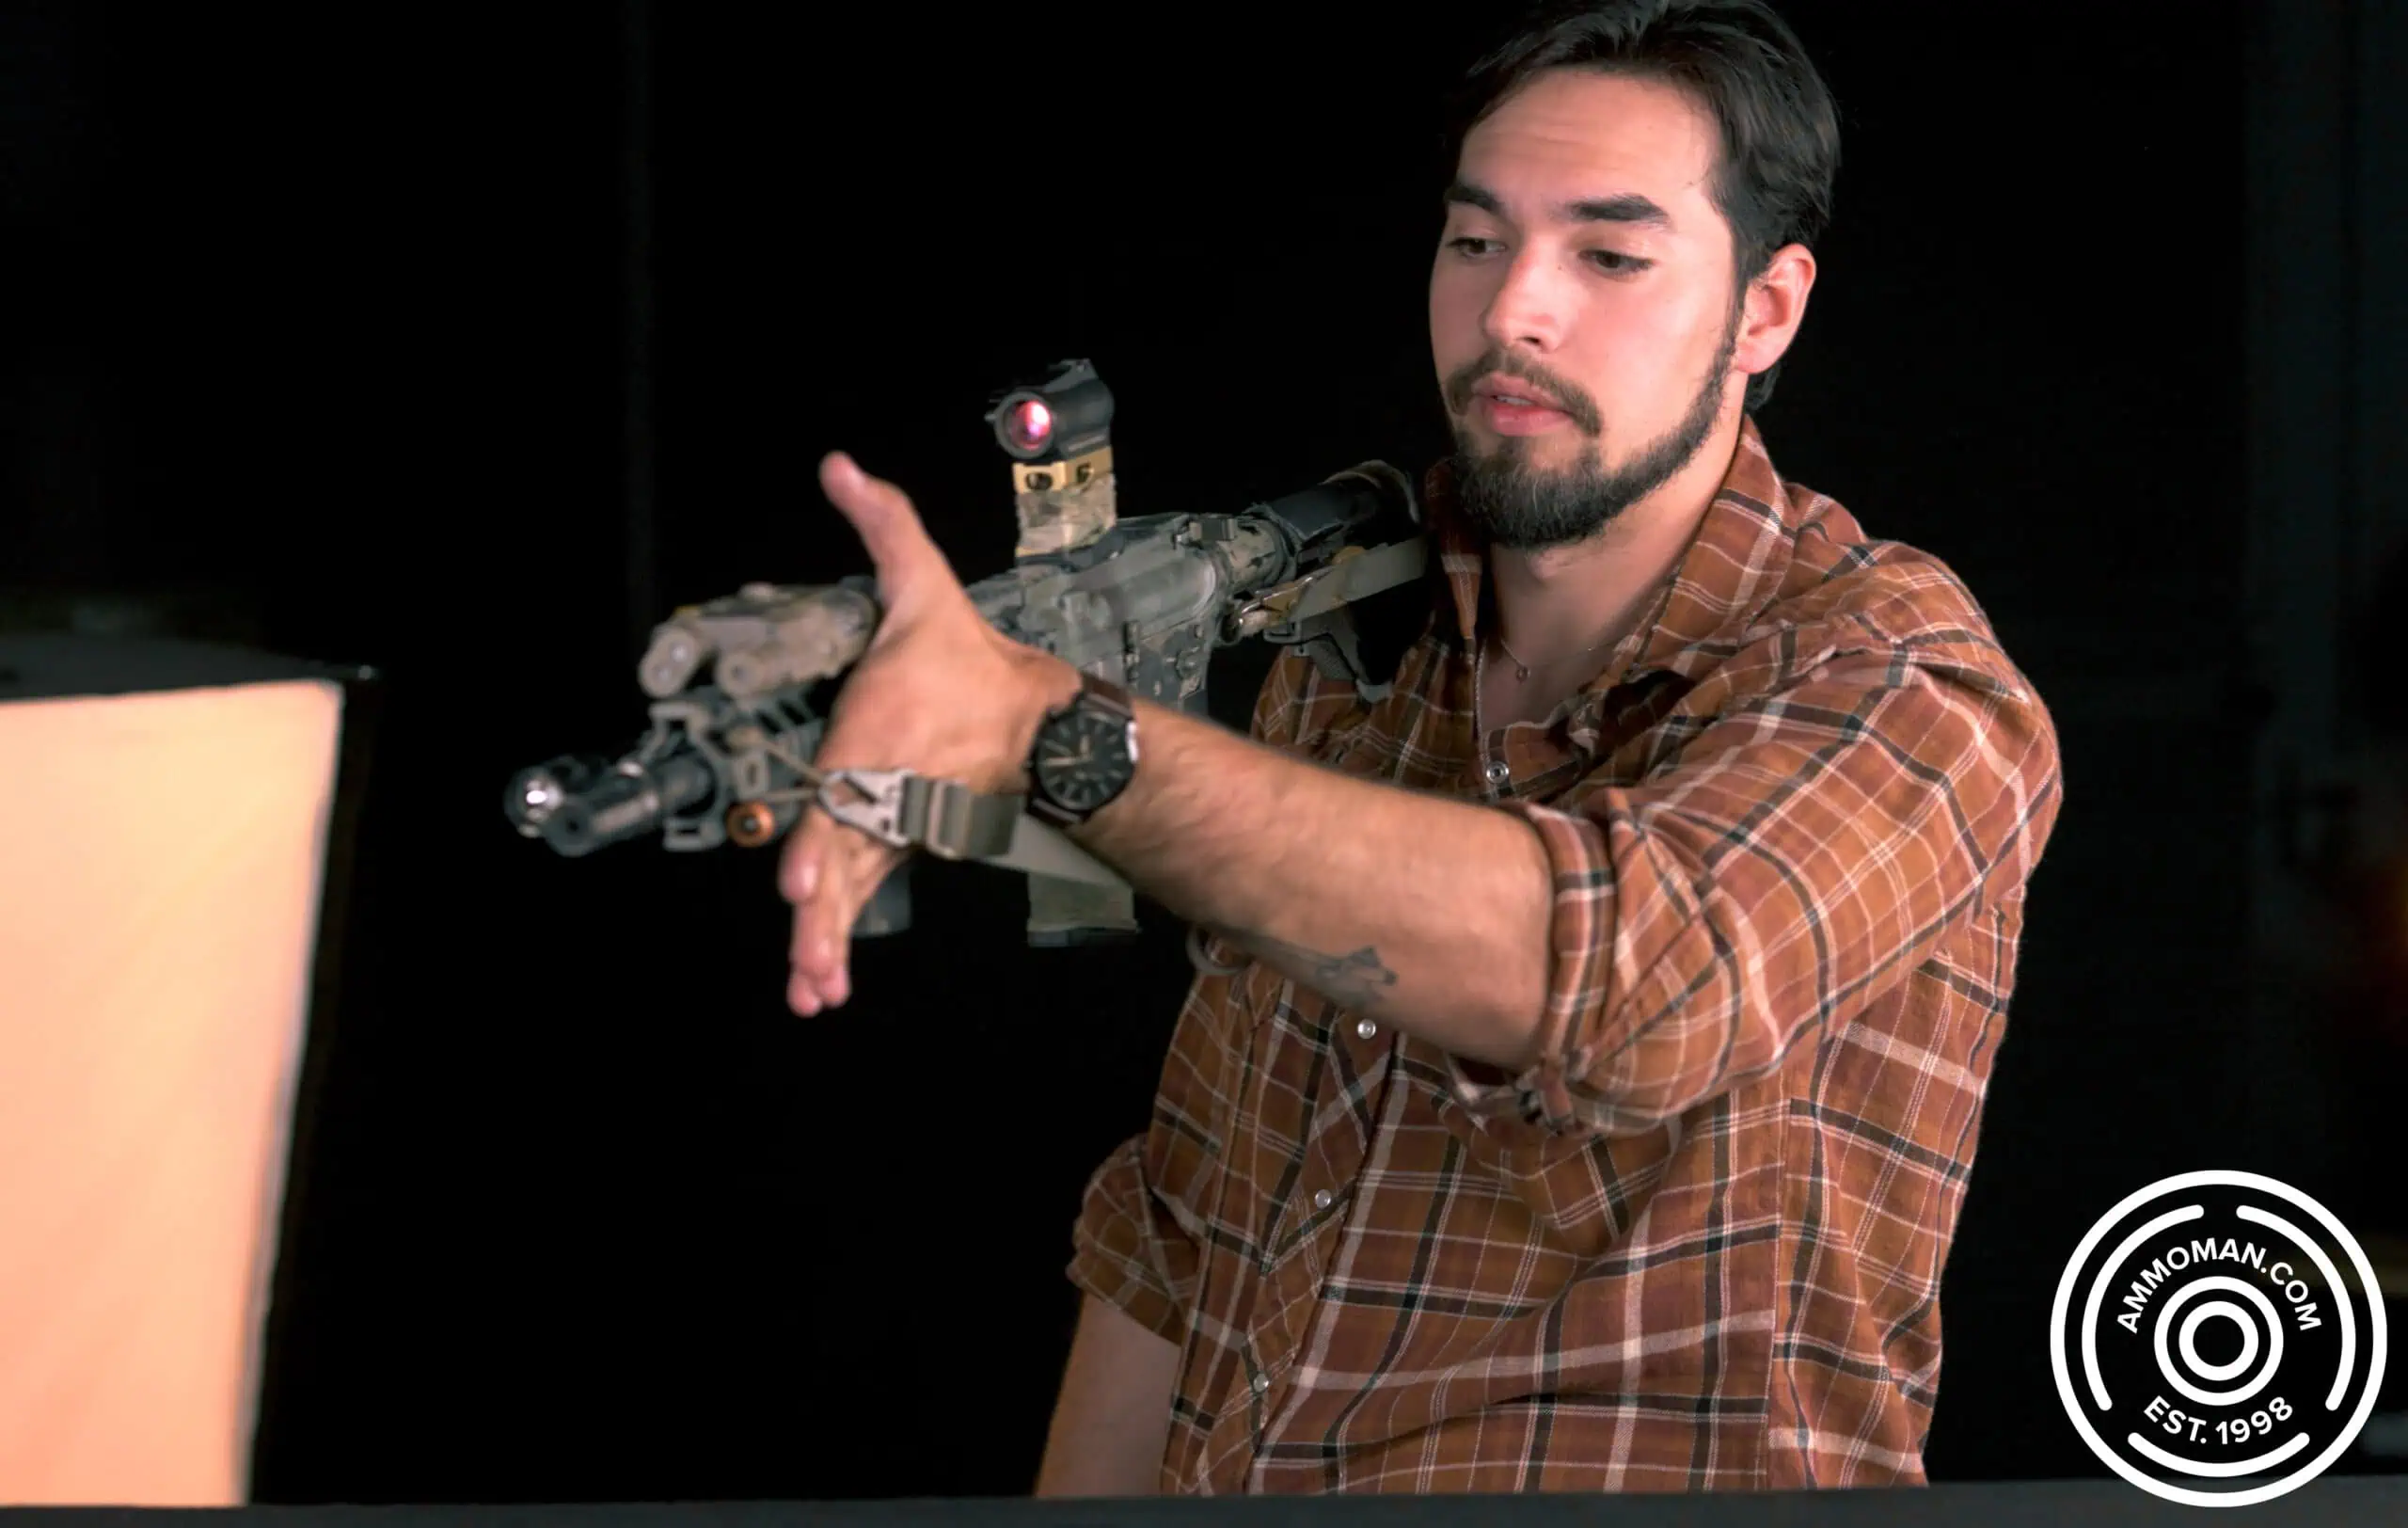
Modified mounting points for a two-point sling
Or you could mount the rear end of the sling around the butt stock and the front end towards the rear of the hand guard, making it easy to do most manipulations and still working better when slung across your back than the close together method.
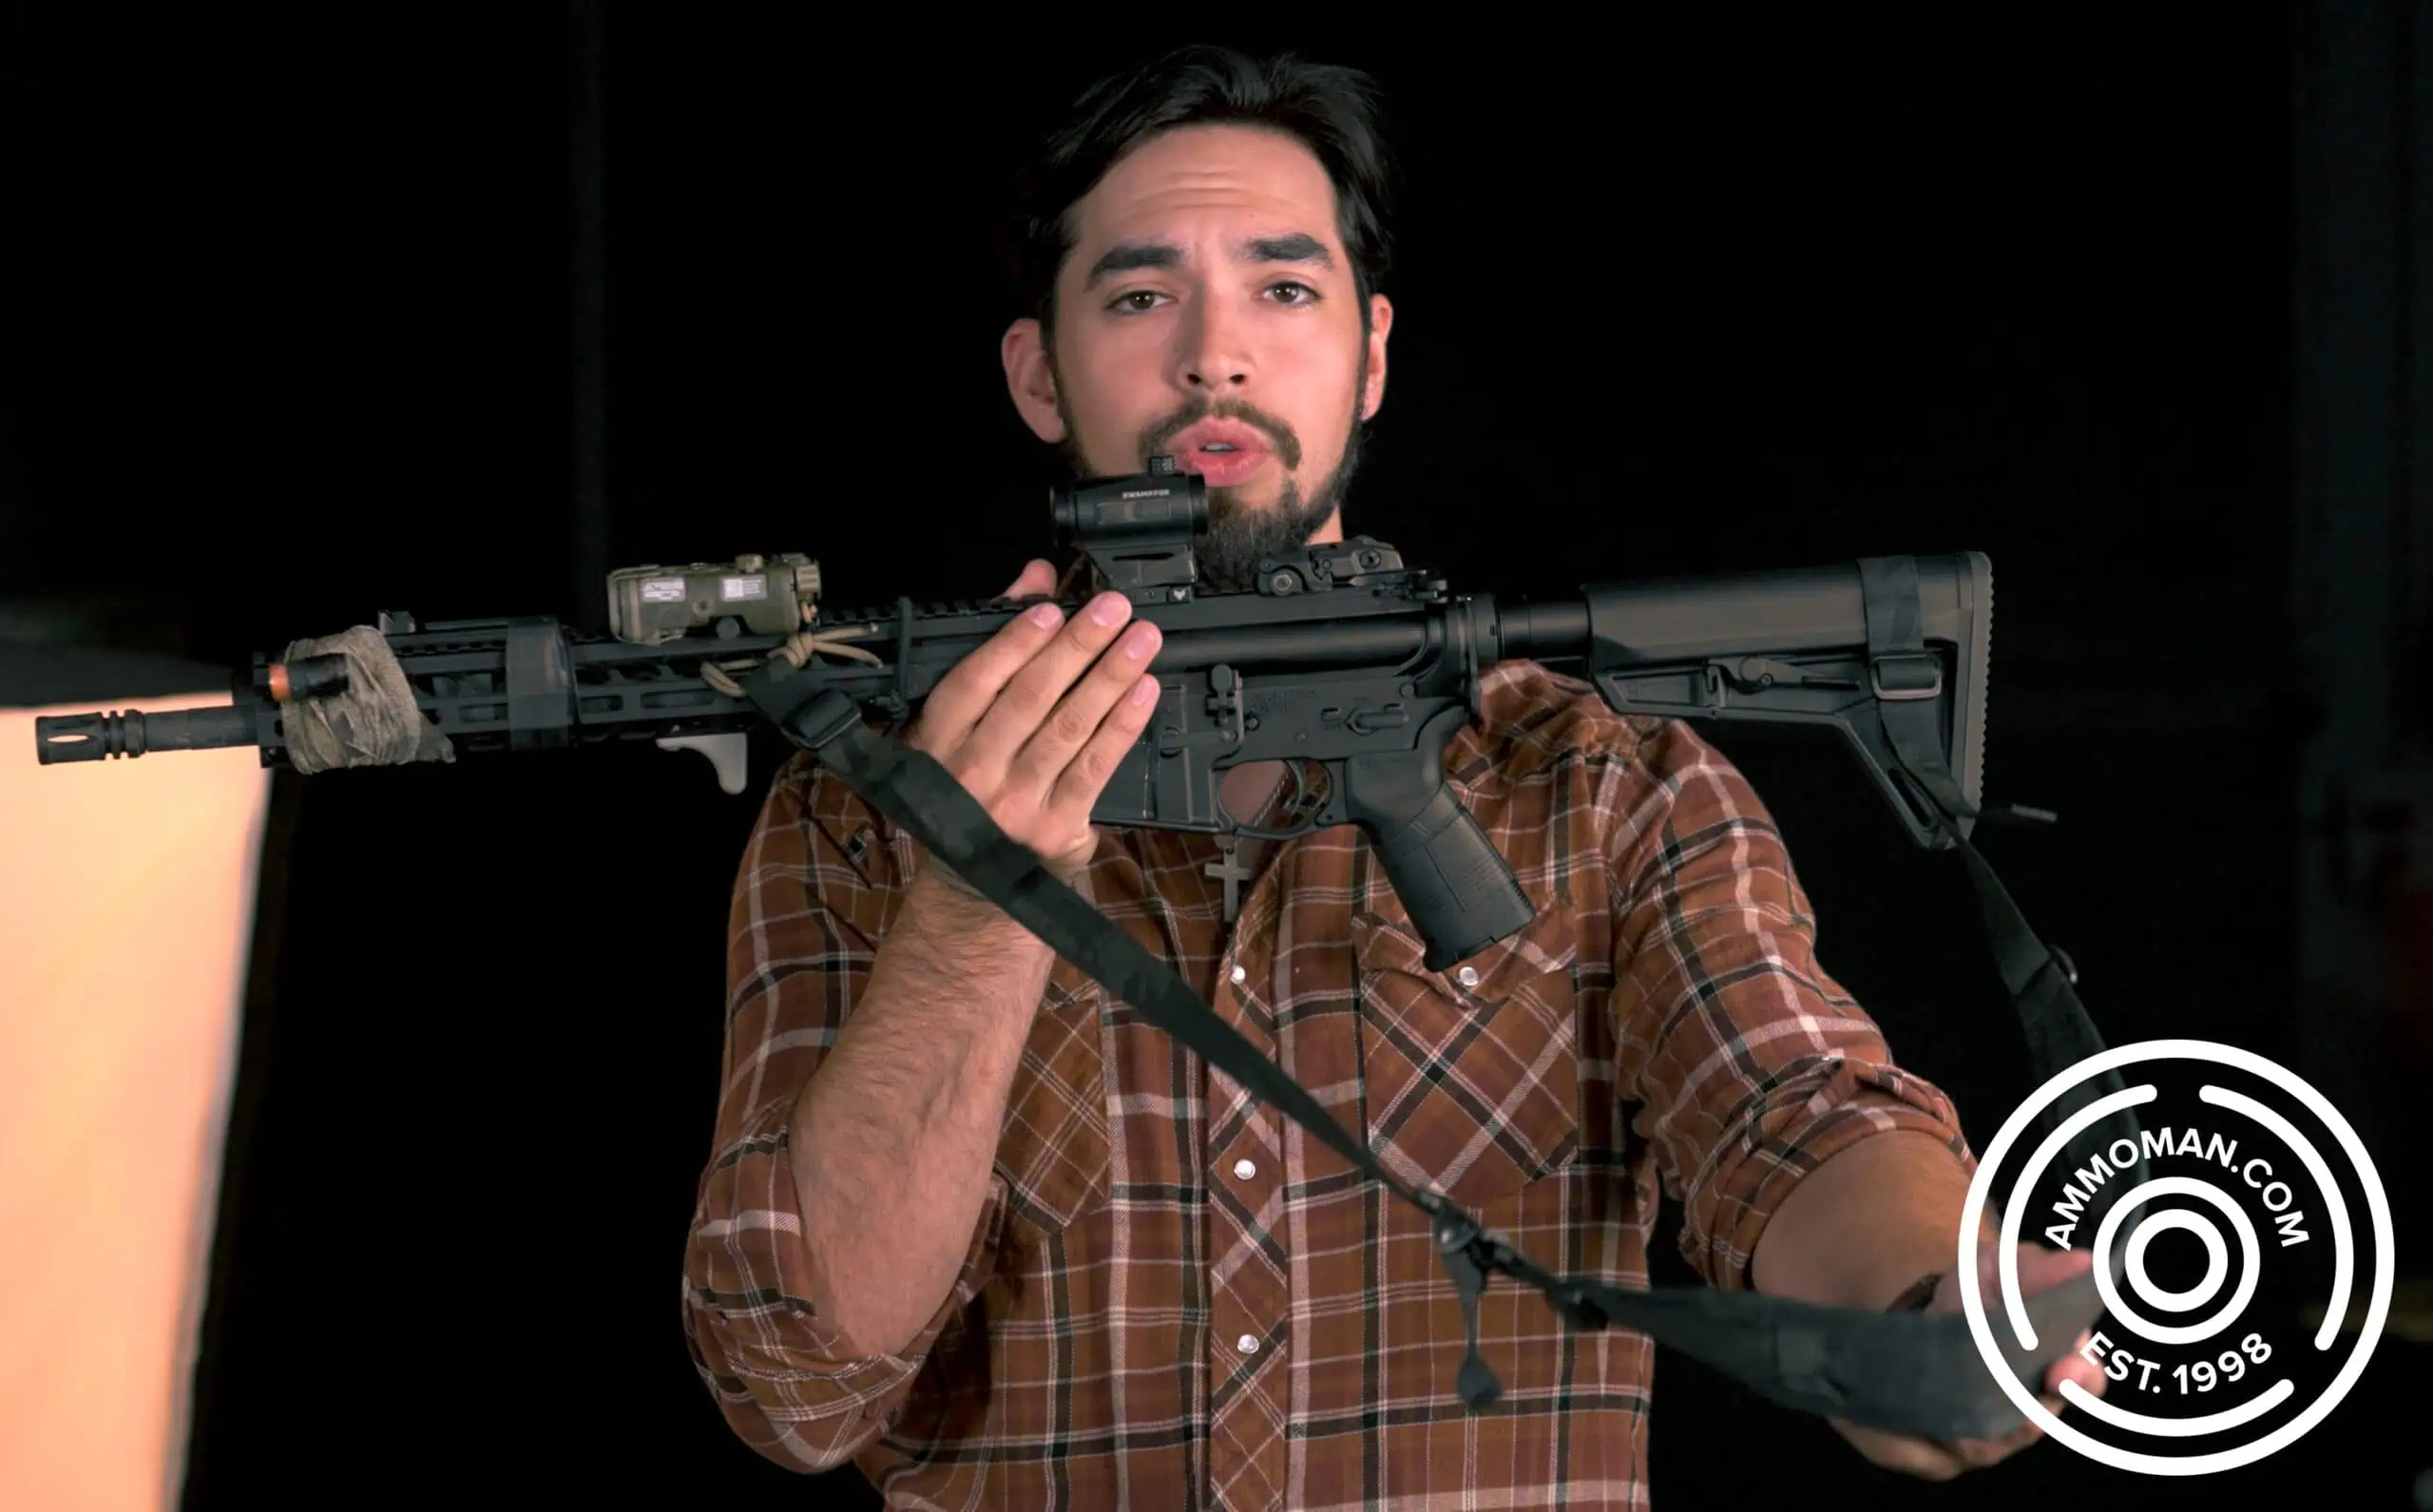
2-point sling hanging off of an AR15
Each version you try will have its ups and downs. Don’t be afraid to try them all and give each a fair shake before you decide on which works best for you and your intended use.
The Common Ready Positions of a Rifle
A critical element of gun safety is rule #2: “Never let the muzzle cover anything you are not willing to destroy.”
What this means is that we need to be able to maintain complete (100% accountability) control over the direction of our muzzle using a variety of ready positions. Although pointing at the ground is generally a “safe” direction, this may no longer be the case if you are in an elevated position and have another individual directly beneath you. Conversely, the opposite remains true if your muzzle is directed upwards and there is someone on a staircase directly above and in front of you. Though we may not be able to avoid it in every circumstance, the effort MUST be made, even if it requires us to alter the direction of our muzzles frequently.
The goal with any ready position is to save time presenting the gun or muzzle towards your intended target when the time comes to shoot, while still remaining as safe as possible and not hindering your ability to see and process information prior to initiating that firing sequence.
Low Ready vs. Alert Position
Because of diverse verbiage and teaching styles, the “low-ready” and the “alert” position are often used synonymously. I believe defining the differences will be helpful for both beginners and professionals alike.
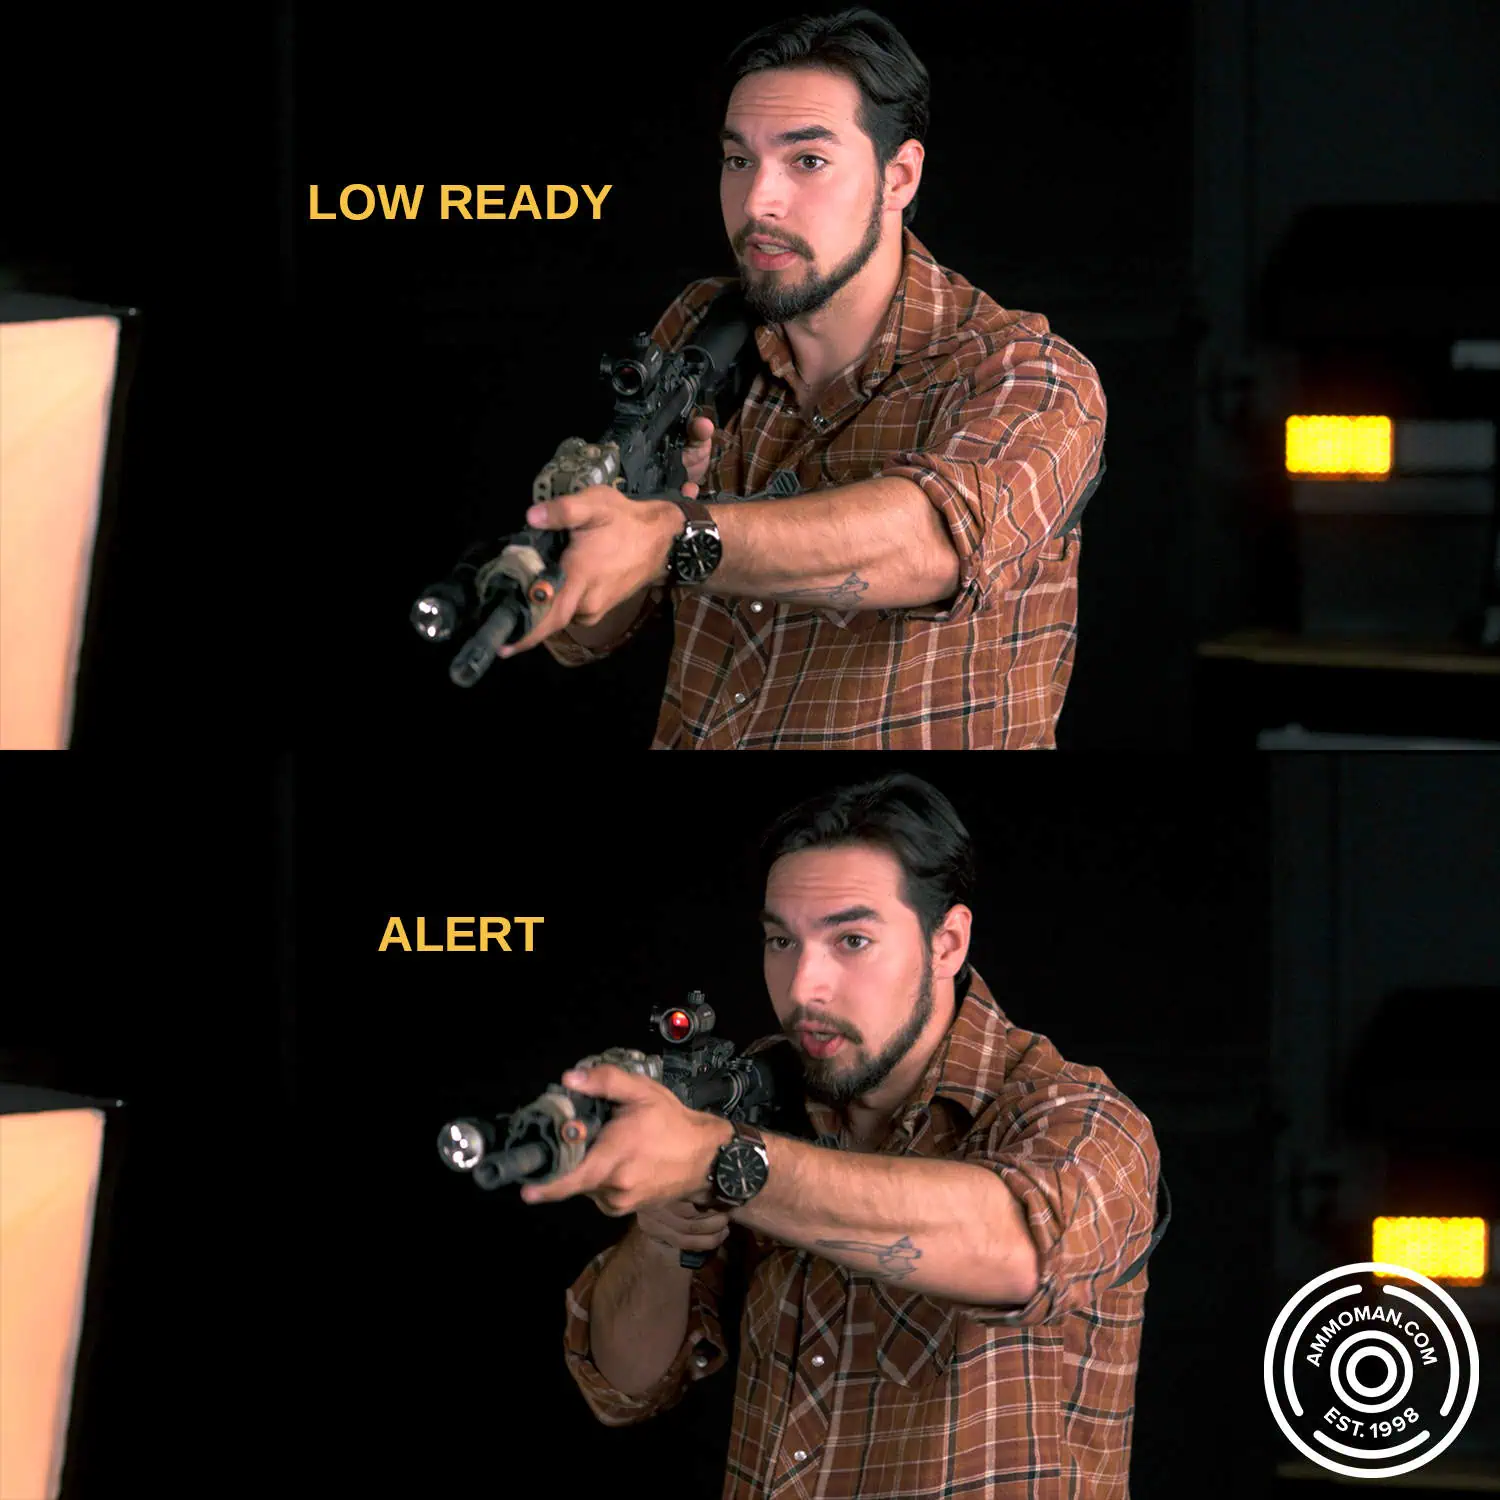
Differences between Low-Ready and Alert position
What is Low Ready Position
The rifle is to be placed in the shoulder with the users eyes out of the sights. Their muzzle will be below and OFF of the target but able to quickly engage with the appropriate level of accuracy.
Alert
It is common to see someone in an “alert” position where the muzzle is already covering part of an intended target and consider it a low-ready. Although it looks similar, it is different altogether. Like I mentioned earlier, we must remain accountable for the direction of our muzzle. I believe there should be a distinction between when our muzzles are facing a potential threat vs. ON them. There are also factors such as: Are you alone or do you have others around you that need to be accounted for? Can you see the potential threats hands? Is it legal to point your gun at them yet? Keep this in mind during training and practice both, low and alert positions.
High Ready
Similarly, the high-ready has been demonstrated in multiple fashions. I will define it and offer some reasoning for you to consider for yourself.
The butt stock of the rifle is to be trapped underneath the shoulder with the users eyes out of the sights and their view unobstructed. Their muzzle will be above and OFF of the target but able to quickly engage with the appropriate level of accuracy.
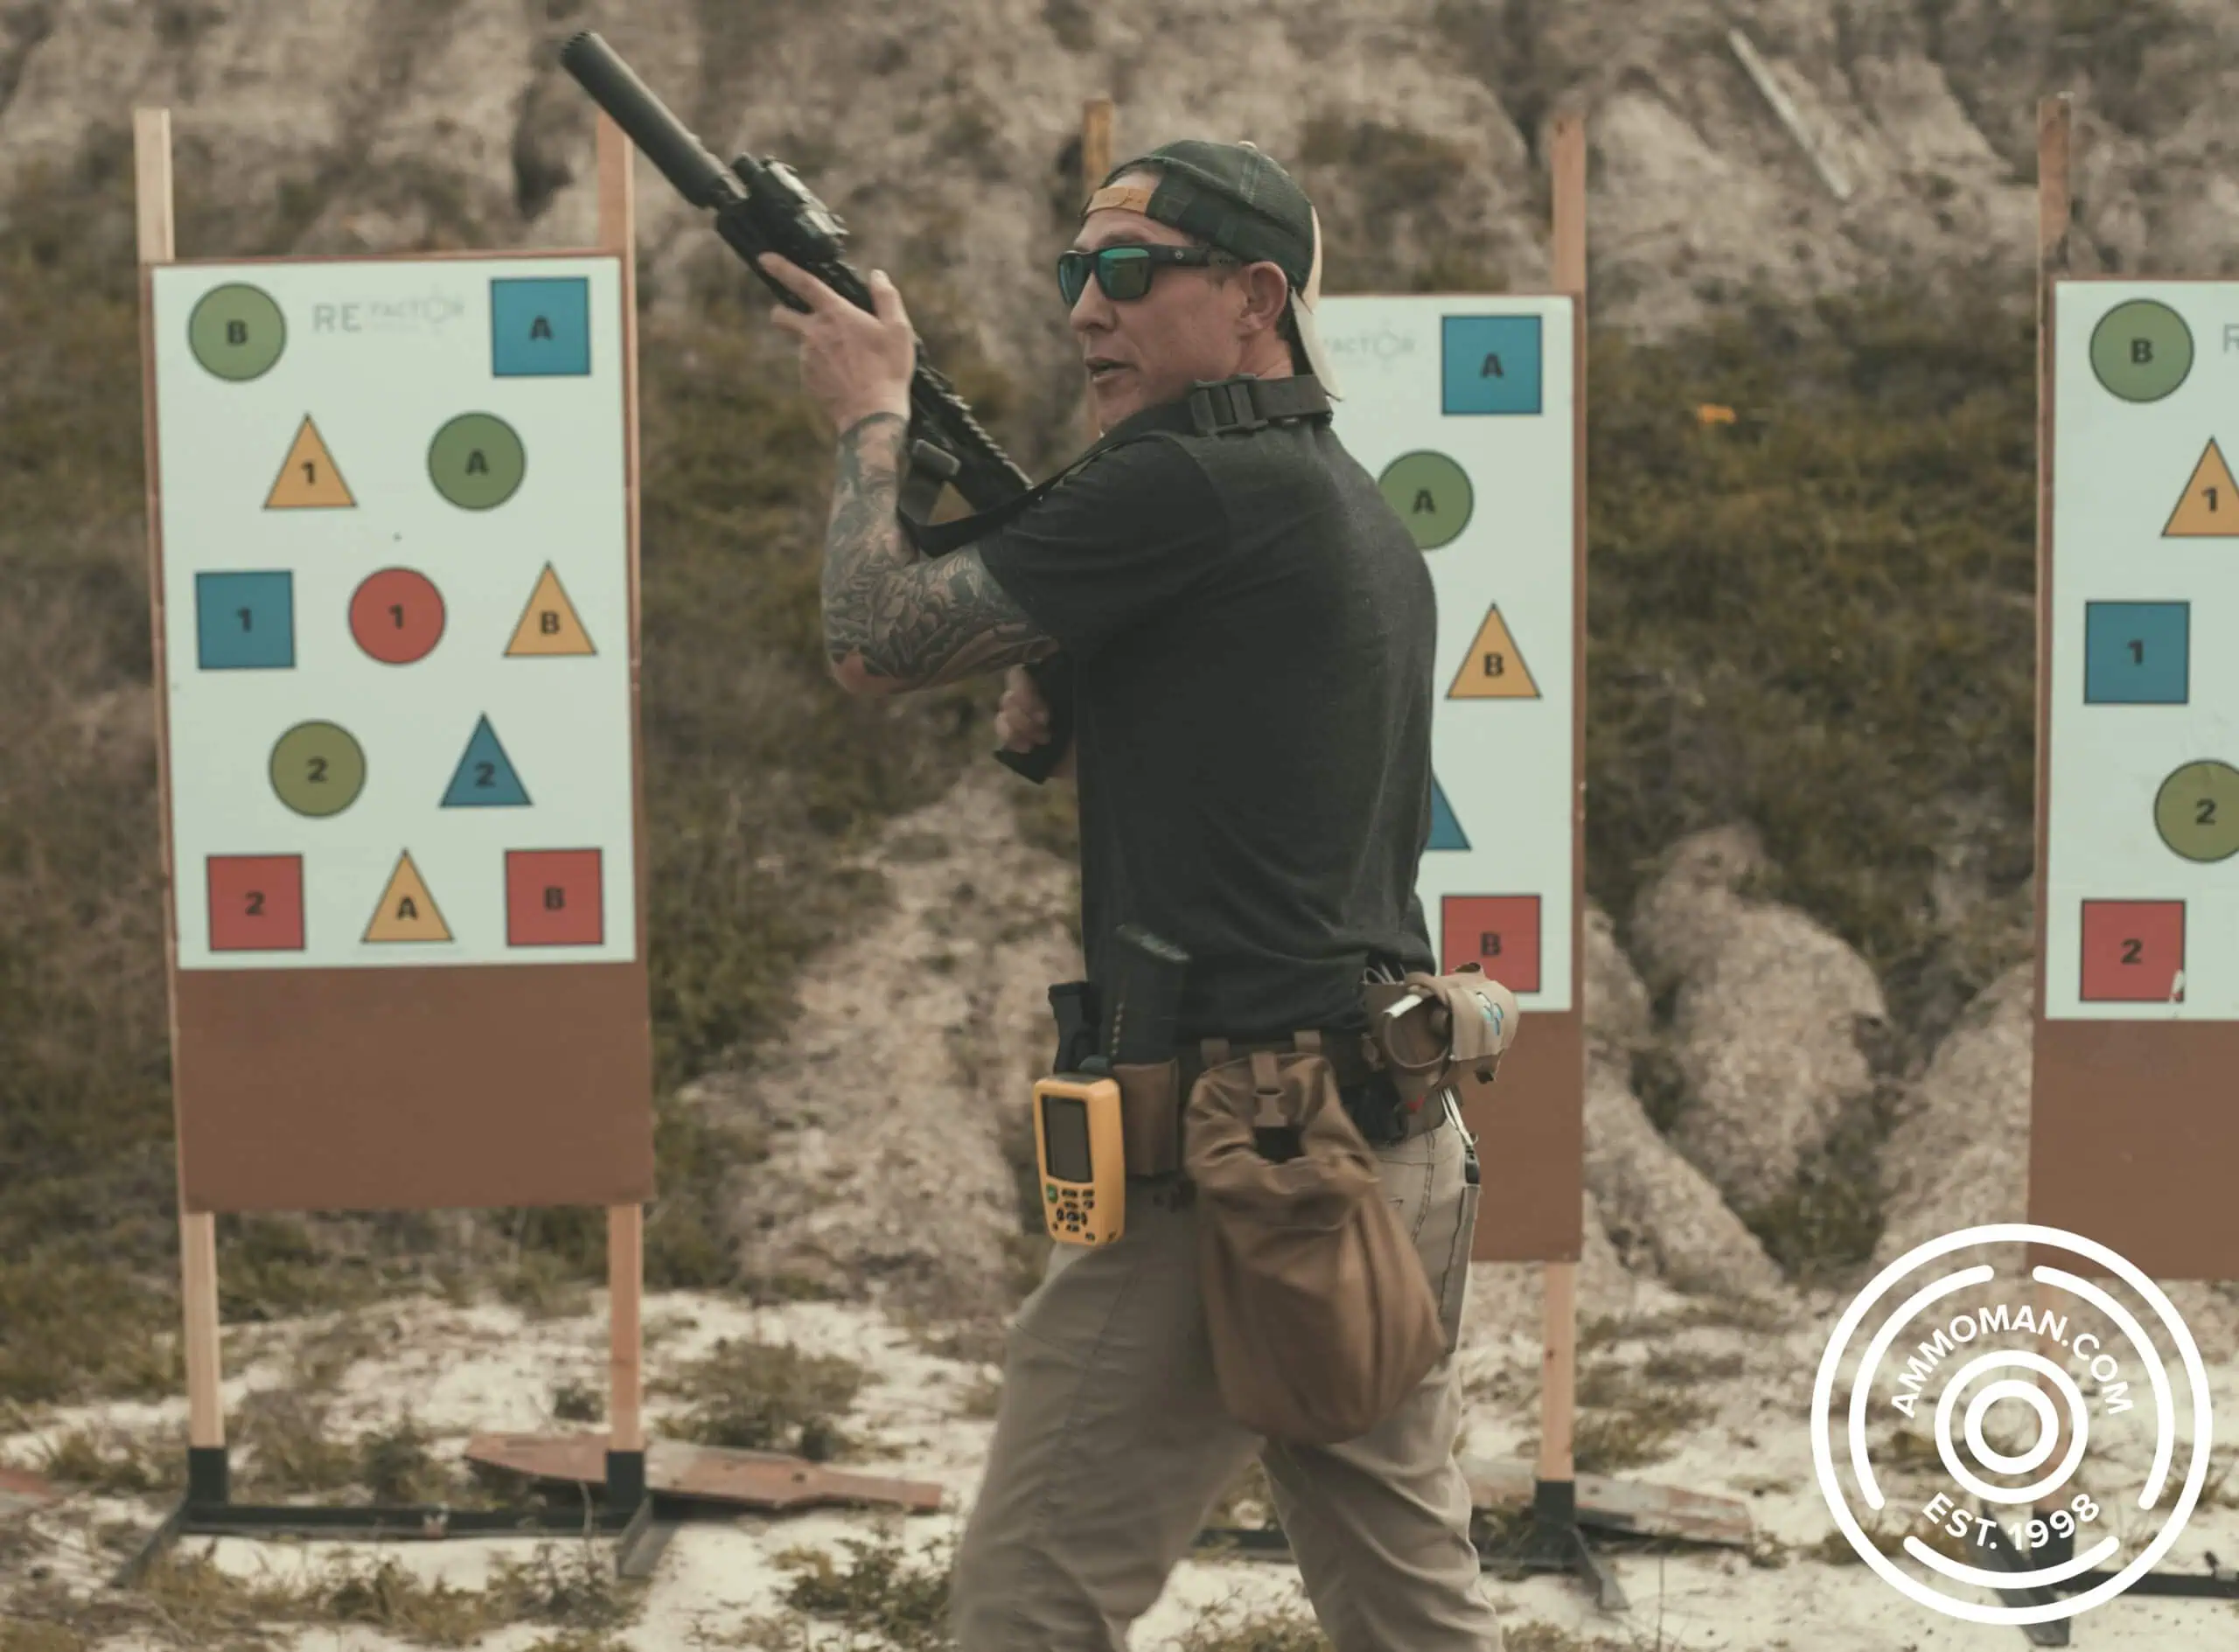
Matt Gibson of BallistiCraft Inc. demonstrating a High-Ready position
This may mean leveling off the top of the muzzle meets this requirement. Other times, you may need to drop the butt of the gun all the way to your hip and point the muzzle almost directly up if there is either an obstruction or a person in front of you. (We go in-depth on the high ready position in this lesson.)
How to Use a 2 Point Sling
We’ve covered a lot already, so in order to help you learn how to use a 2 point sling, let’s actually go out to the range and demonstrate some of the different set ups and techniques!
How to Wear a 2 Point Sling
First, let’s quickly cover how to properly wear a sling.
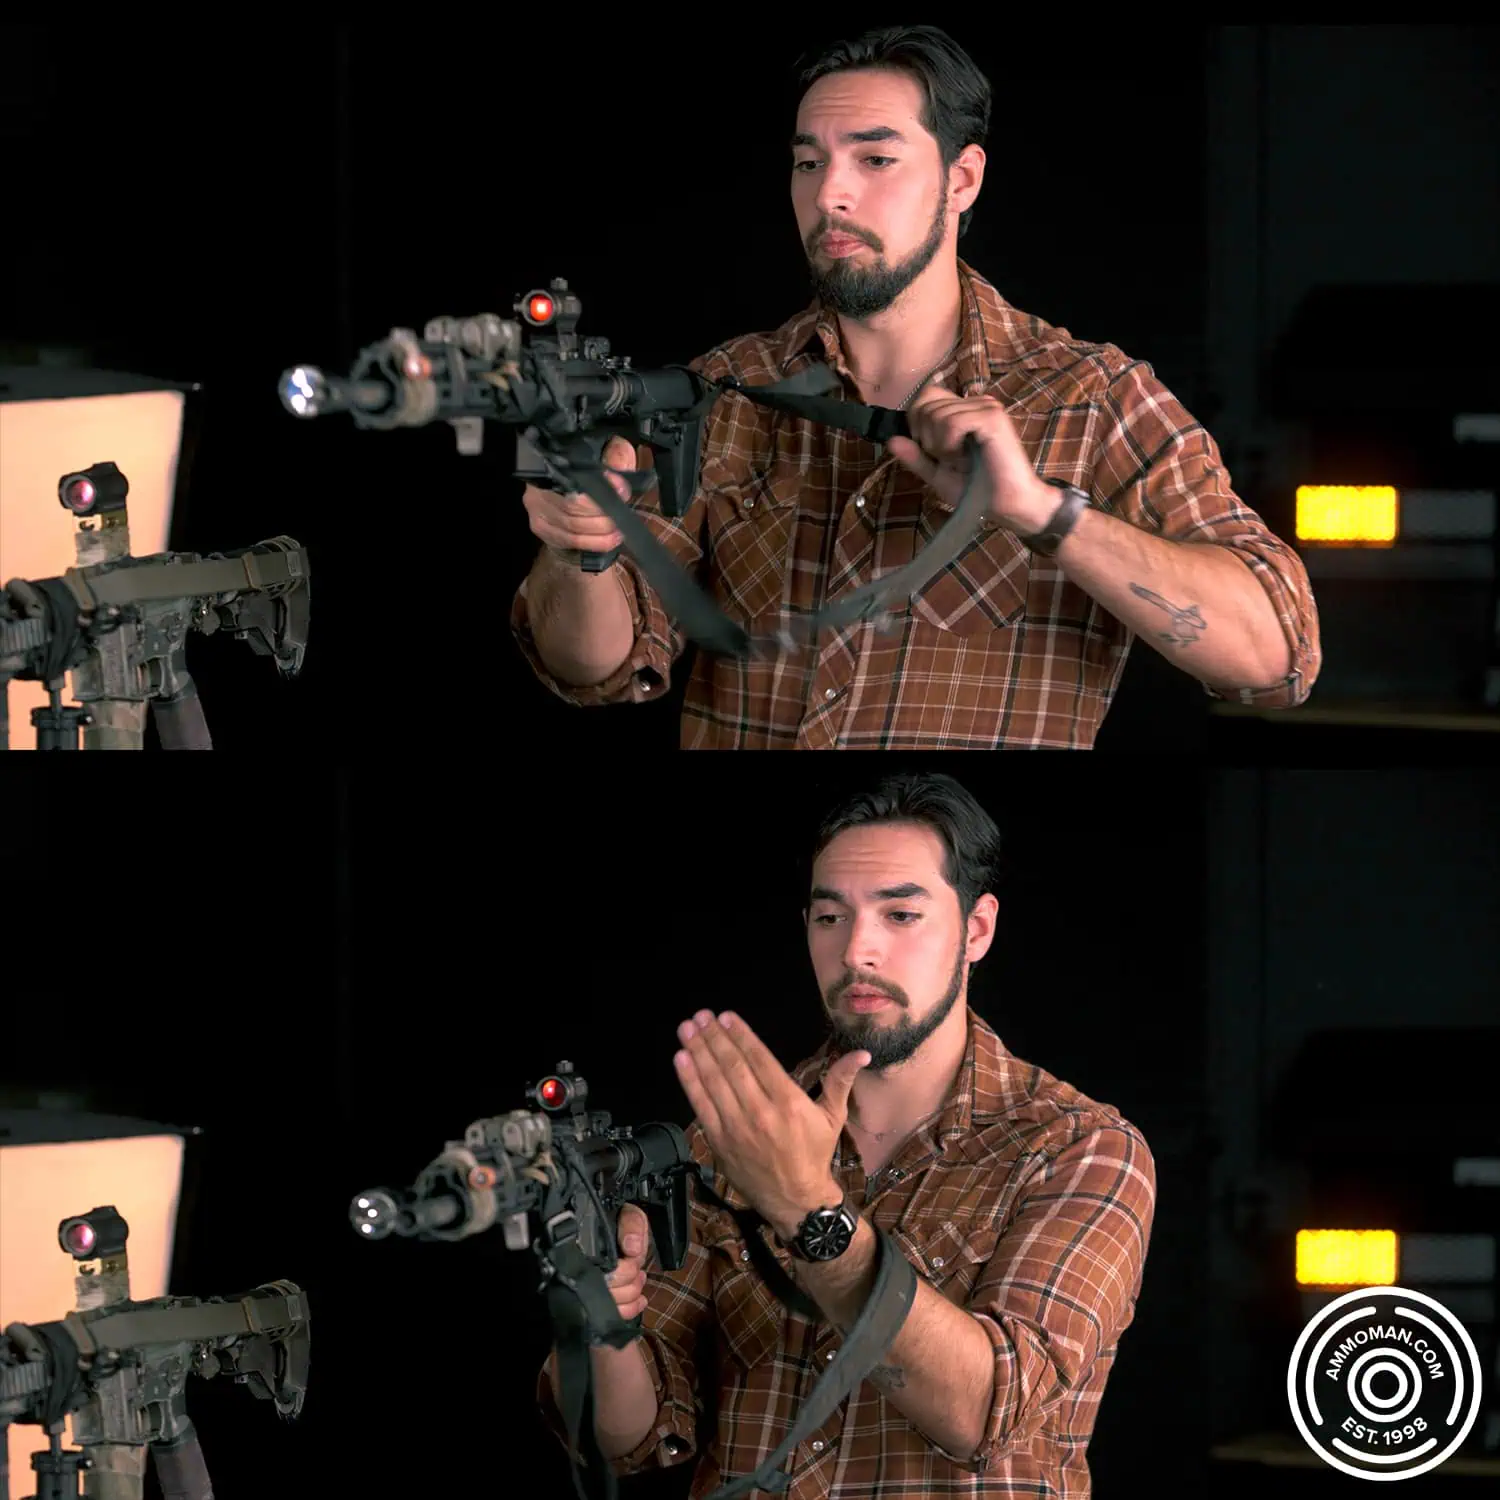
Steps 1 and 2 of How to Wear a Sling
Take your strong hand (the one that will do the trigger pulling) and grab your rifle by the grip. Next, take your support arm and “swim” through the sling loop from underneath and place it over your back. You should now have the sling running over your strong side and underneath you support side arm.
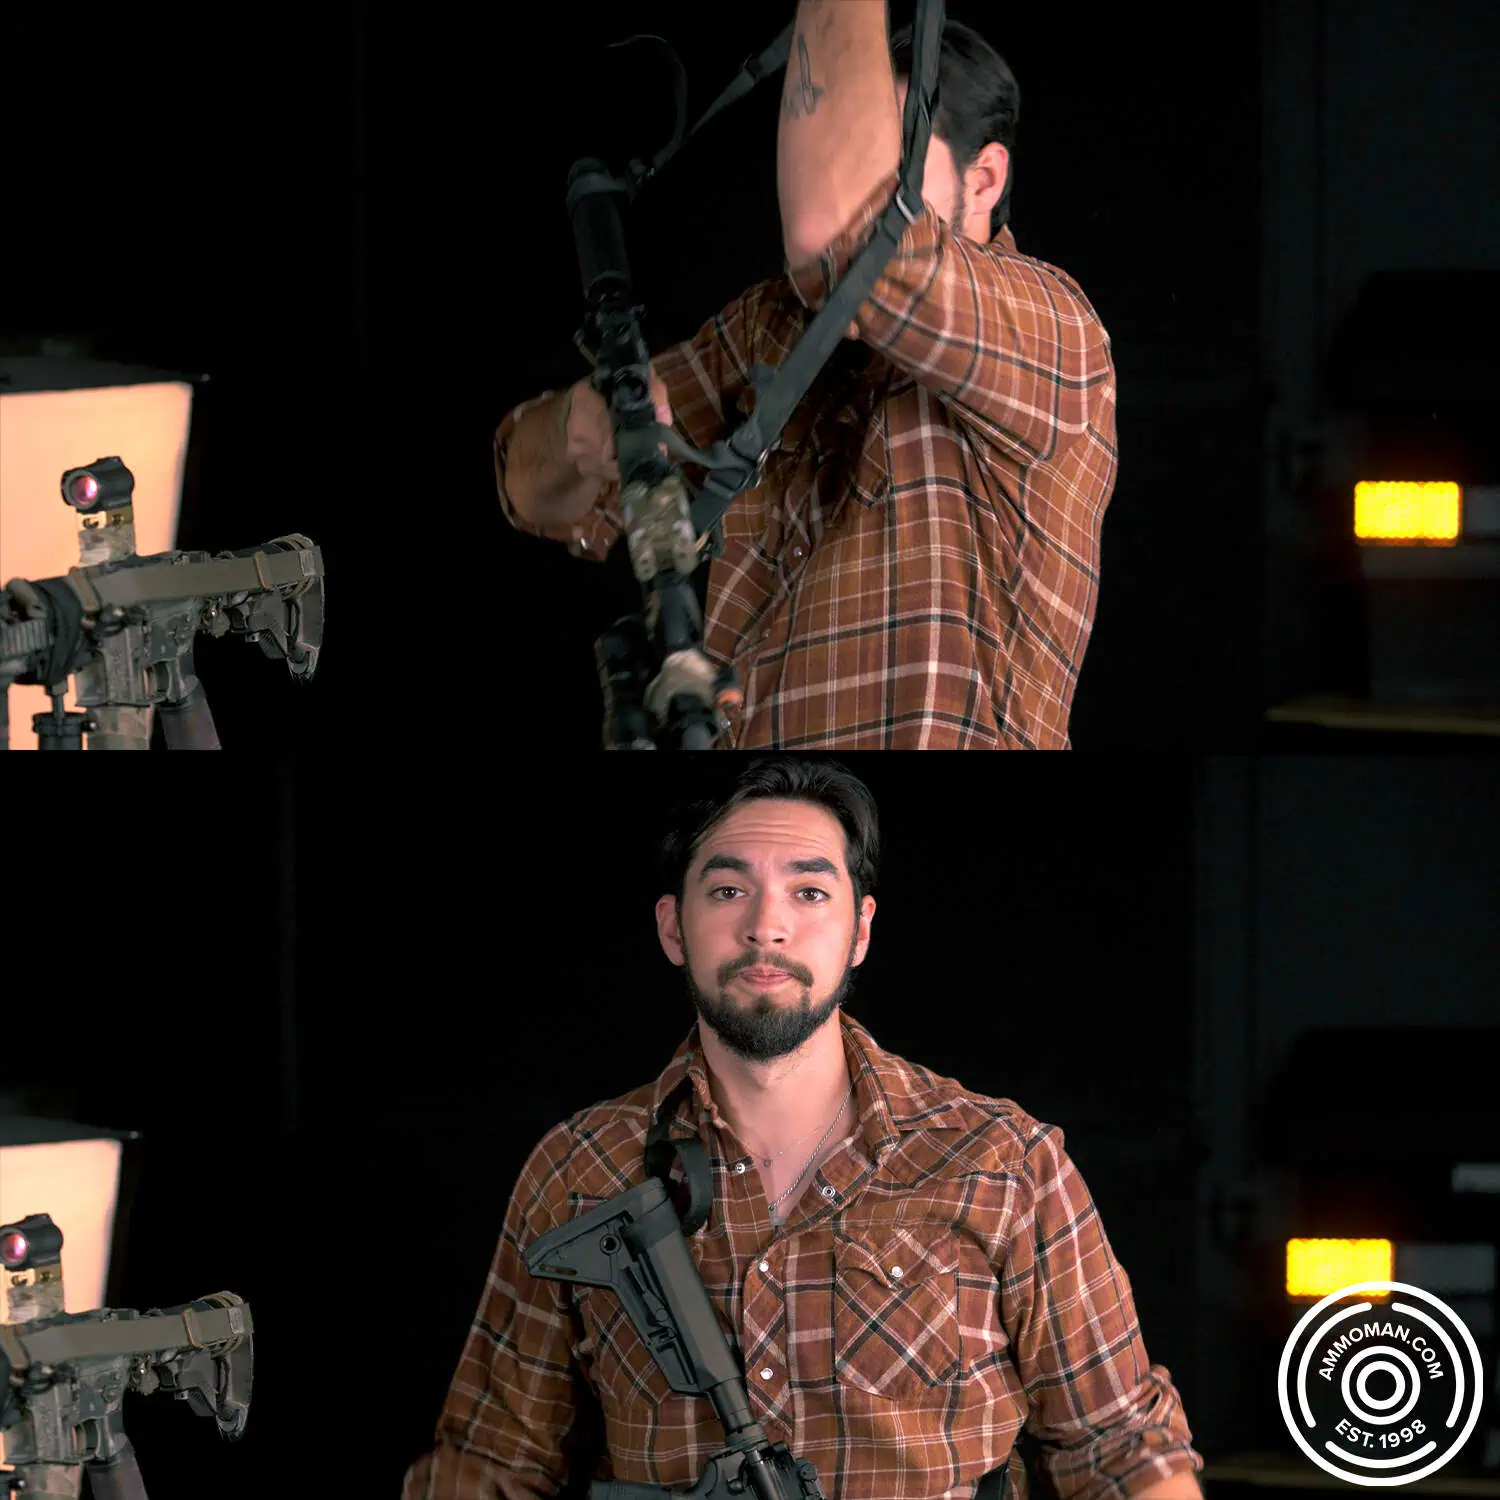
Steps 3 and 4 of How to Wear a Sling
Okay! Now onto shooting with a sling.
Shooting With a 2 Point Sling
When using a sling for shooting, you’ll want to be able to quickly add tension to the sling in order to stabilize your sights for rapid follow-up shots or long distance shooting.
Building Tension With a Sling
Assuming you are wearing the sling in a traditional manner, place your support hand on the inside of where the sling is mounted to the hand guard. Point your support side elbow in a downward motion with the sling running along the inside of your arm. You will quickly feel the entire rifle begin to tighten into your shoulder, creating an extremely stable position that you can hold for a long duration without fatiguing.
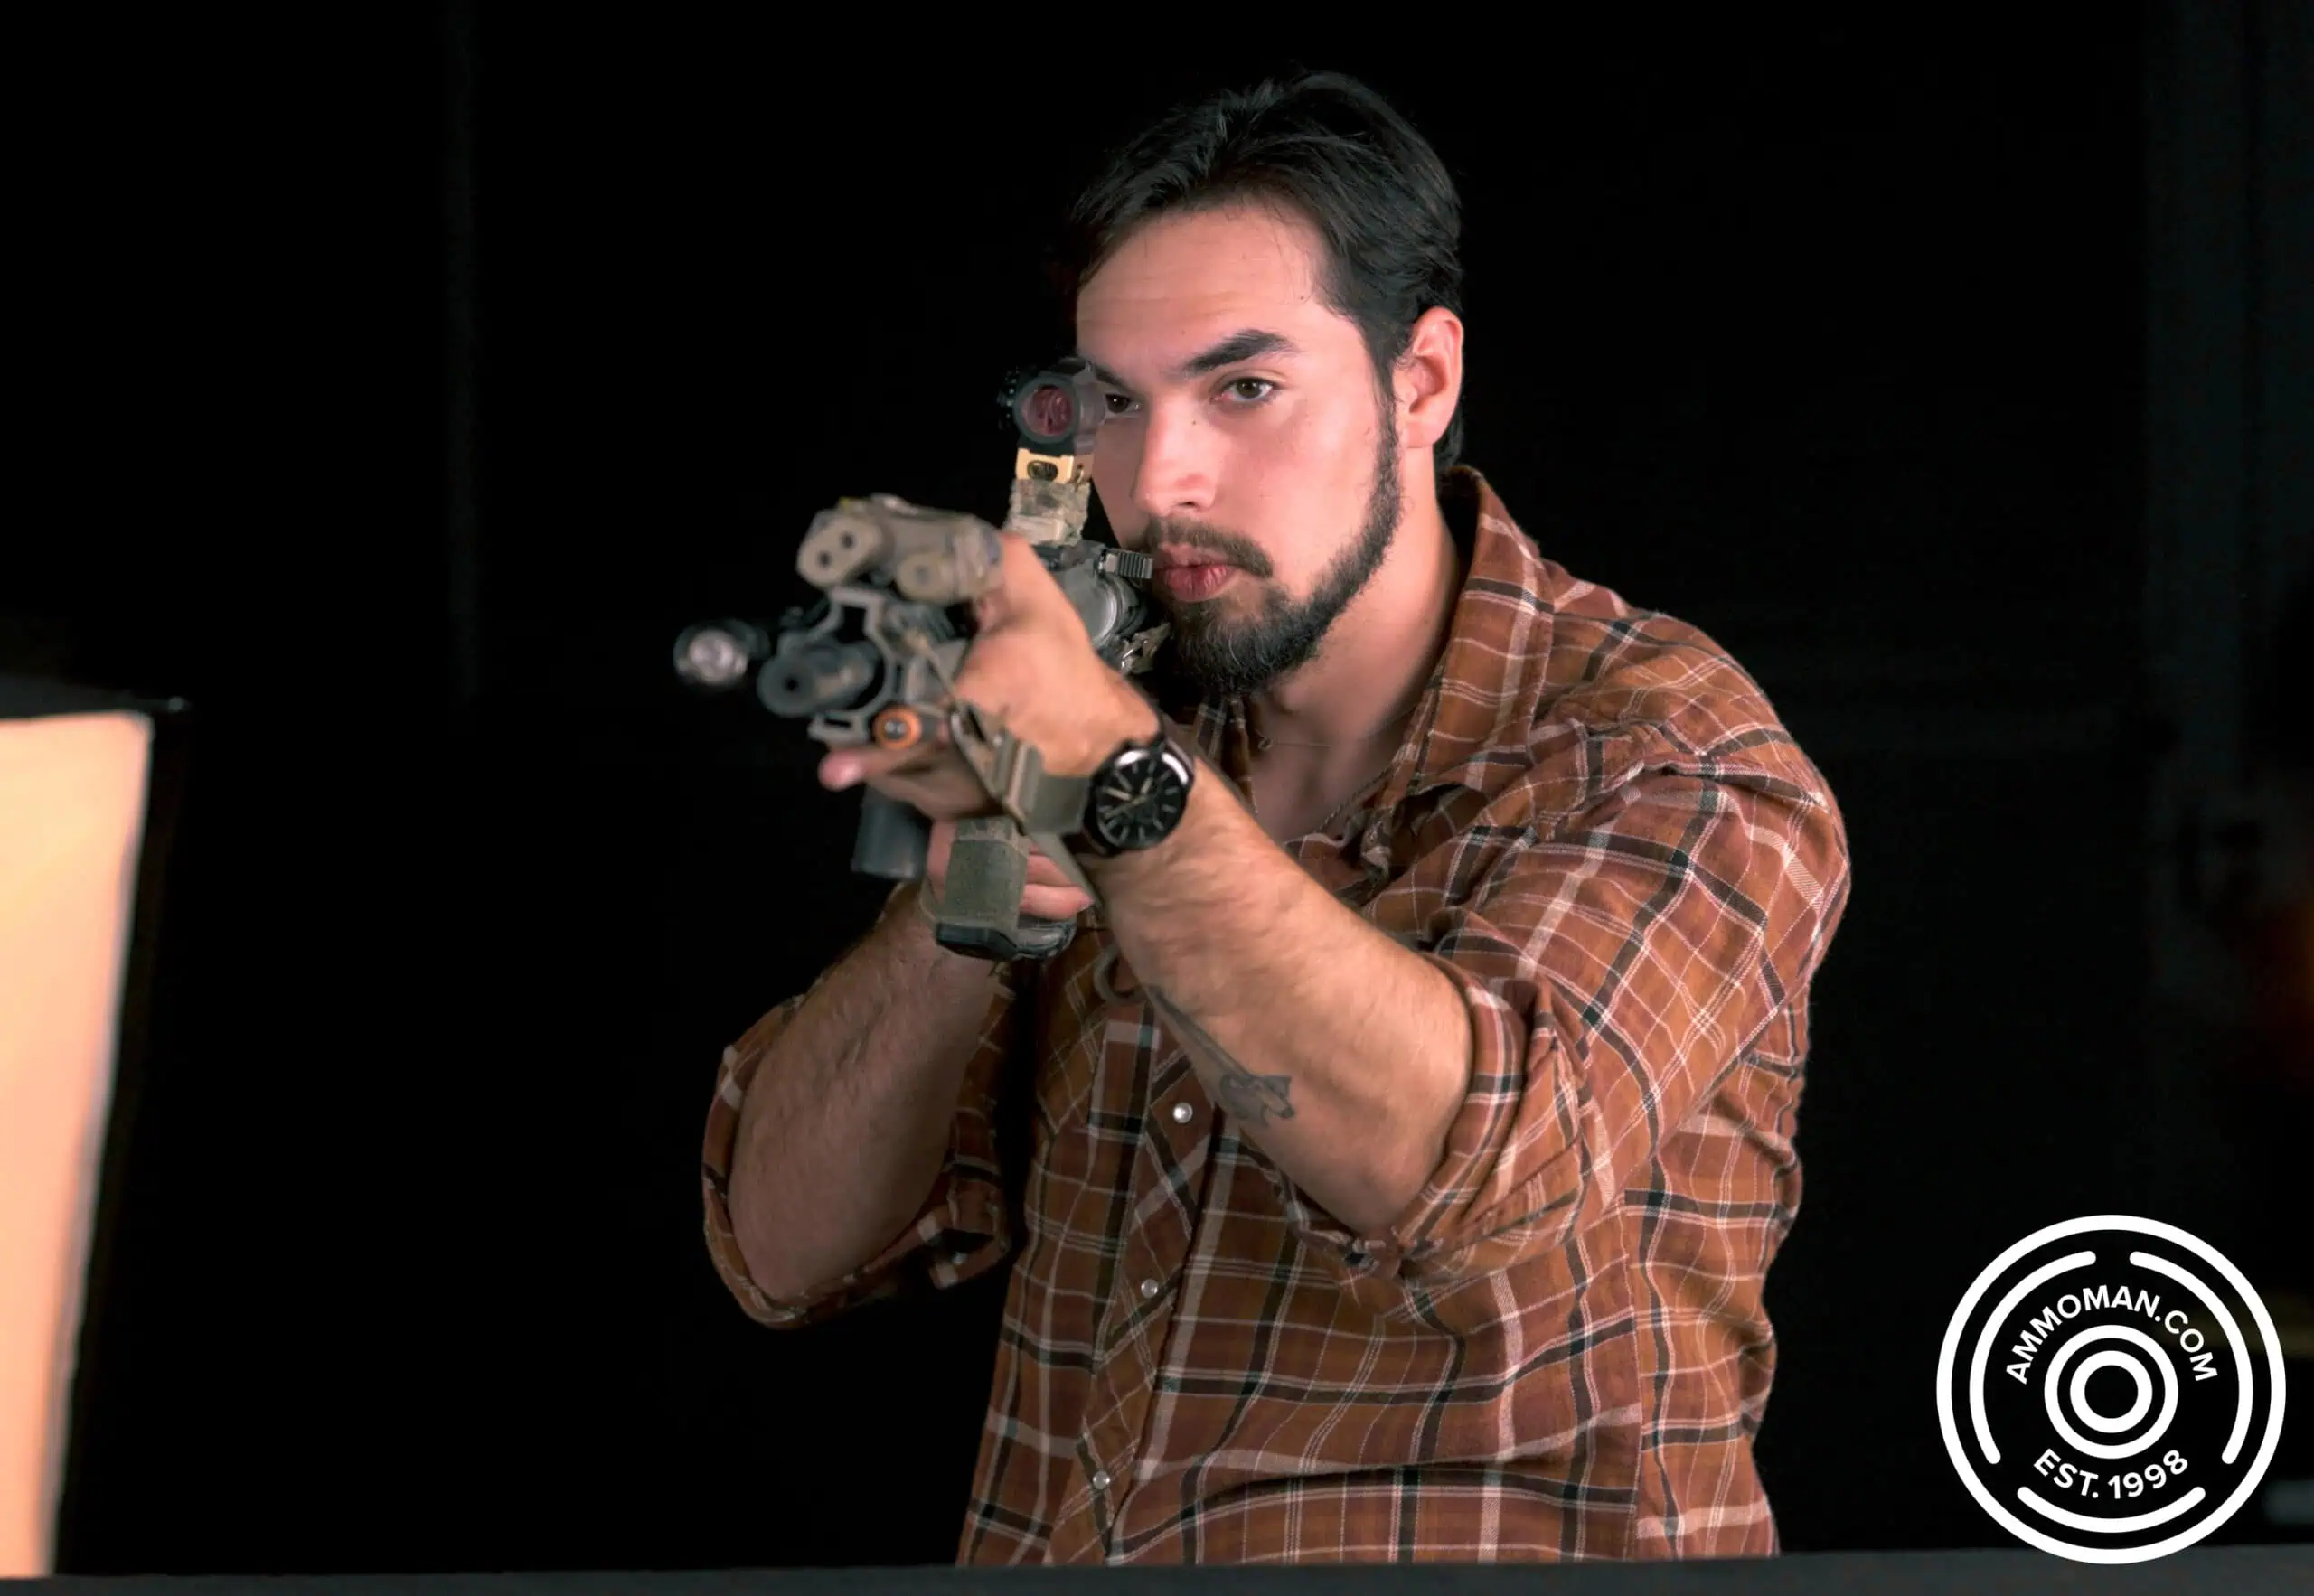
Building tension with 2-point sling
This technique will work in both standing unsupported and seated positions.
Transitioning to a Pistol With a Sling
There are two schools of thought when teaching how to transition from a rifle to a secondary weapon or a pistol.
- Turn the rifle with the magazine facing towards your support side and drop the rifle in that direction.
- Turn the rifle with the magazine facing your strong side and drop directly in front of your body.
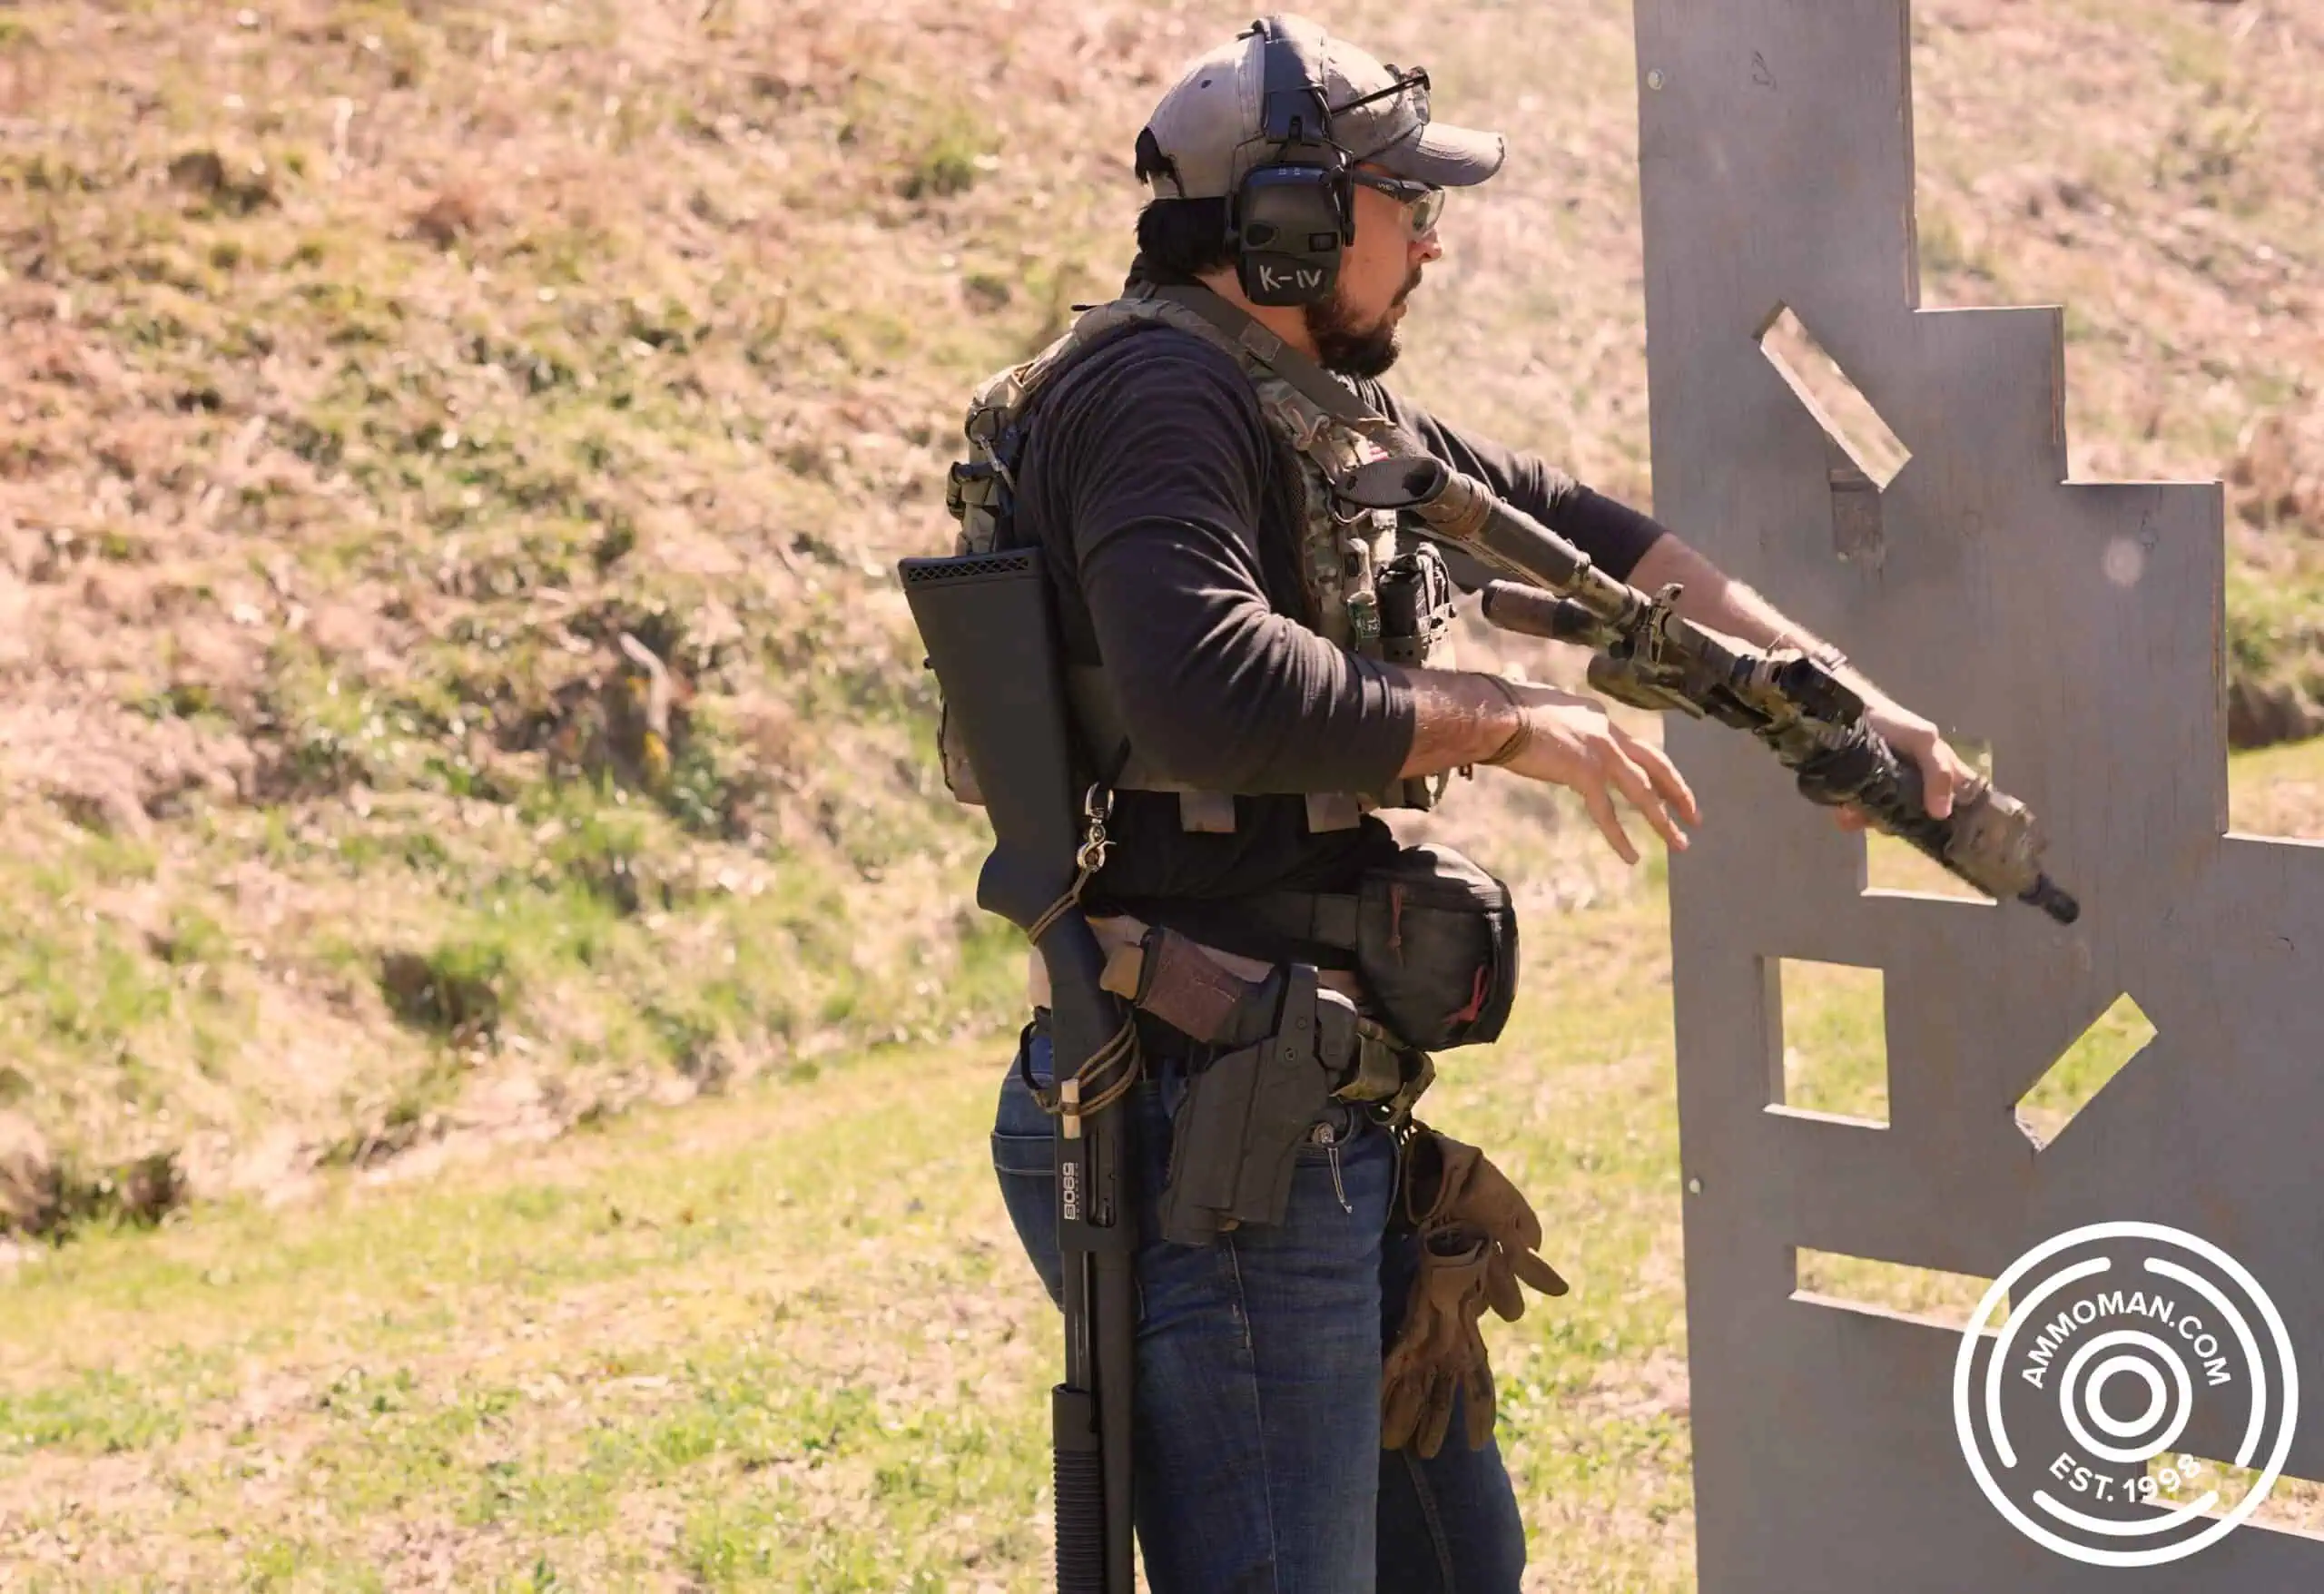
Rifle to pistol transition drill
The debates back and forth with these techniques can be entertaining, but will often rupture into what-if’s that may or may or may not be rooted in the reality of practical application.
Be mindful of where you are dropping the rifle, if you maintain the ability to move quickly, and watchful of limiting your immediate access to the equipment you want to grab when letting go of your rifle.
Practice both methods and see which will work best for you.
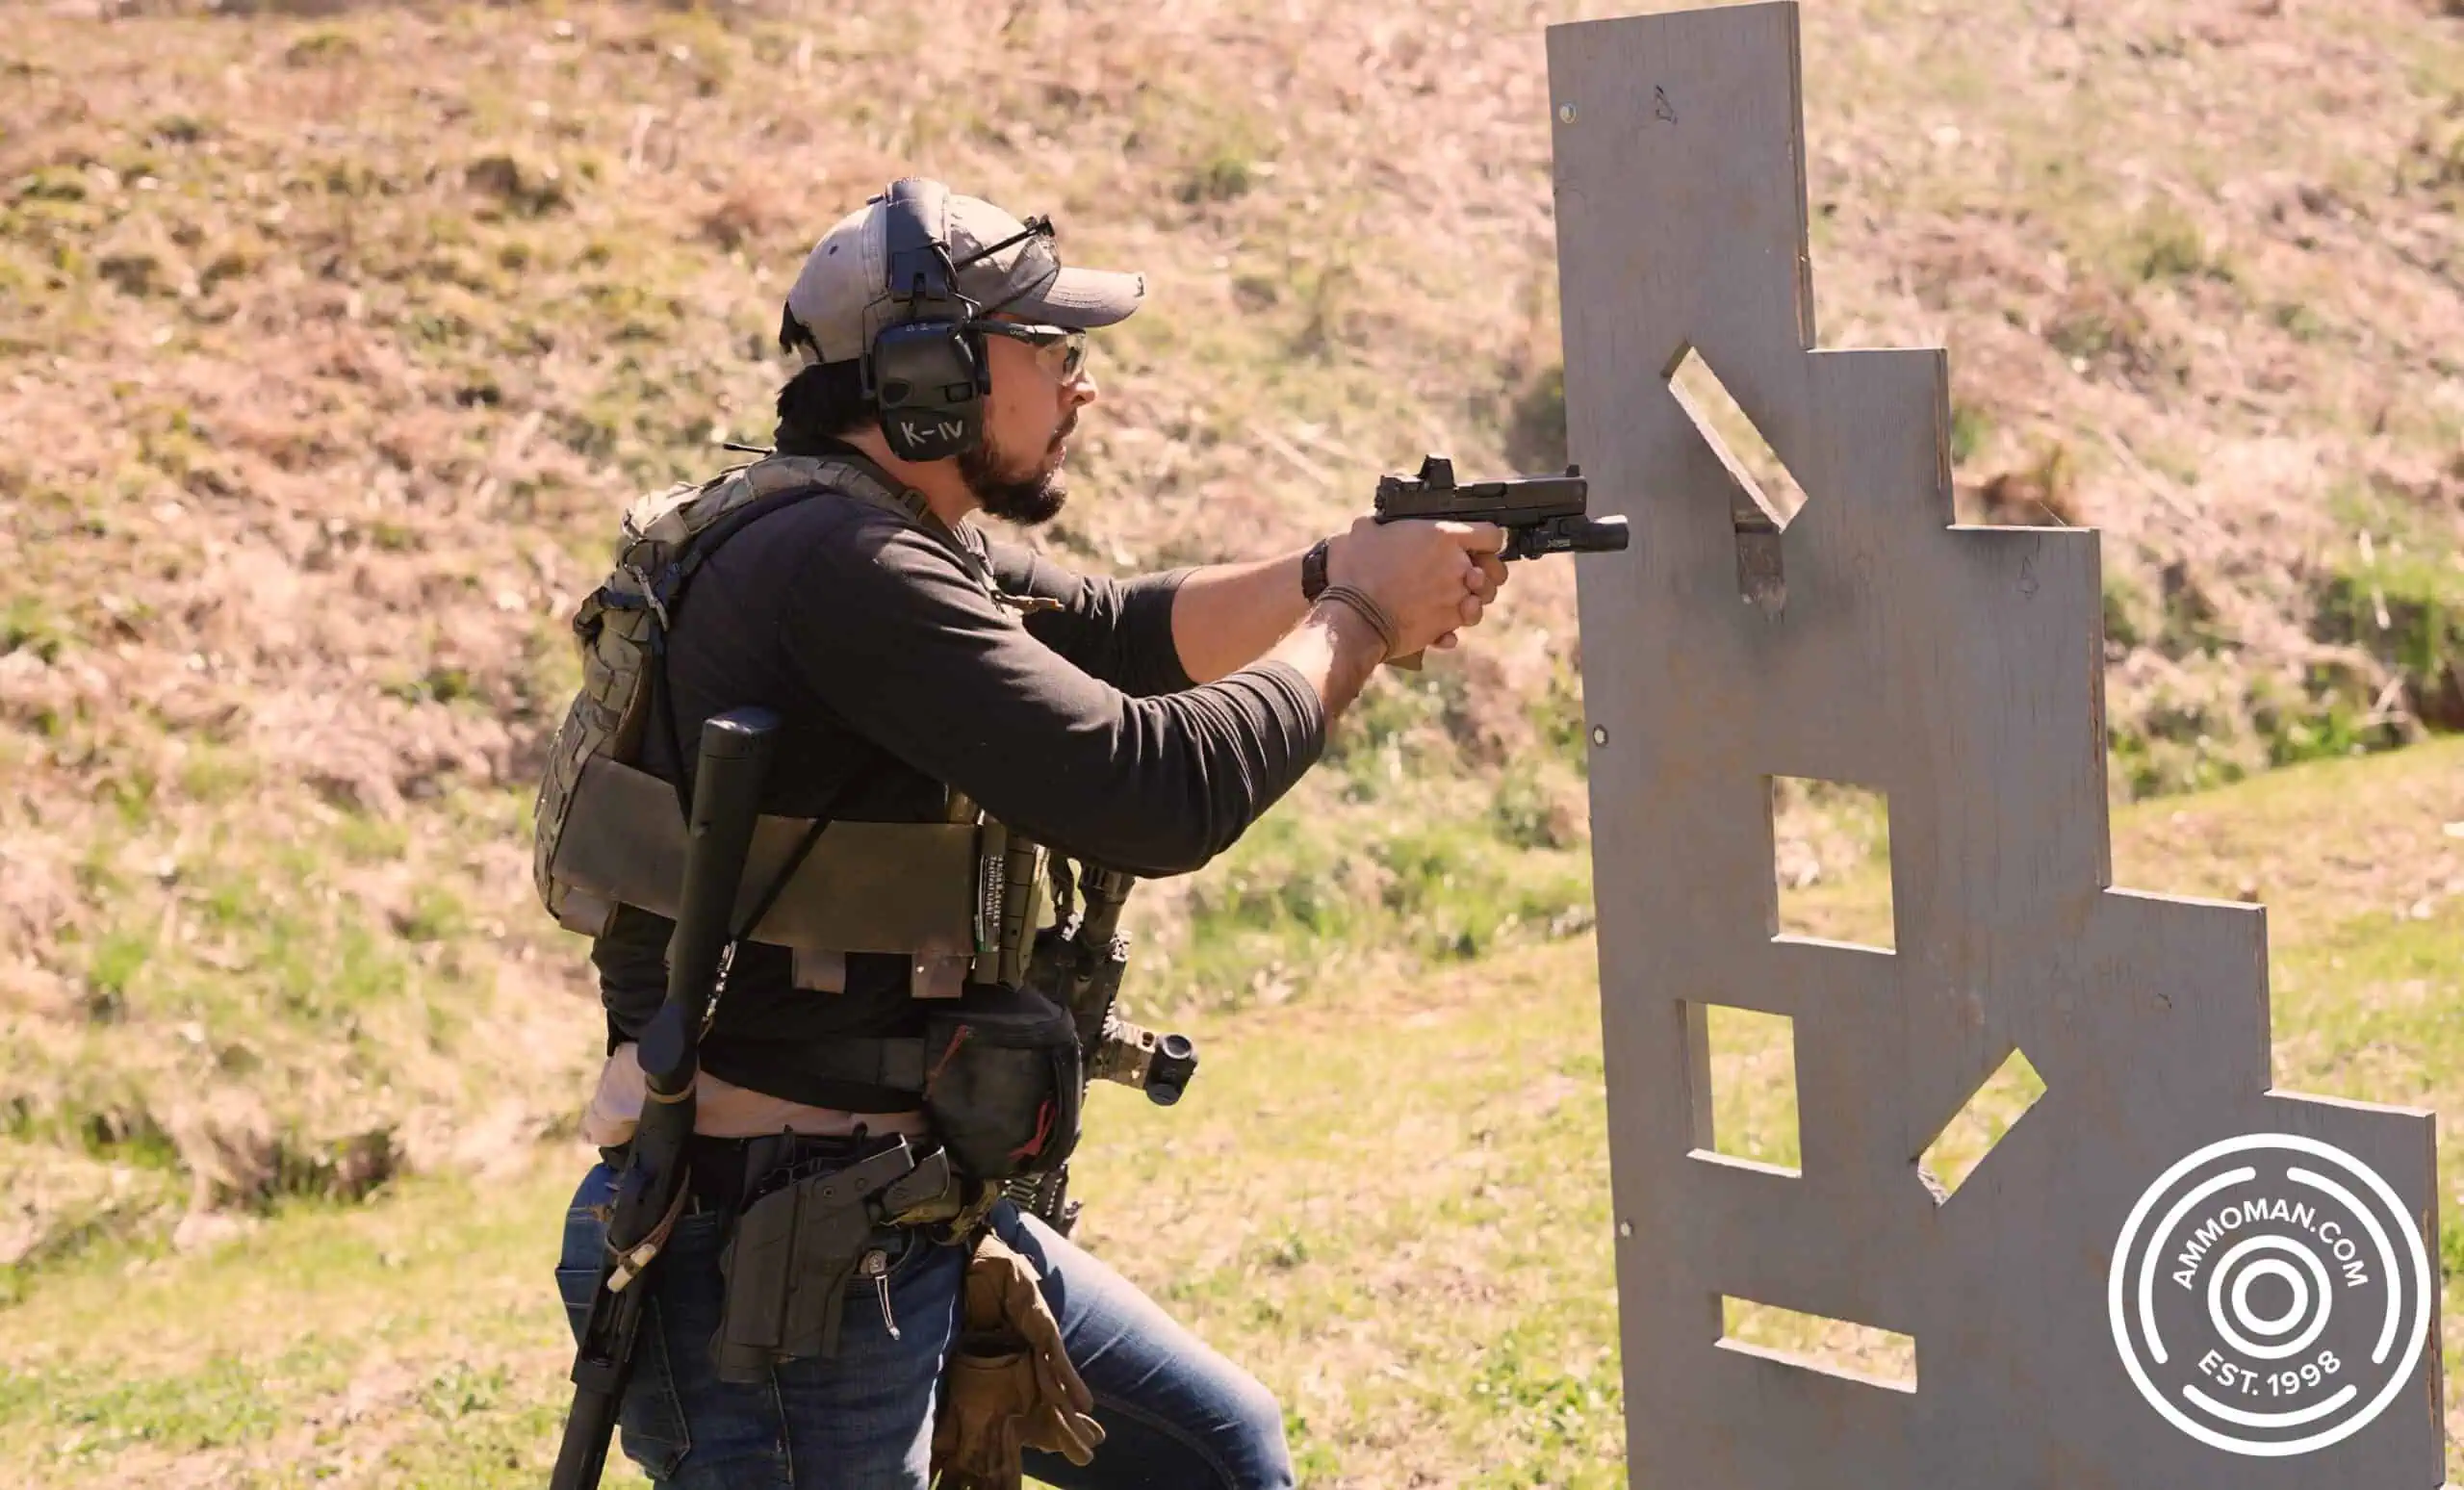
Prepping trigger of pistol after transition drill
Rifle Carry Positions With a Sling
There are many carry positions for a rifle with a sling. I am only going to cover the three most common methods in this article. They are:
- Stowed
- Hanging on front
- Hanging on back
Stowed
Stowing a sling in my opinion is drastically under taught and one of the driving factors in slings being under utilized or keeping people from wanting to have a sling on their rifle at all.
The ability to stow your sling neatly to the side of your rifle where it will not get snagged on a door, inside a car or any other catching hazard is critical. Many modern slings have methods for stowage built into them. Other companies have created specific products to help solve this issue.
While I have tried and enjoyed a few of these products, I keep coming back to a homemade solution that seems to last the longest and is both cost effective and quick to replace. Shock cord with a cord lock drawstring on the end is all you need.
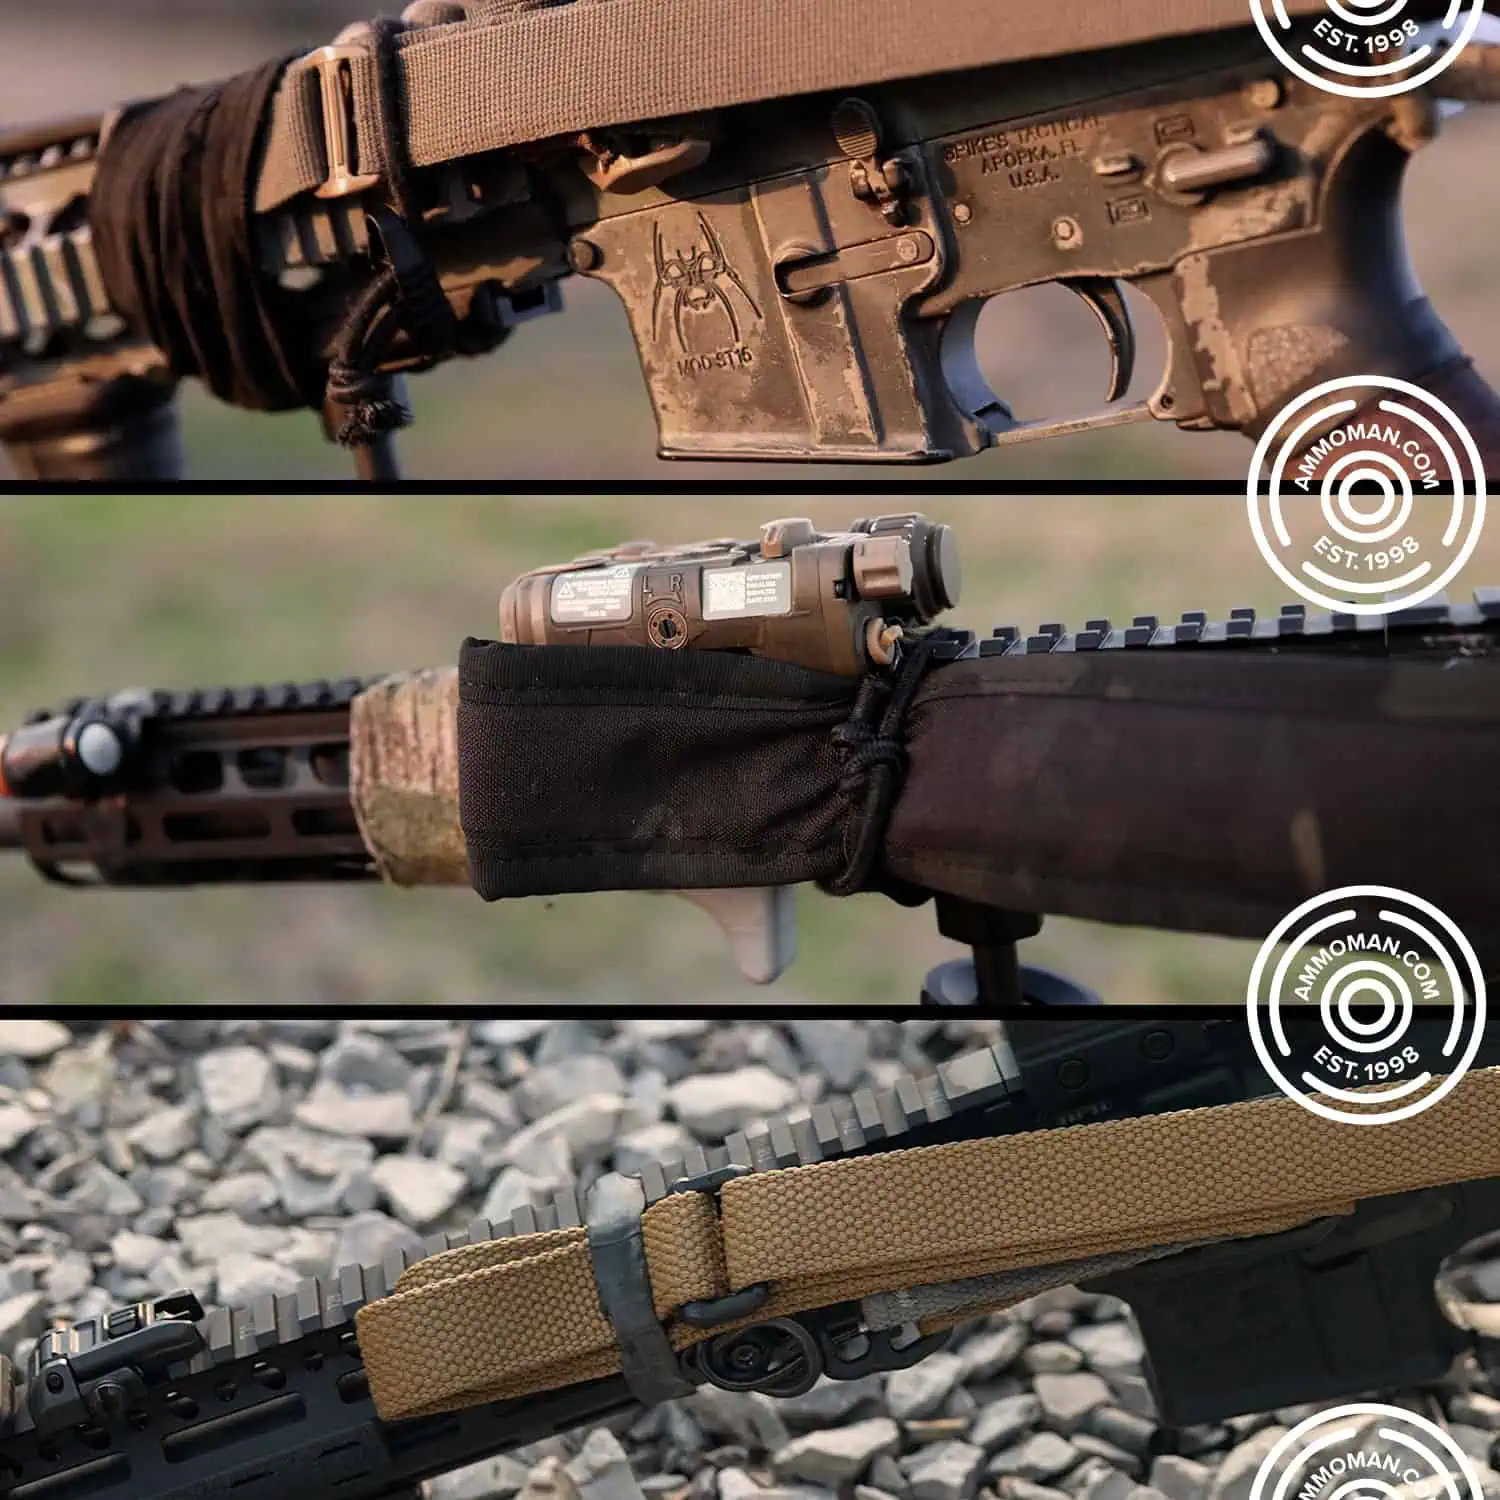
Different ways to stow a sling
Simply place a loop around the hand guard and attach the cord lock. To secure the sling, I fold it as flat as I can and slip it underneath the loop. Then I draw it tight.
When I want to use the sling I pull on it until it releases from the shock cord. From there I can grab it and put it on for regular use.
Hanging on Front
If the rifle is hanging on the front, the main priority is to keep it out of your way. You do not want it bumping into you constantly while you are walking or doing other tasks.
I suggest treating this carry position like a transition drill. Turn the rifle to a side and place directly to your left or right. This way it is not directly in front of you. There will be slight tension from the sling keeping it secure to your body.
Hanging on Back
There’s two options for carrying the rifle on your back. Both have their place and I think it’s important to practice both.
Muzzle Up
You can put the rifle on your back by throwing it directly over the shoulder, keeping it slung during the process.
Muzzle Down
To keep the muzzle down for on the back carry, take your support side arm out of the sling. Now place your strong side arm through the sling. Guide the rifle to your back and tighten the adjustment strap.
What Types of Two-Point Slings Should You Buy?
With there being so many types of two-point slings to choose from, which should you buy? They will range in materials to overall design. Certain slings have bungees built in to allow for consistent shouldering of the rifle. Some are different thicknesses. Some are padded and heavy, while others are light and slimline.
A padded sling is more comfortable for a heavier rifle, but can get caught on equipment. You can train to overcome this.
A thinner sling is light and fast in different positions, and can be adjusted quickly. A common complaint for this type of sling is that it might be uncomfortable around the neck when carrying a medium-heavy rifle and can get twisted easily.
Ultimately, when choosing a sling you are going to have to evaluate your own needs. Consider the rifle you want to put a sling on and what will fit it’s size and weight best.
Some Recommendations
The ESD Sling built by Edgar Sherman Design is one of my absolute favorites but it lacks the structure and padding required for heavier rifles. I have heard Edgar is developing a padded version. I will look forward to using it when it is released.
The Vickers Sling by BlueForceGear has been around for many years and has a proven track record of being an all-around best for all different rifles and weights. Where I think it falls short is a rapid length adjustment system. It’s just a tad slow for my liking.
The Slingster from Ferro Concepts is very akin to the ESD Sling, and I do like it, however again it fails at the adjustment mechanism. Their design for that part is made of metal and it’s quite blocky. It needs to be at a certain angle in order to “open” the sling up, and it also is quite loud when it is slapping around on the rifle.
These are nit-picks but I believe each of these companies to be reliable and of good quality. I will continue to buy products from them when I need.
My hope is that this article has given you the knowledge to make a purchasing decision. If you have already made the decision, I hope you are now confident during your training! Be sure to come back for more articles in the future and reach out if you have any questions! I love to help.

