Perfecting The Flash Sight Picture
The term “flash sight picture” started as part of Jeff Cooper’s Modern Technique of the pistol. Since then, I’ve heard it mentioned a bit in pistol classes that I’ve attended, but it seems to have fallen out of favor a bit as of late.
This is a shame, because it’s a very useful concept for both defensive pistol shooting and competitive pistol shooting. Knowing how much attention is needed to make the shot in any given situation is a vital part of pistol marksmanship, and that starts with understanding how the distance from you to the target affects your concentration on your sights.
What Is A Flash Sight Picture?
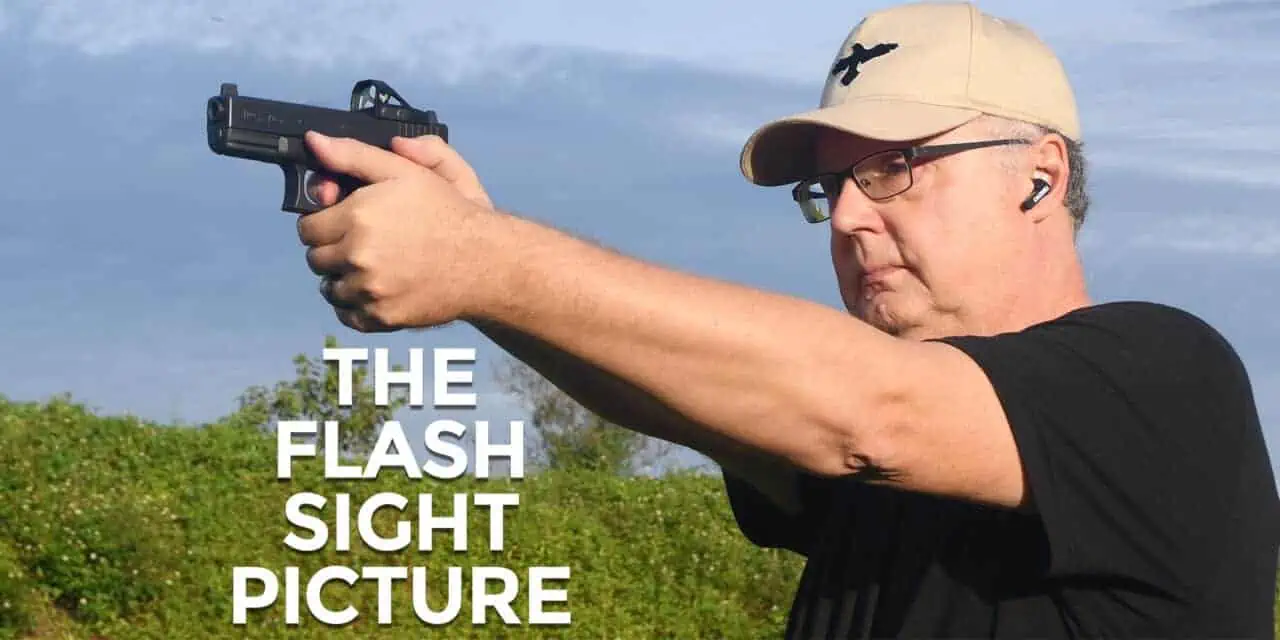
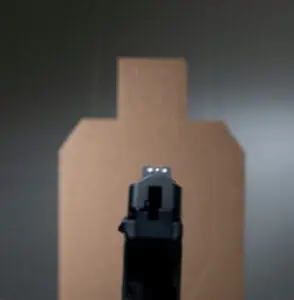
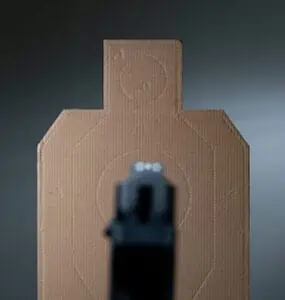
Getting a good flash sight picture was part of what I learned during my Gunsite 250 class. Gunsite’s definition of flash sight picture is a quick glance at the front sight, right before the trigger is pressed and the shot is sent downrange. This glance confirms your body position and sight alignment are set up correctly for you to have a good sight picture on the target. This isn’t staring at the front sight and watching it move as your body’s natural movements make it wobble around on the target zone. This is a quick movement of the eyes to the front sight before you make the shot, just to ensure you’ve done everything right along the way.
How long that glance will last depends on how precise of a shot you need to make at that moment. A 25 yard shot is going to require much more precision than a 3 yard shot. Understanding this difference and knowing just how long your eyes should linger on your sights before you break the shot is a skill that comes with practice. Like many other shooters, I found that the concepts in Brian Enos’s book, “Practical Shooting: Beyond Fundamentals” helped speed up the process of seeing the sights long enough to make the shot.
A Flash Sight Picture Isn’t Just For Competition
Brian Enos is a retired practical pistol competitor with multiple national championships under his belt. His book, first published in 1990, is one of the foundational books on how to improve your pistol shooting under pressure. In the book, Enos doesn’t talk about basic skills such as grip, stance and trigger squeeze. Rather, he assumes you know that already. This book is about how to apply those skills quickly and precisely in a stressful situation.
Right now, there are probably a lot of you out there who are saying “So what? I’m not into this gamer stuff, why do I care about what a gamer has to say about acquiring a flash sight picture?”
Let’s leave aside, for a moment, the fact that practical pistol competition and post-war pistol training have their origins in the same place, with the same man. Handling stress and fast accurate shots in as short of time as possible is key to winning a practical shooting match, just as they are in a gunfight. No, there is not a 1-1 comparison between the two. There is also not a 1-1 comparison between Muay Thai and a street fight, yet trained fighters have a tendency to come out ahead in fistfights more often than enthusiastic but unskilled fighters do. Let’s assume there is some relevance between practical shooting and a gunfight, and move on.
In “Practical Shooting: Beyond Fundamentals,” Enos breaks down the targets on a stage in a match into five general types. Each of these require a different amount of time spent addressing the front sight, and therefore require a slightly different flash sight picture.
Type 1 Target: A single target at extreme close range
This is one target at a distance that’s beyond physical contact range and farther out. How far out will depend a lot on your skill level. For me, a low-level “B” class Production shooter in USPSA, that distance is about 5 yards or so. At these distances, I’m not really seeing the sights. Rather, I am letting my natural body index and alignment of the gun itself do the aiming for me. I know that I can get effective hits in as little time as possible if I use that amount of sight picture.
Type 2: Multiple targets at close range
This is very similar to a Type 1 shot, but more attention is paid to the alignment of the gun in order to perform either an accurate follow up shot or to transition to another target. The outline of the sights may appear more in focus, and more care is paid to where the shape of the gun is in relation to the target.
Type 3: “Standard” practical shooting distances
Front sight focus and sight alignment comes into play for shots at these distances. For me, those ranges are from around 5 yards on out to 15 yards. Your distances for this type of flash sight picture may vary, depending on your skill level. A Type 3 target means your concentration is briefly placed on the front sight in order to verify or adjust sight alignment and sight picture. At this distance, if you see the front sight lift as the shot breaks, you’re taking too long and need to speed up your shot. By that same token, if you’re not seeing the front sight in focus at all, slow down and verify your aim before you press the trigger.
Type 4: Multiple, difficult, closely-spaced targets
Welcome to the exciting world of plate racks and dueling trees, as well as making multiple hits on an attacker who decides that getting shot is a bad thing, and moves out of your sights. Targets at this distance require you to verify your sights are on target before, during and after you press the trigger. A proper sight picture at these distances means you should be able to see the front sight rise and then settle back down before moving on to the next shot.
Type 5: Very difficult shots
This is the classic hostage shot scenario, a shot at extremely long range or any shot where the results of a miss could be catastrophic. Accuracy trumps speed here. Once your sights are aligned and on-target, you may find yourself shifting your attention to how you are pressing the trigger in order to make sure you get your hit. That combination of focus on front sight alignment and trigger manipulation is what makes the shot happen in these situations.
Change Your Vision To Match Your Target
A stage at a match or a defensive encounter is probably a combination of some or all of these target types. Consider the classic Mozambique Drill, a staple of both practical shooting and defensive pistol training. Shooting that drill requires you to make two shots into the center of the target body as fast as possible, followed by a shot into the center of the head box. Those first two shots are either Type 2 or Type 3 shots, where speed on a close-range target is of primary importance. That last shot into the head box is a Type 4 or Type 5 target, where your flash sight picture is weighted in favor of accuracy over speed.
Seeing your sights and making the shot is important. Seeing your sights and making the shot without wasting time is the key to success in a practical pistol match and in the real world. As Wyatt Earp once said, speed is fine, but accuracy is final. However, all the accuracy in the world makes little difference if you get hit and are not able to make the shot. Finding the balance of what you need to see in your sights as fast as you need to see it is a crucial part of becoming a better pistol marksman.


