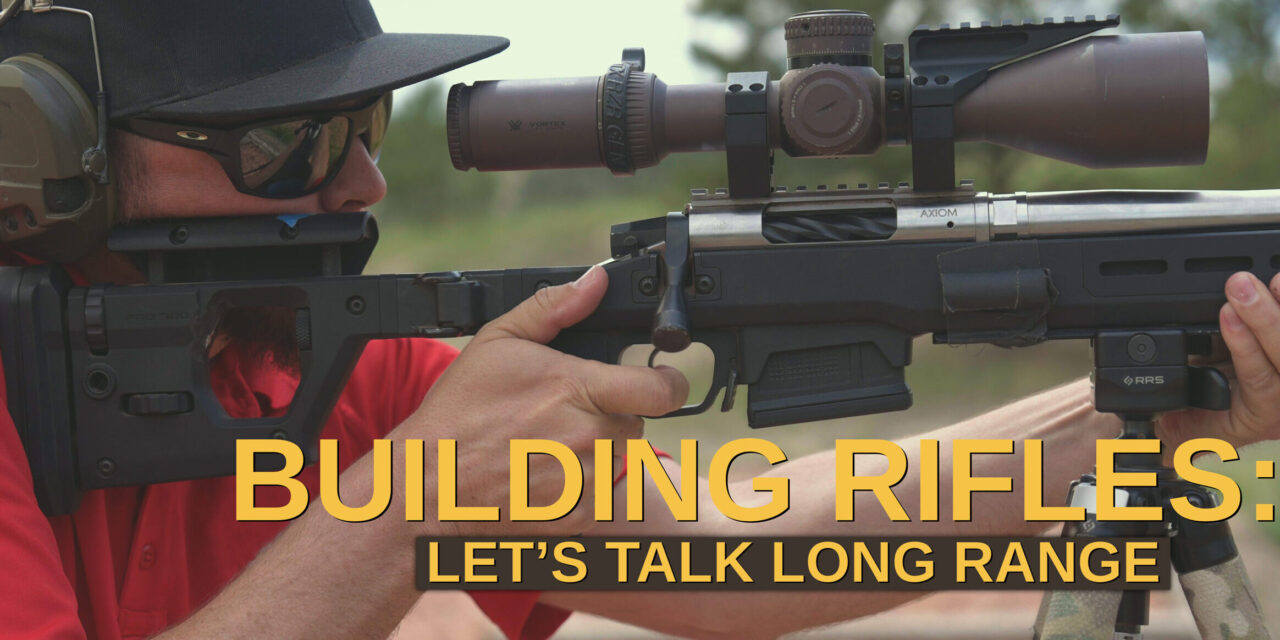
There are multiple things you need to consider when you put together a precision rifle. The main considerations are how you’ll use the rifle and what caliber to build it in. Answering these questions will heavily influence the way you approach buying the different parts you’ll need.
In order to make navigating the article easier, here is a guide:
- Building a Precision Rifle
- Long Range Shooting Accessories
- Long Range Caliber Selection
- Take Time Building Your Rifle
- Building versus Buying
If you want to see how the rifle did, check out my video below!
Building a Precision Rifle
One of the first things I learned during my first precision rifle course is that long range shooting is about truth. That 1+1 must equal 2. What I mean by that, is that we have to eradicate issues with our equipment and the data we collect on our guns to the point that the only problem that we could have is going to be us. The human component. What this does, is allows us to achieve whatever level of accuracy that we’re aiming for since we know our equipment has been set up properly and has the correct data input.
I want to share what I’ve learned on the subject of setting up a precision rifle, and what makes it work so well.
Let’s dive into what I put together. I’ve tried to create a detailed guide of how you can go about this, some of the links below may be affiliate links.
Chassis
Starting at the bottom, the foundation for this rifle is the chassis. The chassis is frame in which we build our rifle from. I wanted to have something that had a lot of modification potential and also had good ergonomics for my size. No one does furniture like Magpul, so I decided to go with the Magpul Pro 700L chassis as the base for this rifle. One other reason to choose a modular chassis versus a fixed stock, is having the ability to put other shooters on the same weapon and make the necessary adjustments to make each shooter comfortable. A fixed stock is only going to work for shooters of similar size and preference of posture.

Magpul Pro 700L Series Chassis
The Pro 700L has an incredible stock, with the ability to adjust the length of pull as well as the cheek rest height. This essential for building a position behind the rifle consistently and repeatedly. Our instructor, Matt Gibson (Ballisticraft Inc.) admonished each student to continue to play with these adjustments until they could fall asleep with their eyes still inside the scope glass.
Bipod
Underneath the Magpul chassis. I mounted an ARCALOCK rail, which interfaced well with the Warne 7902M bipod. I swapped out the standard rubber feet for spikes at the bottom. These dig in superbly to the ground, a bench rest or a multitude or other surfaces for a stable shooting position. Just be careful not to place them on a car!

A good bipod makes all the difference when building a good shooting position.
The Action
The action and bolt are truly the heart of a precision rifle. I used the Curtis Custom Axiom action. It has a 60° bolt throw which allows for quick follow up shots. It was an expensive part of the rifle, but it is custom made, so if bolt speed is one of your requirements for your rifle build, it might be worth considering. I had the opportunity to use a wide range of bolts throws and different rifles altogether, and the Curtis definitely set itself apart with how smooth and short the travel was in order to put another round in the chamber. That can make all the difference when you need to put a follow up shot on target.
Optic Selection for Precision Rifles
Other than a well tuned barrel, you’re going to need to select a quality optic in order to hit anything consistently past 1000 yards. This is a critical component to a precision rifle build.
After consulting with a few experts, I decided to go for the Vortex Razor 4.5×27, with a Tremor3 reticle. I mounted a Vortex bubble level next to the windage turret. A level A.K.A, an “anti-cant” device serves as a way to verify that the gun is level before taking a shot. This should be part of the shooters pre-shot checklist before each engagement. If you are a degree off of level, that can translate to multiple inches high and to the side you favored at distance, so it’s very important to ensure you are consistently level before taking your shots.

The Vortex 4.5×27 was a very capable optic during this course.
While this isn’t the article to talk about it in depth, the Tremor3 reticle is an extremely useful long range tool. Knowing how to read and use the reticle you choose is imperative for long range shooting. In order to make accurate wind calls and range unknown distance targets, you will need to select an optic and reticle that best suits your needs and preference.

Tremor3 Reticle Panel from TrainingSights.com
Barrel
Wrapping up the rifle build, we have a Bartlein barrel with a 1:7 twist. Now, I am not as much of a snob when it comes to barrel length and twist rates, though I know enough to hold a conversation. If you want to know more about twist rates and how they can effect your accuracy and overall cartridge performance, check out this article on .308 Twist Rate Chart.
During the week, I was able to maintain tight groups at 100 yards and beyond. I mean after all…I was hunting prairie dogs. More on that later.
Suppressor
Lastly, I did have a Dead Air multi-caliber suppressor on the rifle. More than anything, this was to help with follow-up shots and make it easier to track my “splash” and make adjustments to my holds as needed. Having a suppressed gun also makes for a much more pleasant experience in general.

Kenneth, shooting groups at the 100 yard flat range.
Long Range Shooting Accessories
Now rifle aside, there are many other things that make long range precision shooting easier. Yes, you could take this rifle out this very second and start plinking 18″ steel at some hardcore distances. However, let’s take it one step farther and talk about some of accessories that will make your rifle that much more effective.
Scope Mounting Tools
The first tool I want to mention is the Badger Ordnance Dead Level. This tool gives you a way to mount your optic into the scope rings with perfect level. Both the tilt and the roll of the scope is completely controlled. While there are other ways to achieve leveling a scope, I believe this is well worth the cost. After using it myself and seeing how it works I wouldn’t want to use a more rudimentary method. I would personally rather have the badger ordinance or another well trusted device to level my scopes.

A dead level is a very important tool for setting up your optic.
The ability to make a few tweaks as needed, until I’m fully confident that my optic is level inside the scope rings is a price worth paying when it comes time to shoot at long distance. After you are done leveling your scope and your anti-cant device, all you will need to do is mount it the the rail on your rifle. Make sure to follow the torque specifications of the scope. If you over torque the optic housing, you can introduce problems with the zero and adjustments.
Other Useful Tools
Another extremely useful item is a tool bag! Building a small kit that has the correct torque drivers, bits, lube and Loctite. If you haven’t heard of Fix It Sticks, they make some of the best tool kits out there. I would highly recommend checking out their Optic Tool Kit. This kit has all of the items you might need for making adjustments to your rifle.
As I said before, make sure to adhere to the recommended torque specs on your equipment, especially if you decide to use Loctite.
Tripods
I’ve mentioned tripods before, but in other articles I did not favor them as much. When It comes to precision shooting, a tripod is a life savor. There were a handful of times when I needed to set up a position to engage some prairie dogs and having a good tripod saved me not only valuable time. but also set me up perfectly for follow up shots on other targets.

Really Right Stuff tripod with ACRA head.
When you are getting ready to choose a tripod, make sure you pick one that is worth its salt. Nothing is quite as painful as setting up a position and looking through your scope only to see everything shaking uncontrollably. You get what you pay for.
Another key component of a good tripod setup is having a tripod head that interfaces with your rifle well for quick attachment. I had a Really Right Stuff tripod set up with the ARCA adaptors that would connect to the rail on the bottom of the rifle’s hand guard. This made shooting that much easier, having a good platform to work from.
Support Bags
For most, a support bag would seem like an automatic common sense item for shooting in general. I hesitated putting it in the “Other Useful Tools” section because of this. I would rather have a good support bag and a lower end rifle than a great rifle without the bag. Support bags are essential for building a good shooting position to work from. You gain so much control and can keep track of your sight picture through the shot in order to have good follow through.

Armageddon Gear rear bag.
Why Having a Kestrel, Range Finder and Chest Rig is a Good Idea
A Kestrel and rage finder or chest rig are not necessarily a “must have” but they are powerful tools that I would recommend learning how to use. They are an investment, but after using them myself and learning how they work, I’m not sure how much fun I would have doing anything revolving accurate shooting at long range without them.

Chest rig set up with equipment for long range shooting.
Kestrel
The Kestrel 5700 Elite is the ballistic calculator that I was using during this course. It can calculate everything necessary in order to land hits on target. From the windage and elevation holds, to the wind and air density considerations, the Kestrel can do it all. It is intended to be programmed around the specific gun and load you are shooting. If you put all of the correct data in, you will never have to think twice about what you need to do to score accurate hits.

Reading environment with Kestrel 5700 Elite
If your Kestrel has the Applied Ballistics upgrade, then you will be able to store and save up to 30 weapon systems, have range cards for each and even read up to date weather conditions. There are many more features in the Kestrel that deserve their own article, so stay tuned for that!
Range Finder
Having a range finder on you will drastically improve your success rate when engaging targets past a couple hundred yards. The ability to range targets and input the data into your kestrel and have the exact hold required spit out on a screen in front of you, all in a matter of seconds is a thing of beauty. There are many options available for range finders, but something is better than nothing.

Sig Kilo6K Range Finder.
Chest Rig
A chest rig helps to keep all of this equipment handy when hiking around in the woods or hunting prairie dogs. It can be a game changer. Even if it’s not directly on you, having a chest rig nearby saved me multiple times. I kept little bit of medical equipment in case of any horrible accident and some spare tools and parts I mentioned earlier. Of course, I kept my Kestrel handy, as well as a notebook and pen and a range finder.

When it comes to shooting long range, a Kestrel and range finer are a must.
Long Range Caliber Selection
Selecting a caliber for your rifle is an important decision. Depending on what your goals are, certain cartridges will do the job better than others. If your goal is to take down game, then you will need to figure out what the maximum distance your round can hold an appropriate sized group while also delivering the amount of energy required to take your desired animal down.
If that range is shorter than what you expect to engage, then perhaps you will need to pick a different cartridge to build your rifle around. My goals for this rifle were to learn how to range targets at unknown distances, as well as have a cartridge that would handle itself better in high winds. since we would be dealing with that a lot in Wyoming. This led me to go with the 6.5 Creedmoor.
Why Pick a 6.5 Creedmoor?
So on top of needing a cartridge that could cut through the wind better, why did I pick the 6.5 Creedmoor? The 6.5 Creedmoor is a widely accepted standard for a precision rifle build. There are many loads available from a multitude of manufactures, all creating some of the best precision loads you can find on shelves. I started the week with the Hornady 143gr ELD-X and transitioned to using the Hornady 147gr ELD-M.
Although both shot well, the 147 grain ammunition was more consistent when grouping and they also did better at cutting through gusts of wind at longer ranges.
Building Versus Buying
Trying to decide whether or not you want to build a rifle versus just buying one off the shelf? Let’s look at how much money went into this particular build versus what you can get coming out of a box.
Price to Build
Putting together a rifle like this comes at a cost. Each part of a custom rifle can quickly turn into a large expense. That’s why understanding the purpose and upsides of building compared to buying beforehand is crucial. Here’s the general cost breakdown for the rifle I built.
| Precision 6.5 Creedmoor | Price | Extras | Price | |
|---|---|---|---|---|
| Magpul Chassis | $495.00 | Badger Ordance Dead Level | $165.00 | |
| ARCA Rail | $120.00 | Kestrel Elite 5700 | $750.00 | |
| Warne Bipod | $310.00 | Fix It Sticks Tool Kit | $159.00 | |
| Axiom Bolt/Action | $1,200.00 | Aramageddon Gear Support Bag | $170.00 | |
| Vortex Razor w/ Anti-Cant | $2,259.99 | RRS Tripod w/ ARCA Head | $1,450.00 | |
| Bartlein Barrel Stainless | $450.00 | |||
| Muzzle Brake | $177.00 | |||
| Dead Air Sandman S | $1,200 | |||
| Total | $6,211.99 | Total | $2,694.00 |
The total price with assorted accessories included comes out to just under $9,000. If you remove the accessories and the suppressor, it’s closer to $4,800.
So with a price tag like that, why would you go custom instead of just getting a Remington 700 at the store? Well, I honestly think that is a great option too. But what you get with building a precision rifle custom from the ground up, is control. For one, you have the ability to build it around you and your own needs and wishes. If you don’t need a certain part to be anything special, then you can save some money, and spend it on another part that’s more important to you.
As well as control, building a rifle will give you a much greater appreciation for its capabilities at long range. I’m sure you will experience, as I did, an immense satisfaction making hits past 1000 yards knowing the effort that goes into assembling your rifle.
Accuracy wise, the Curtis custom was able to get .5-.65″ groups at 100 yards consistently. While I’m sure you can get very accurate rifles right out of the box, I think a custom built rifle will give you extra performance. Whether you need it is probably the better question and one only you can determine.
Final Thoughts on the Precision Rifle Build
There’s a lot of time and patience required in order to get into precision rifle shooting. I understand it can be overwhelming as it was the same experience for myself! But it is very fun and not as daunting as it may seem. I learned so much and felt more comfortable with each day during the course. Getting to shoot at distances and targets I never thought I would be able to, ranged targets at unknown distances, called wind and made adjustments according to the splash my rounds made. The list could go on and on. It was an incredible experience and one that I hope inspires you go get out and try long range shooting for yourself!
As always, I learned how to use my gear more effectively and most relevant, how to set up a precision rifle! If you’d like to see more content on this topic or something else entirely, please don’t be shy. Reach out on social media or right here and we would love to produce more information that will be helpful!
Thank you for your continued support and check out our Instagram and Facebook for updates and behind the scenes coverage!