Today we are going to show you the basic steps to follow in order to clean your AR15 to take out to the range, hunt or whatever else you may need it for.
Properly maintaining your AR15 is key when it comes to repeatable performance as well as preserving the integrity of the tool. Take care of it, and it will take care of you!
Getting Started
First, before we get into the actual cleaning process, be sure to clear your working area as well as your AR15, of any and all live ammunition.
You can follow along with me if you prefer a visual demonstration by clicking the video below!
Rifle Cleaning Supplies
Here are some simple supplies to make a much easier, faster and enjoyable process when you sit down to clean your AR15. When we can, we’ve linked out to places you can find some of the supplies and those links may contain affiliate links, which means we earn a small commission if you buy them.
- gloves
- clp
- lubricant
- brushes
- picks/scrapers
- bore snake/cleaning rod
- rags/paper towels/cotton swabs
How to Field Strip an AR15
Although it’s not overly complicated, it can easily become confusing if you’ve never been taught how to field strip or clean your AR15. Even more scary if you get stuck and don’t know how to put it back together. Let’s take a moment to cover how to take apart your AR15 and bolt carrier group.
First, push the rear and front takedown pins in order to separate the upper and lower receivers.
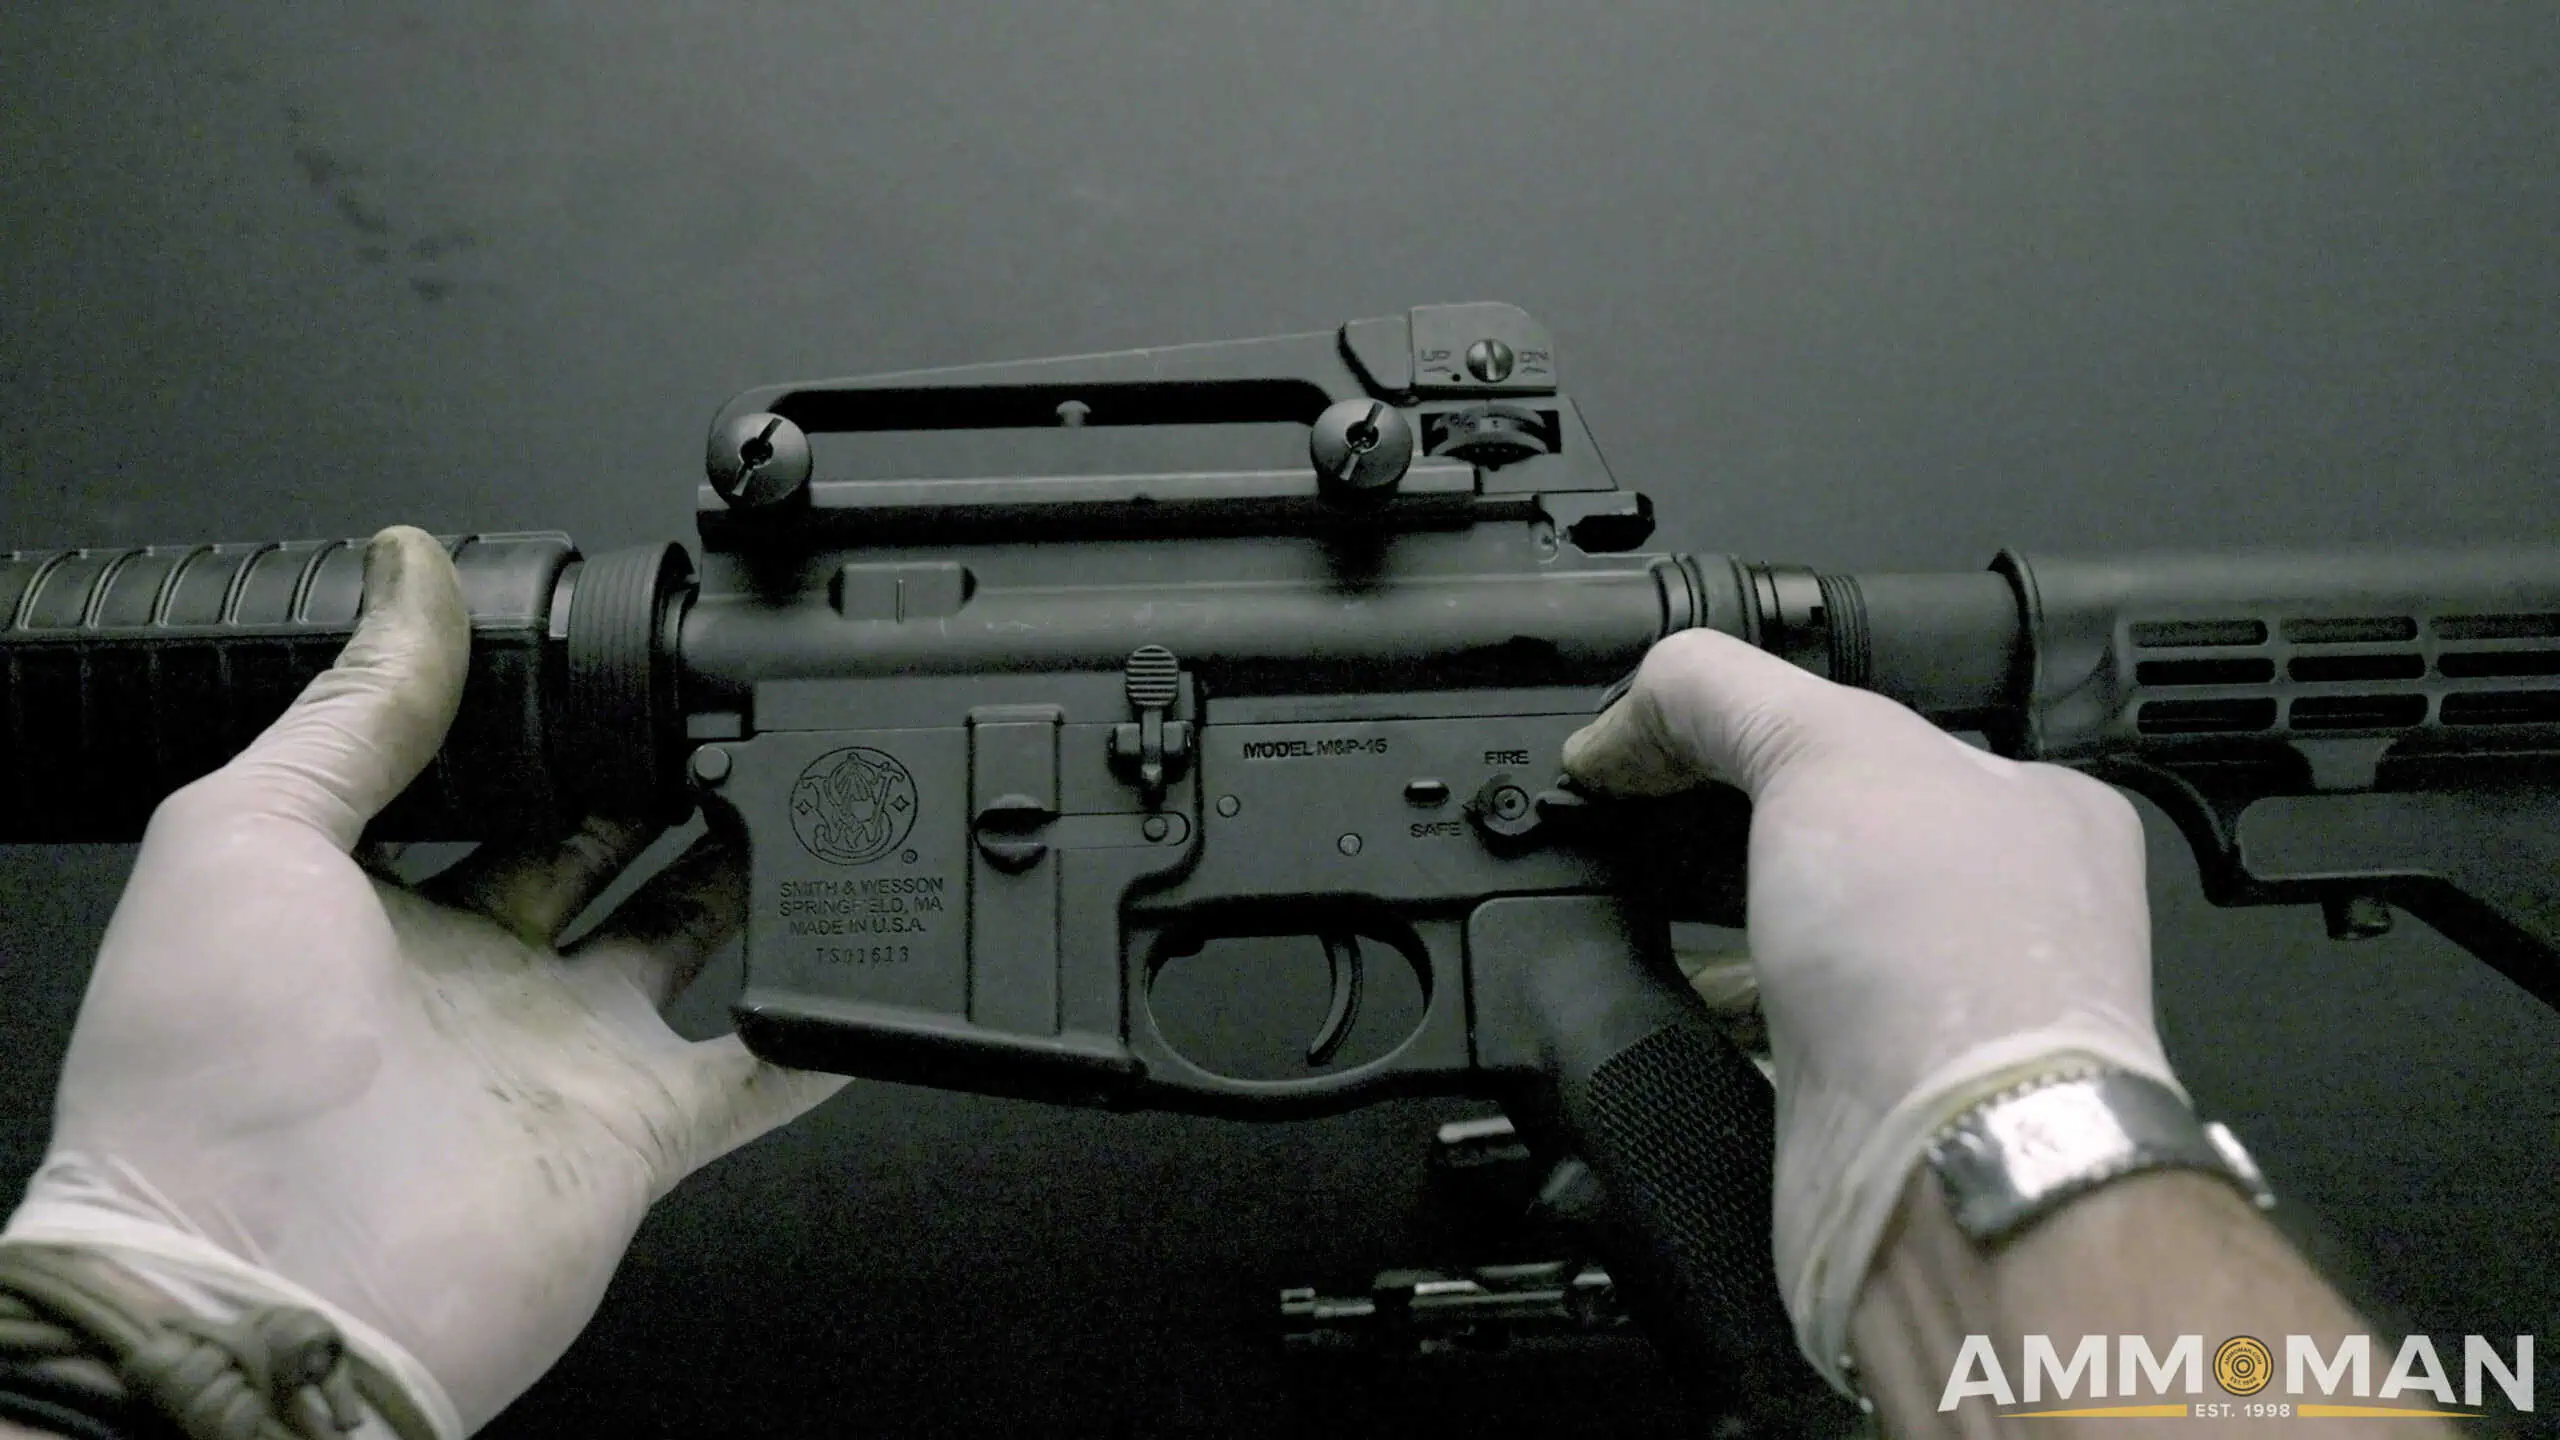
Pressing rear takedown pin of an AR15.
Next, pull the charging handle to remove the bolt carrier and charging handle from the upper receiver. Set aside the receivers and we will focus on cleaning the bolt carrier group and charging handle first.
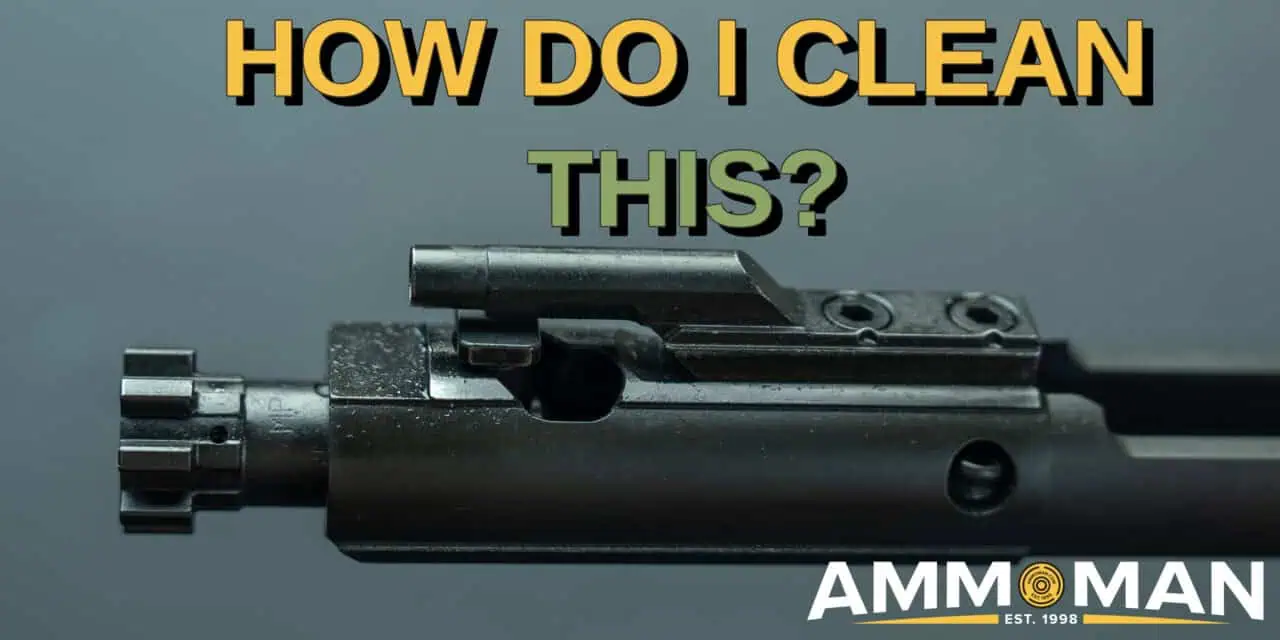
How to Disassemble an AR15 Bolt Carrier
The majority of focus should really be on your bolt carrier group. This is what receives the most amount of carbon and junk from shooting your AR15. Here’s how to strip it down into its main components.

Parts of an AR15 bolt carrier.
To break the BCG down into the 5 main parts, start by pulling the firing pin retainer out. You may or may not be able to do this with your fingers. Sometimes it can be a stubborn pin. Next, place the BCG upside down and shake the carrier to release your firing pin.
Now you can rotate the cam pin 90 degrees and remove from the carrier. Lastly, pull the bolt assembly from the carrier.
I’m going to mainly focus on these parts for today, but I will have a brief rundown on cleaning the upper and lower receiver at the end of the article!
Cleaning the AR15
No, you do not need to clean your AR15 every time you go to the range. But I would suggest doing it before zeroing your optics. It is also wise to regularly check the condition of your rifle before any important use is needed or expected. Like hunting or self defense.
Cleaning the Bolt Carrier Group
To start, take your preferred cleaning solution, and spray each part of the bolt that we broke down liberally. While you are brushing one part, the others can sit so that the solution can break down the lead particulate off of them, making it easier to scrub off when you’re ready to.
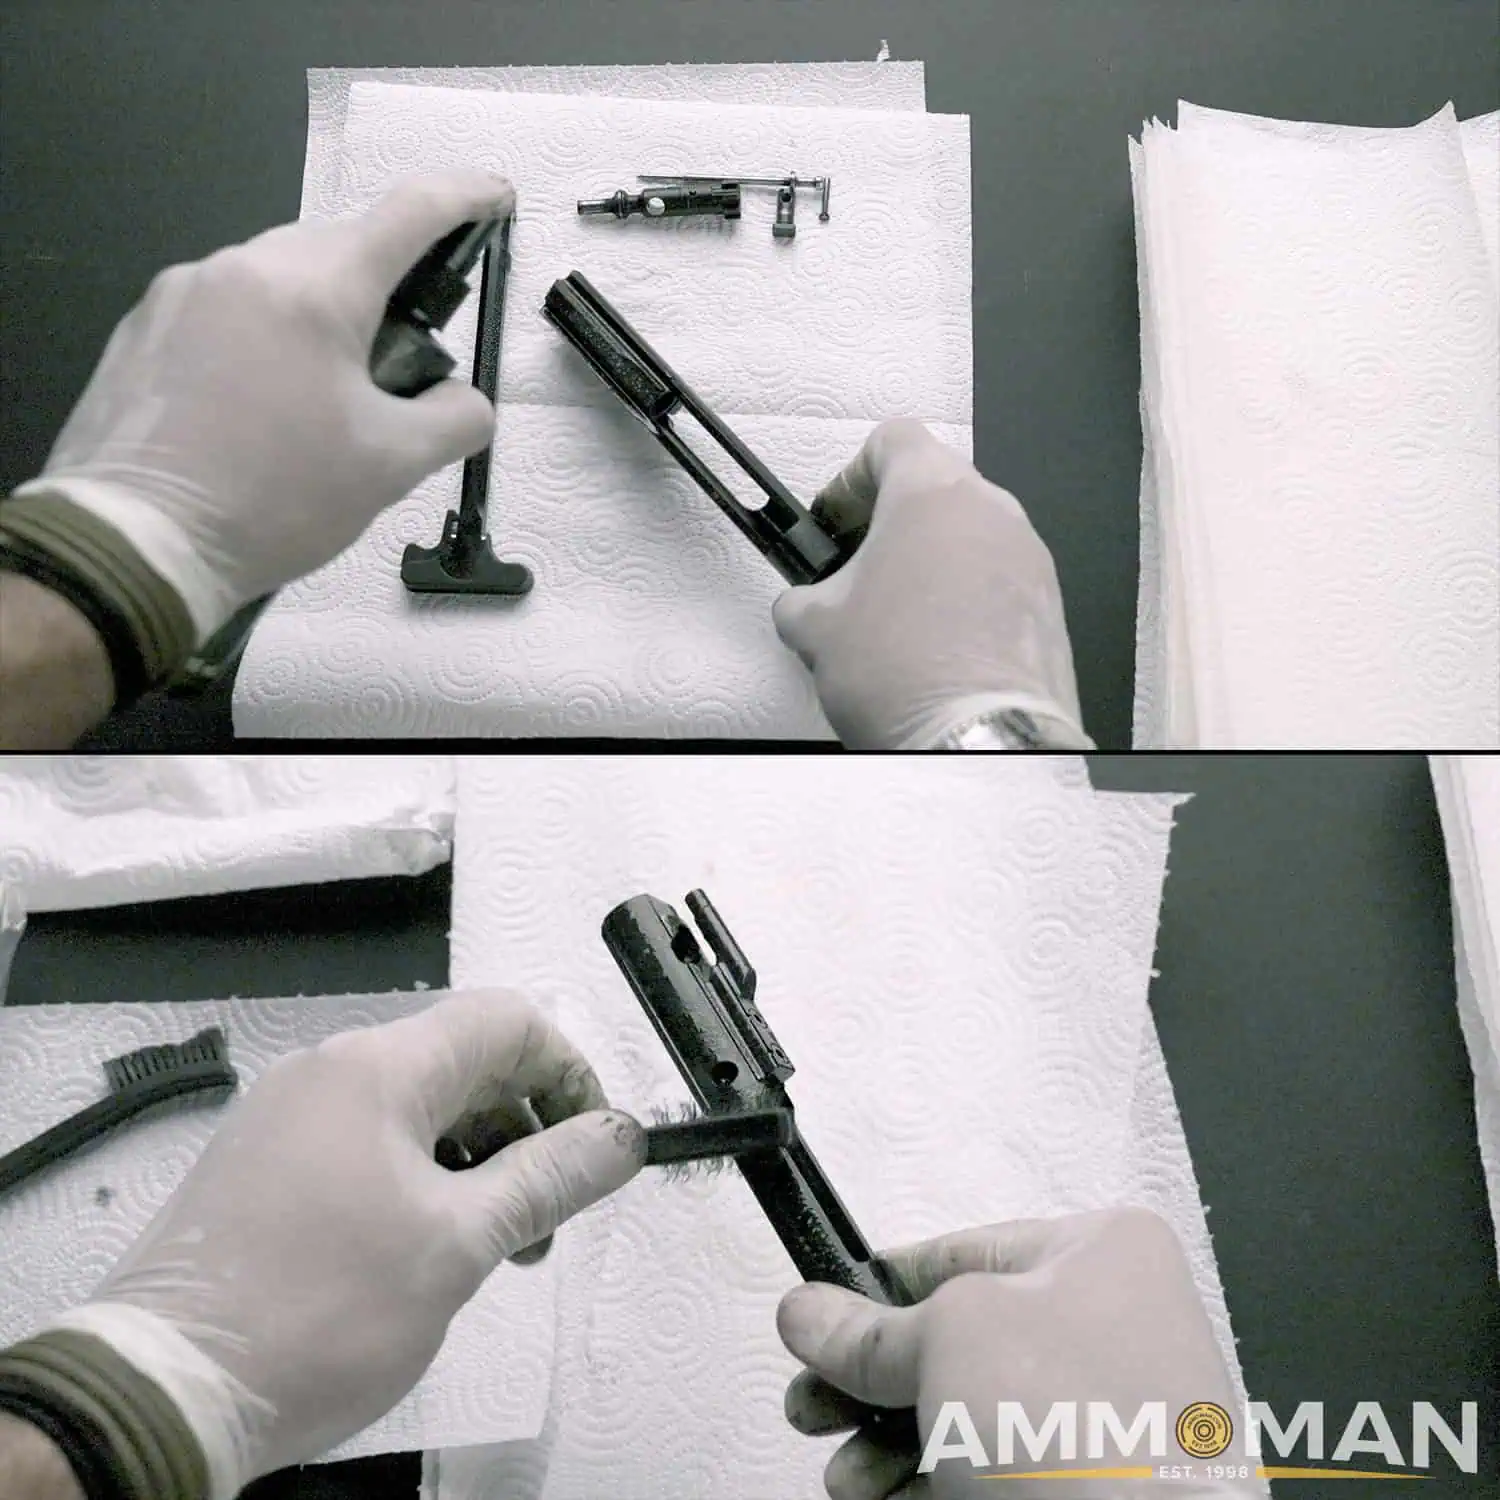
Some elbow grease and a good cleaner will do a world of wonders.
Be careful not to use too stuff of a brush or scraper when cleaning. You can damage your bolt. Scrubbing with a nylon brush is always a safe option. Make sure to inspect the condition of your three gas rings on your bolt while you are cleaning. Now is a great time to replace any if needed.
The main goal is to just scrub off all of the visible gunk off of each part, and wipe it with your rag until you have a decently clean final wipe. After you have finished cleaning the bolt, the carrier, and the firing pin, reassemble the BCG in reverse order of the takedown process. Set aside your BCG until you are ready to reassemble your rifle.
Cleaning your AR15 Charging Handle
Cleaning the charging handle is the most simple part of cleaning your AR15. Just spray the cleaning solution all over, and wipe the entire handle down with your rag.
How to Clean the Lower Receiver
Repeat the same process of spraying CLP into the receiver and trigger assembly. Scrub until you can send a clean wipe through the majority of the area without picking up much carbon residue or lead.
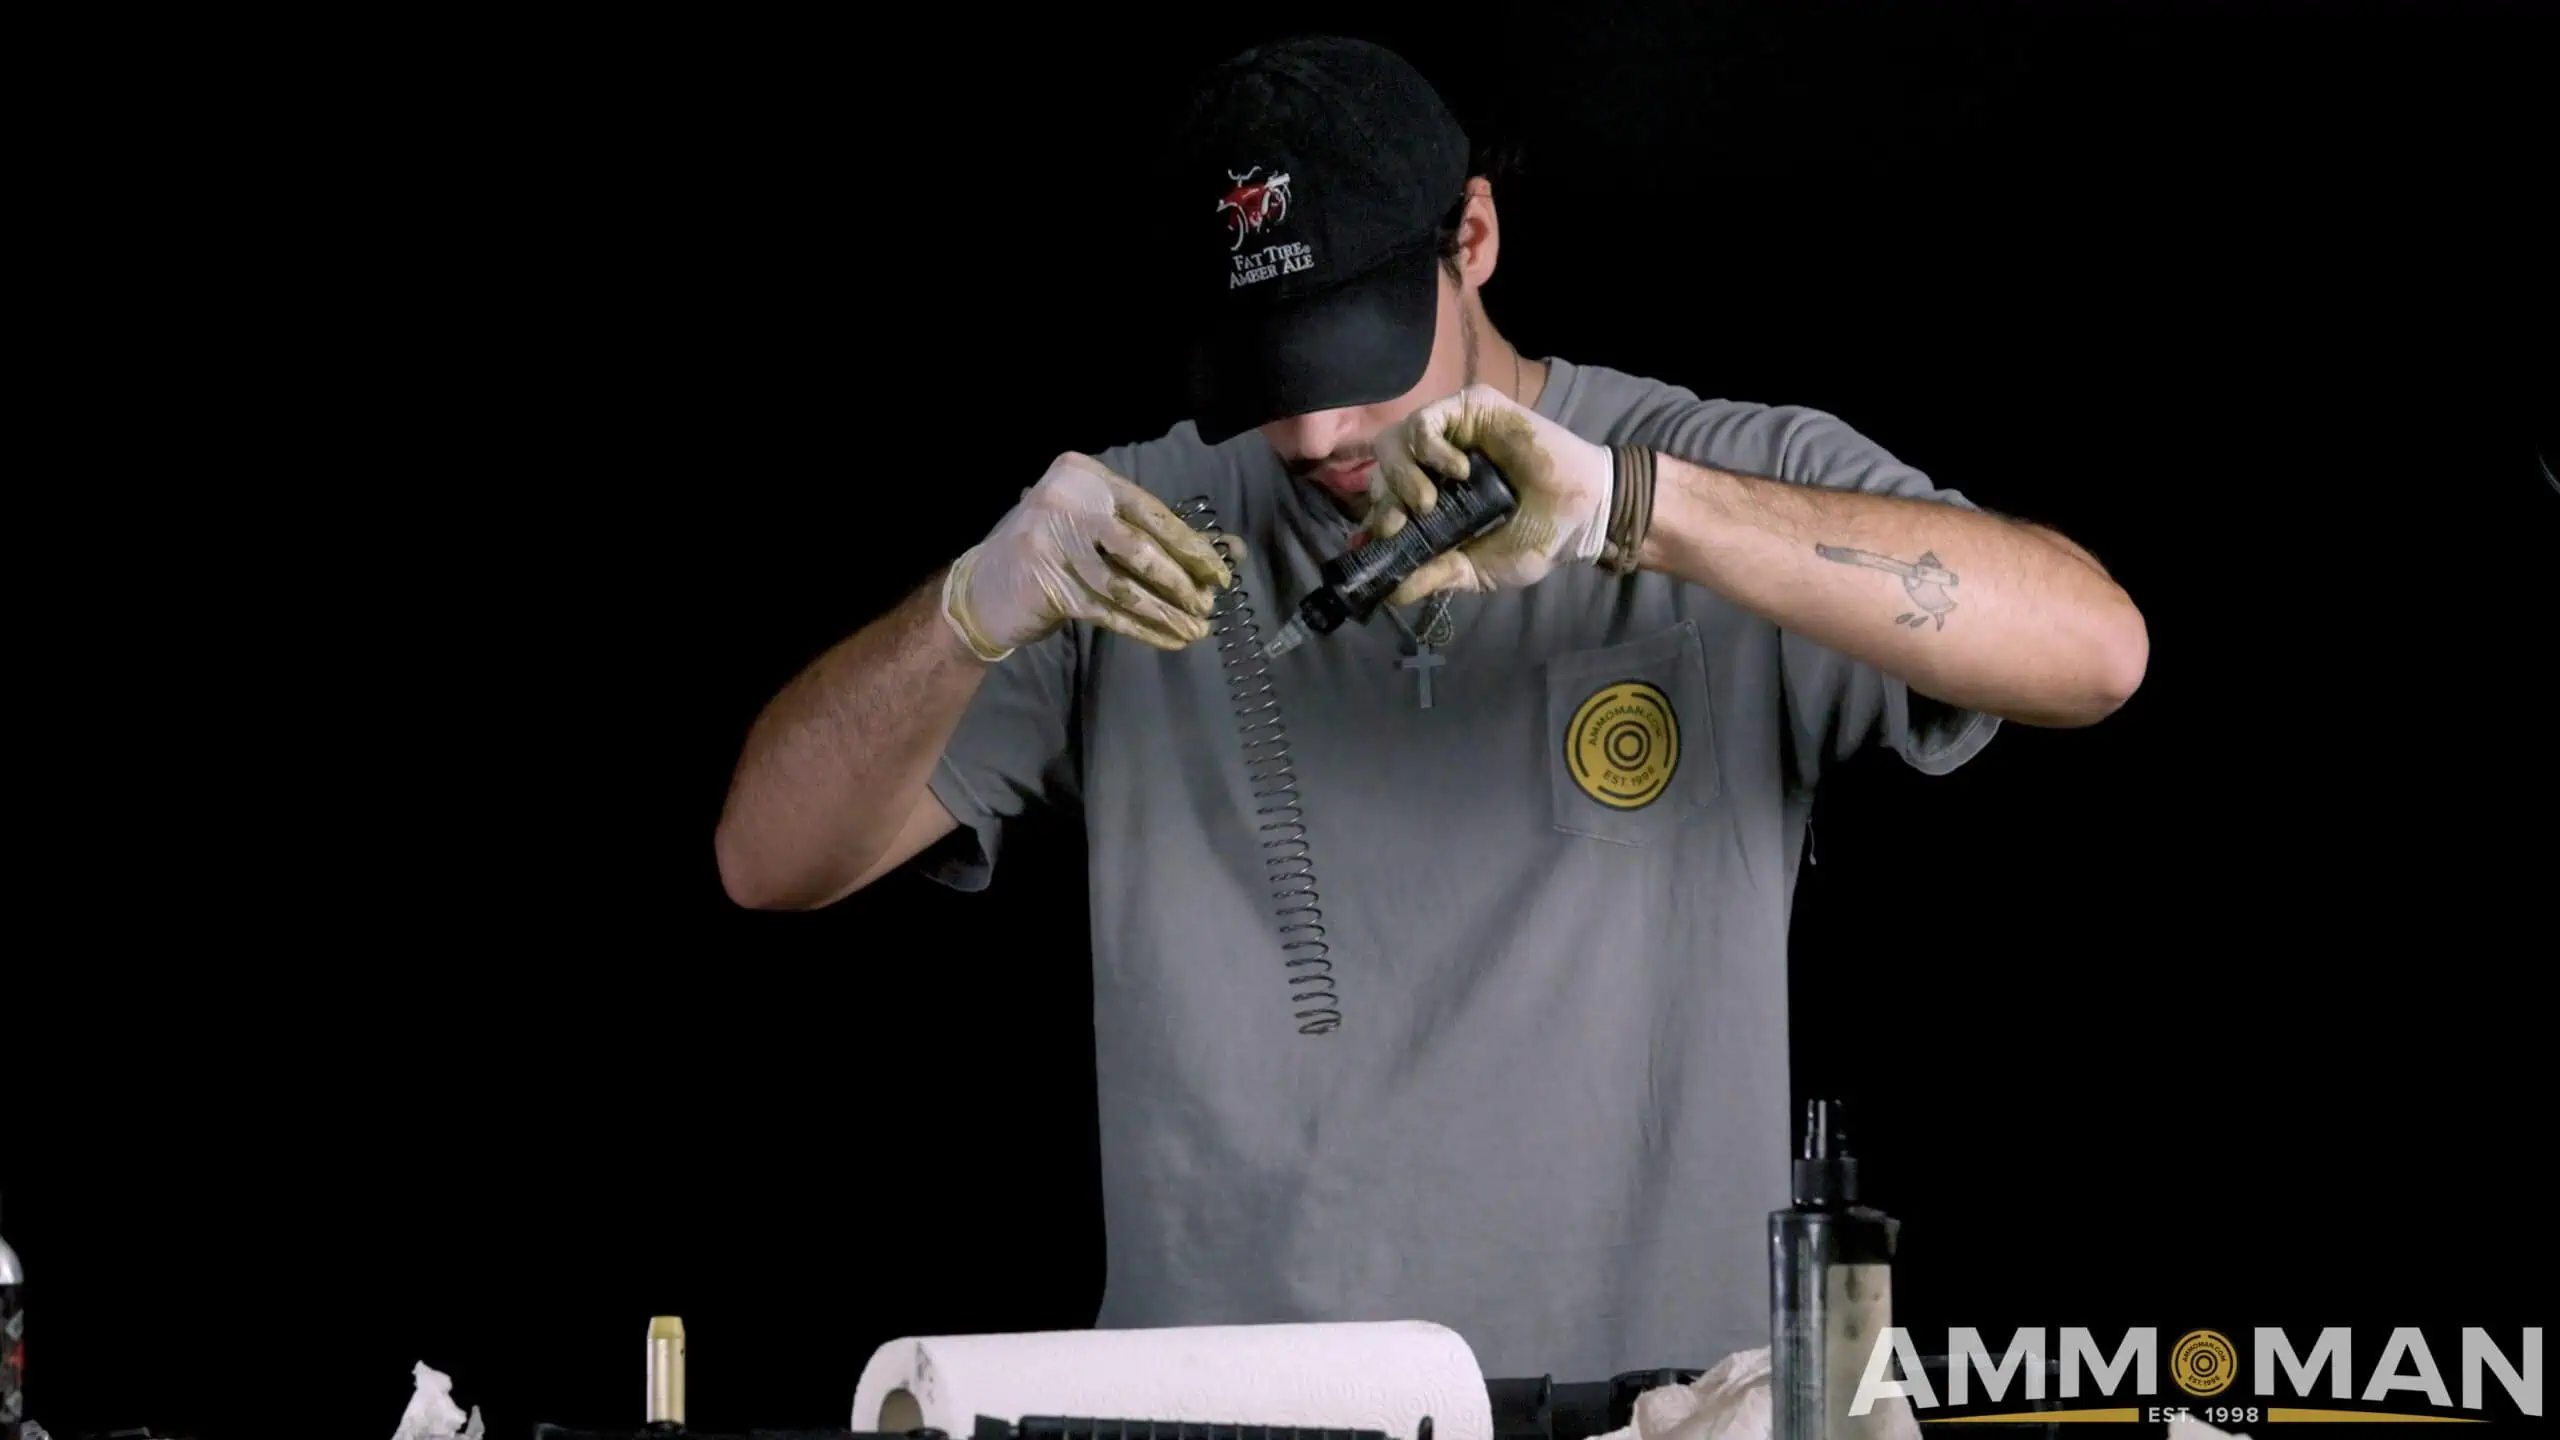
It’s a good time to remove your buffer and buffer spring and give those a wipe. Carefully push the buffer capture pin down to release the buffer and spring. It is under spring tension so slowly remove it in oder to not send it flying! If you want, you can pull the buffer from the spring to wipe them down individually, but it will be fine if you choose not to. I would put some lubricant on the spring while it’s out of the buffer system.
Set your lower to the side and let’s quickly discuss the upper receiver.
Cleaning the Upper Receiver
For the upper receiver, you want to ensure that you clean out as much as possible, including the chamber. This may require some special tools, but if you don’t have any, don’t worry. Just get as much as you can with cotton swabs and wipes and you’ll be fine.
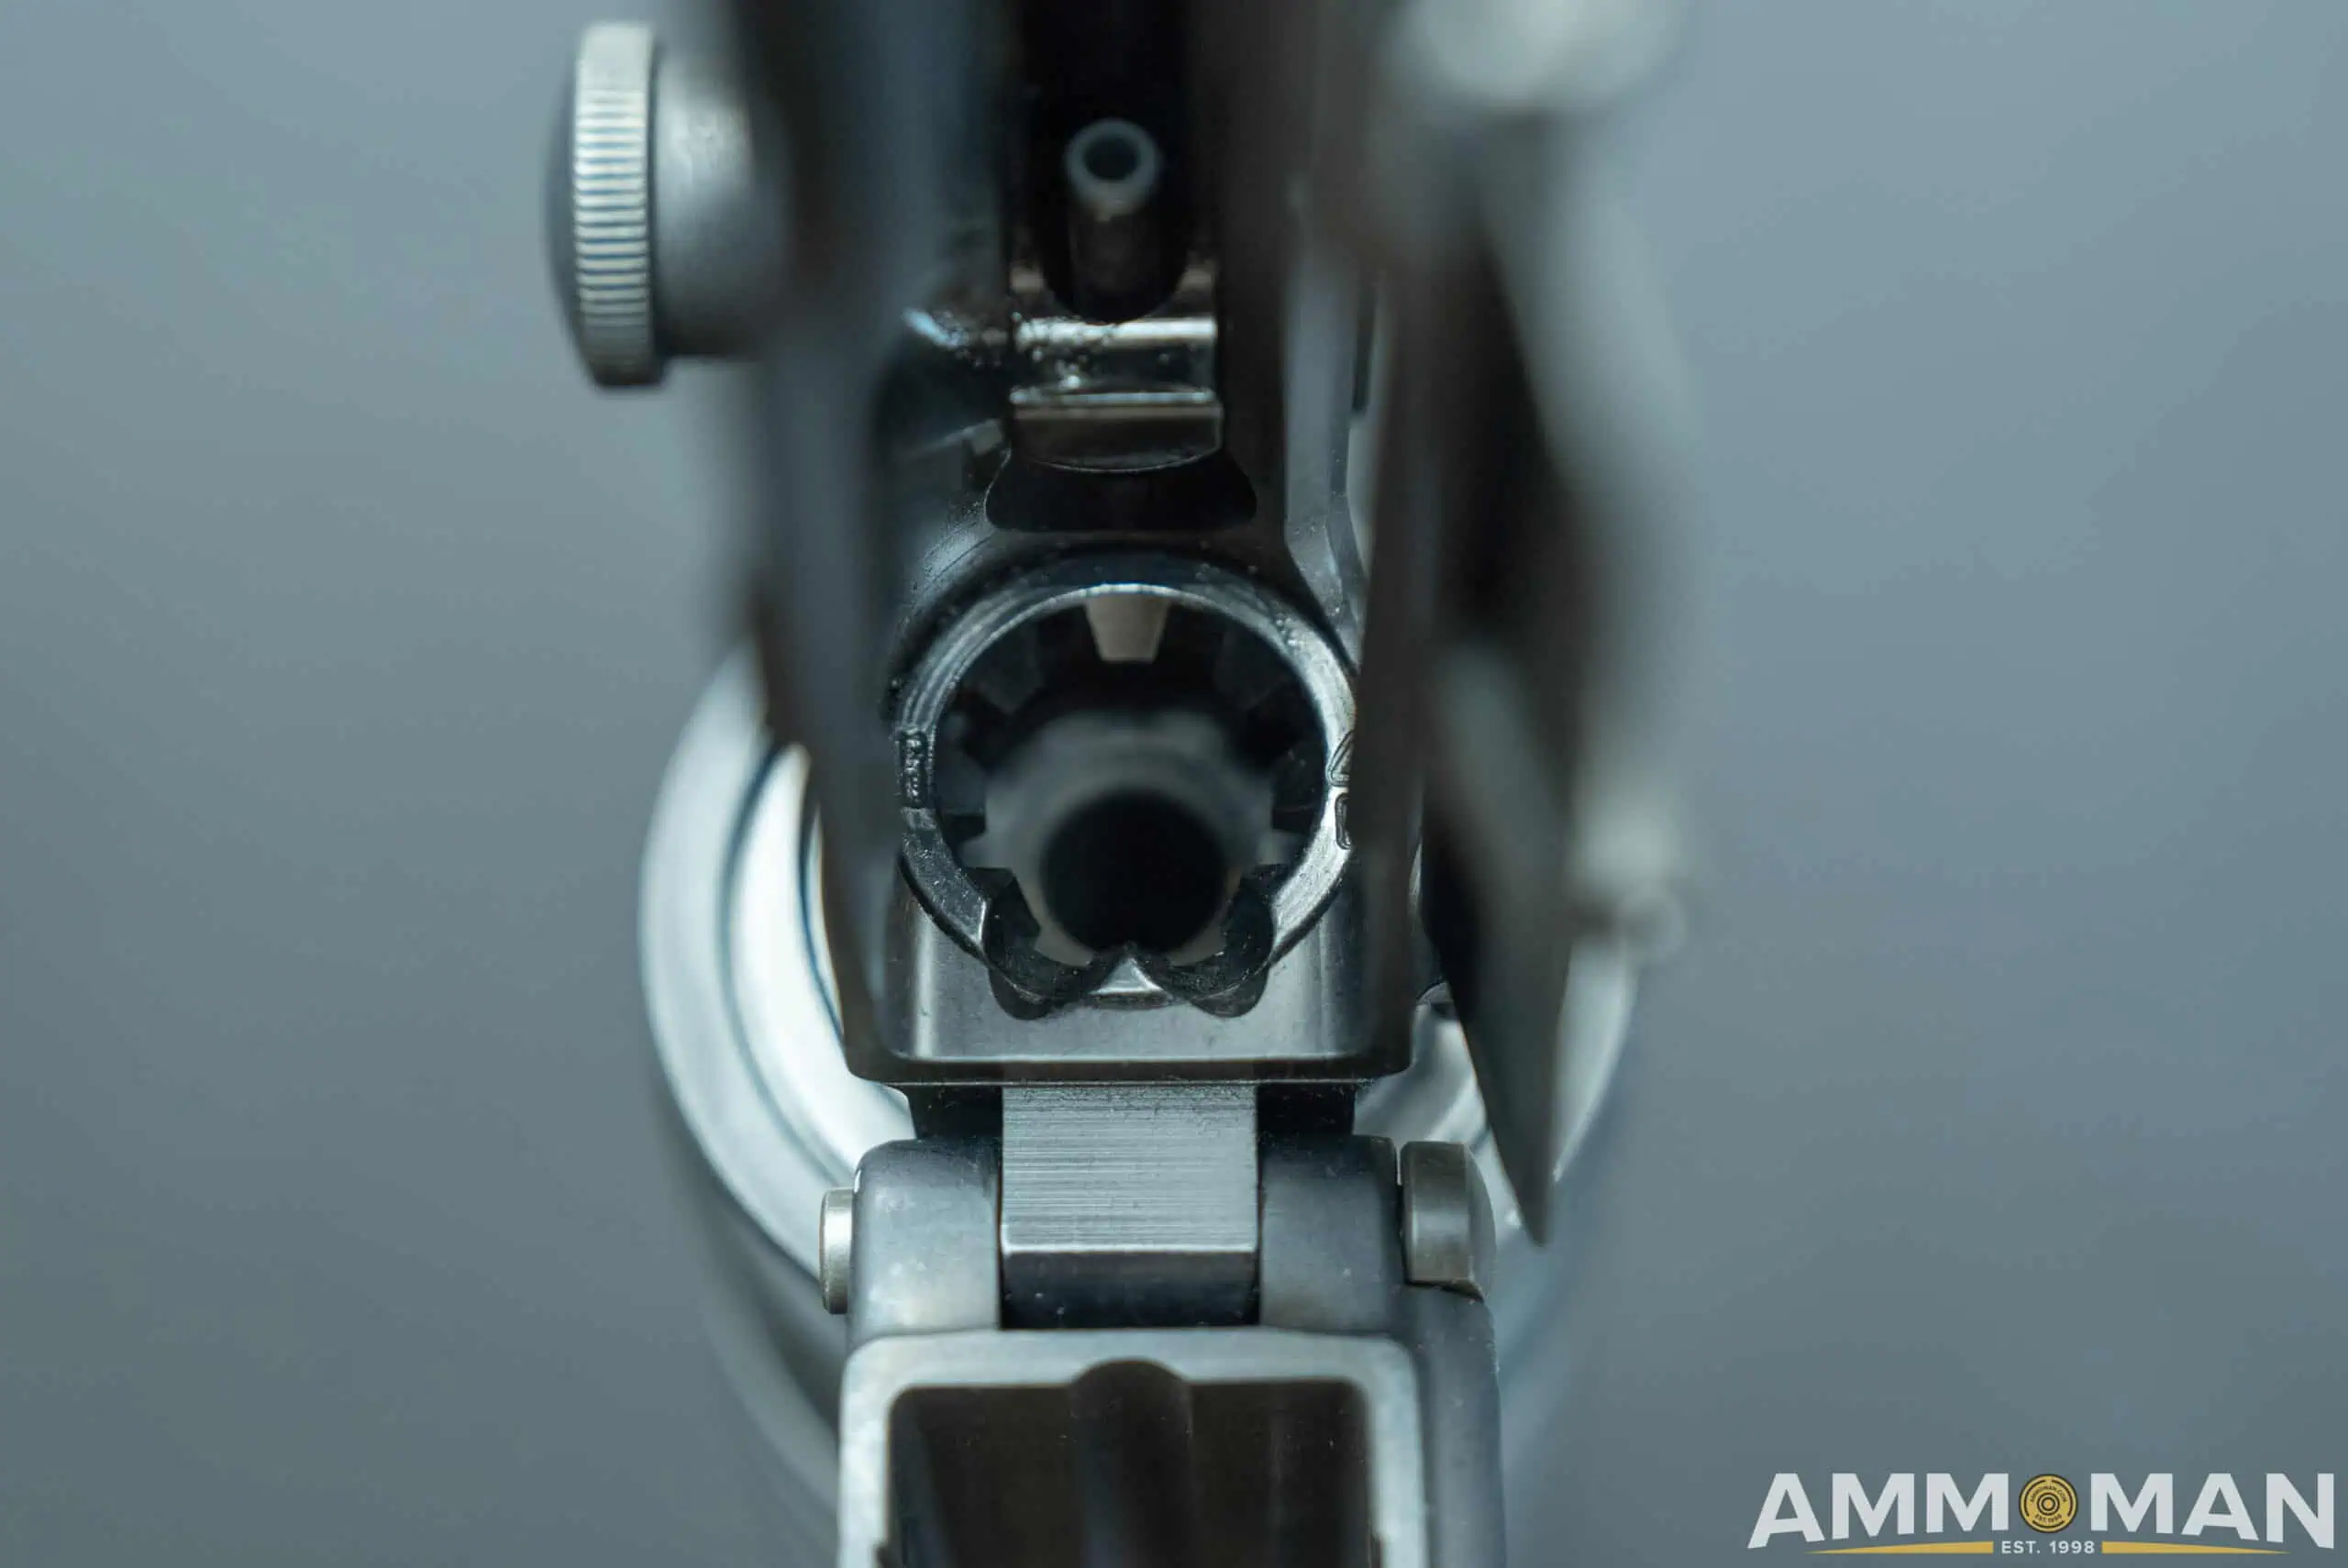
AR15 chamber.
As far as the barrel goes there are multiple ways to clean them. The easiest and most simple method is to purchase a bore snake and then pull it through from back to front a few times. This will adequately clean your AR15 barrel. If you want, you can put a small amount of lubricant on the end of the bore snake but you do not need to.
Now let’s talk about arguably the most important part of the entire cleaning process…lubricating!
Lubricating the AR15
Generally, rifles only have a few simple needs when it comes to getting a basic cleaning accomplished. First, you need to get all of the gunk loose. Next, you gotta wipe all that gunk off. And lastly you need to lubricate the correct parts.
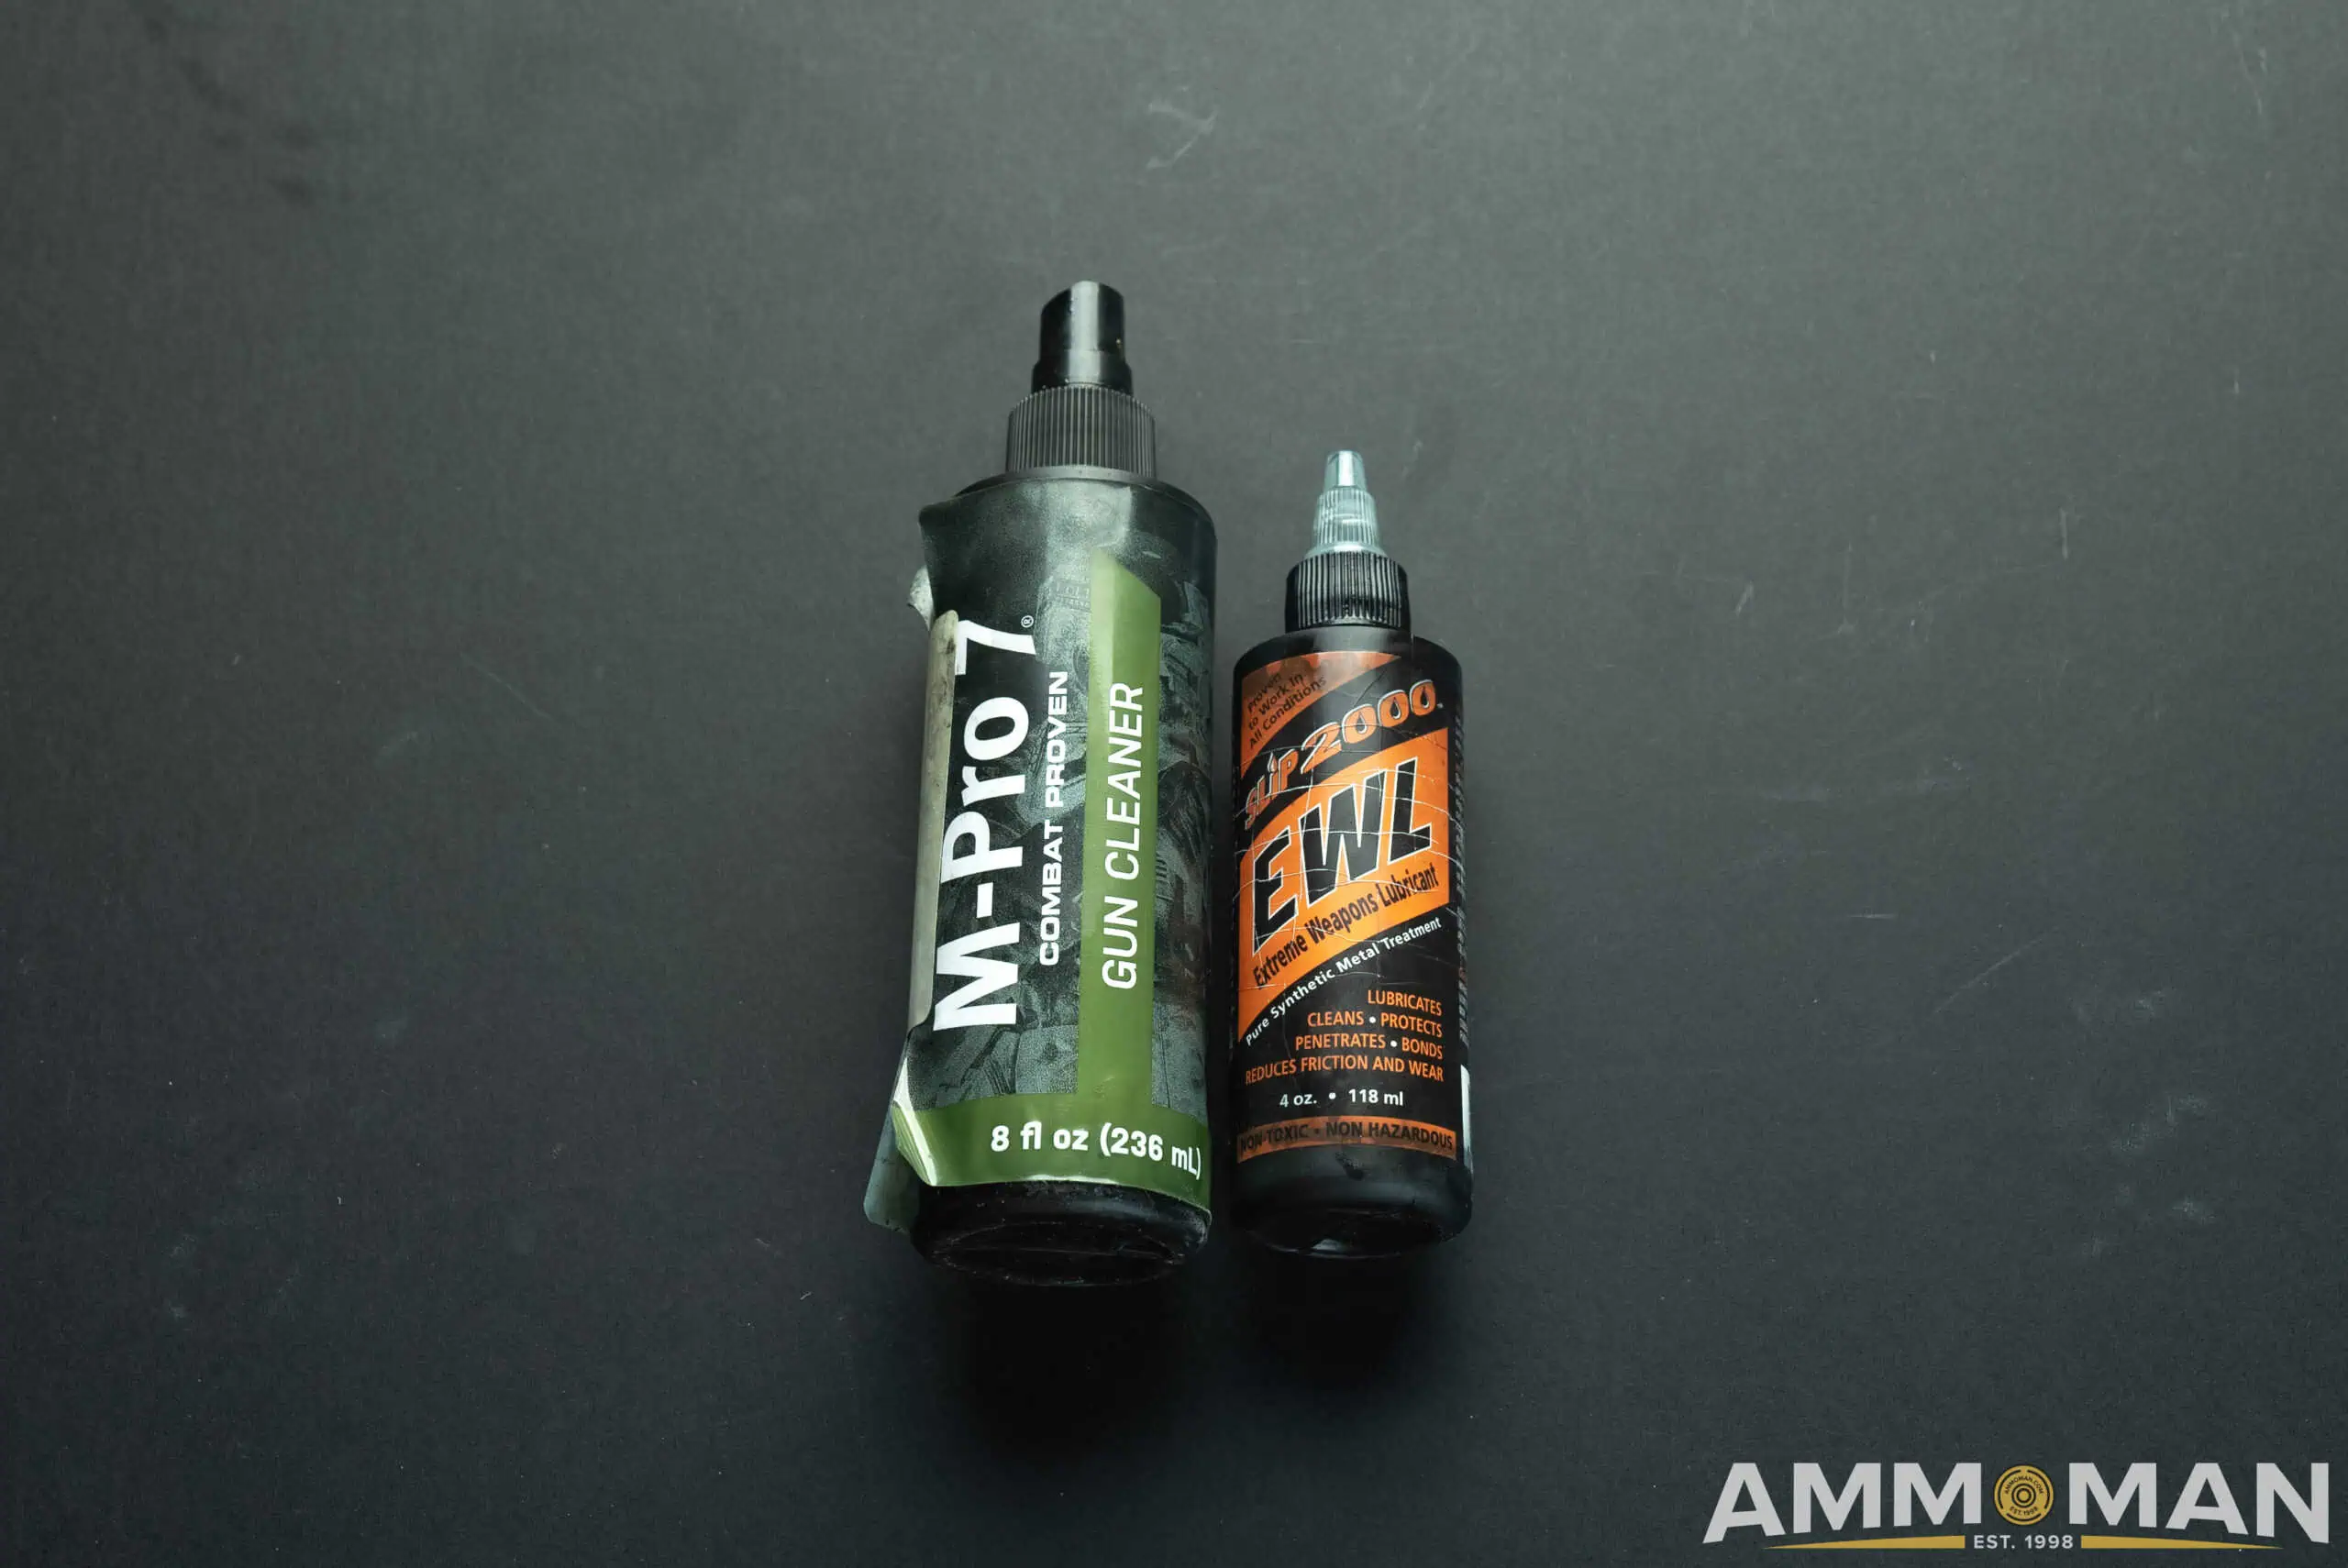
Gun cleaner and lubricant.
Even if you do not have time to clean off the carbon or lead, your AR15 still desperately needs lubrication in order to function well. It’s more than okay to skip the other steps every once in a while, as long as you remember to lubricate it.
Lubricating the AR15 Bolt Carrier and Charging Handle
It’s really just a matter of ensuring that any place where there is metal on metal contact, has some lubrication. If you want, you can apply a light layer to the entire BCG, but if you want to be more precise, then the spots you want to hit are the sides of the carrier where the metal is worn, as well as around the bolt where it can move back and forth inside the carrier.
The charging handle is very straight forward. Simply dab a few drops onto the handle and rub it along the top where it will interface with the upper receiver.
Lubricating the Upper and Lower Receiver
To lubricate the upper receiver, place the receiver upside down and put a few drops of oil onto the inside ceiling where the bolt carrier will travel back and forth. Next, put a small about on the star chamber where the bolt will interface.
For the lower, just put a drop or two onto the safety spring and trigger spring and you’re good to go!
Final Steps
The last step of cleaning your AR15 is to reassemble it. Start by putting your buffer spring assembly back into the buffer tube. It should click into place. After that you can grab your upper receiver and re-install your charging handle and bolt carrier group.
First, place the charging handle into the receiver in the correct orientation. There is a small recess that it will fit in. Once it is in and able to slide back and forth freely, extend it to create room for the bolt carrier group.
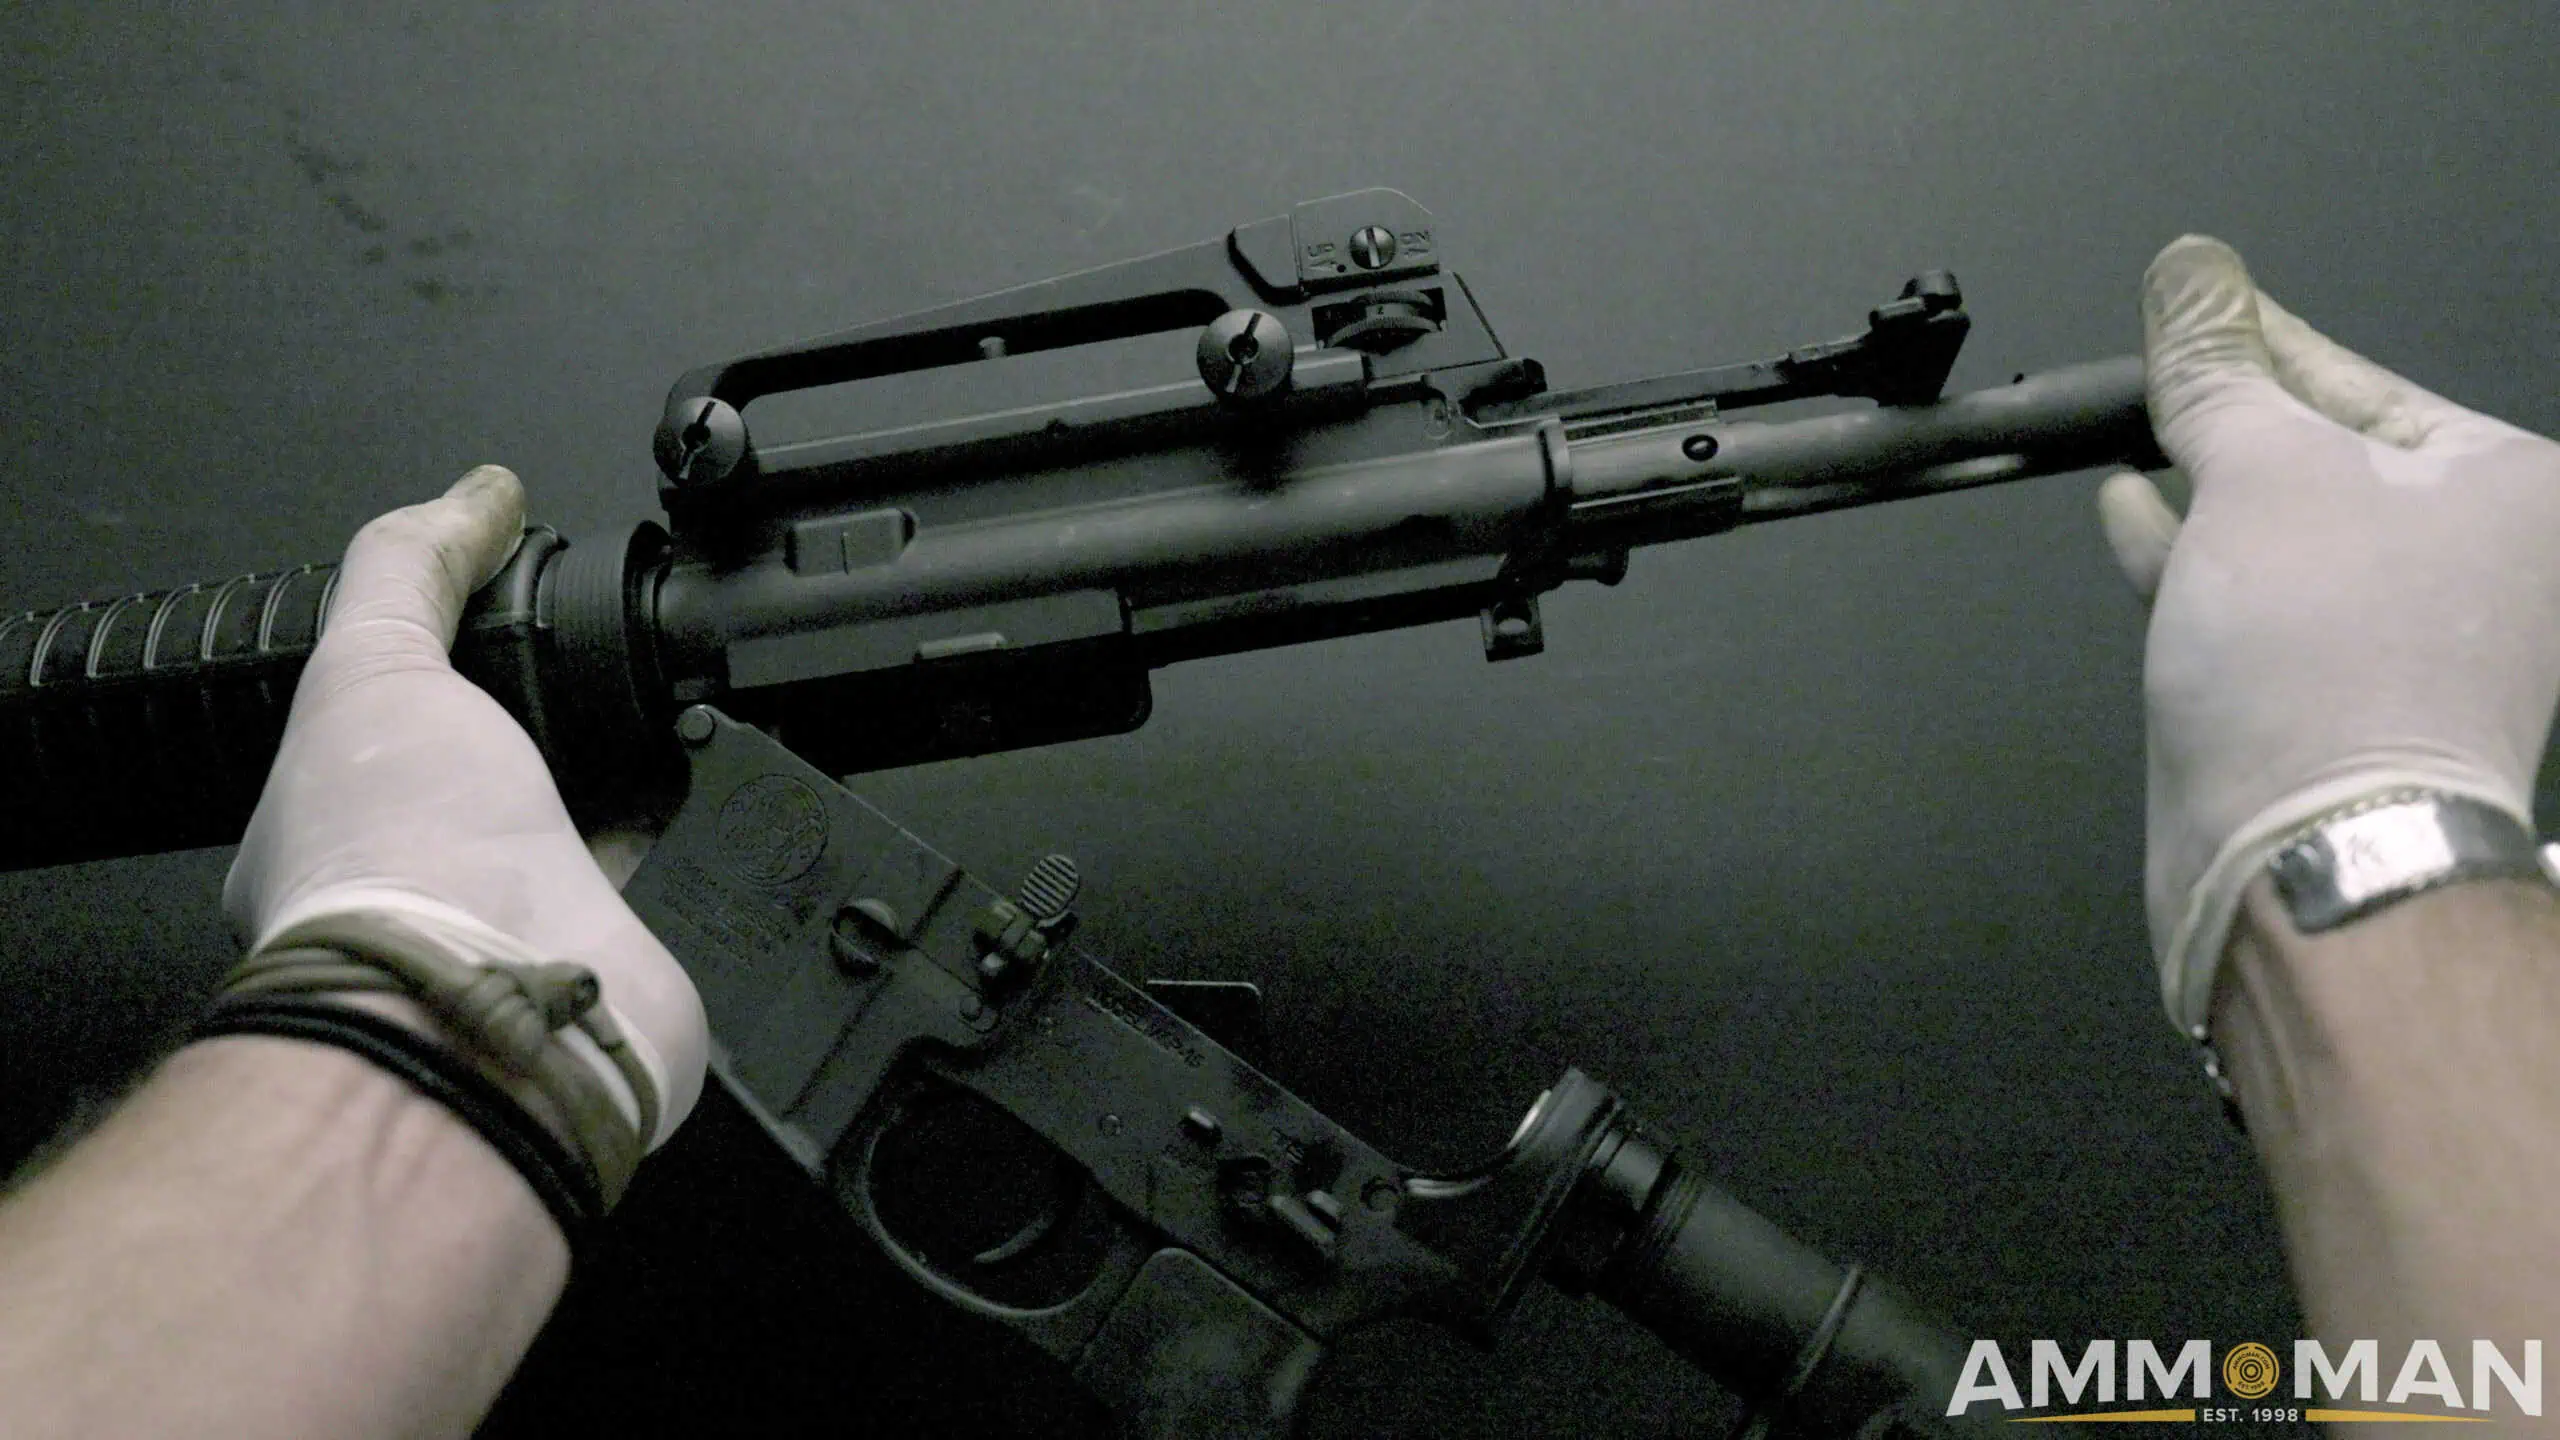
Inserting bolt into AR15.
Before inserting the BCG, make sure to extend the bolt face from the carrier or it will not fit back into the receiver. With the gas key facing the top of the receiver, push the carrier along with the charging handle until both click into the receiver. Now all you have to do is align the upper and lower receivers and push the takedown pins back into place!
You are ready to get back out and enjoy a clean rifle! Have fun and be safe shooting and we will see you soon. If you found this article helpful, consider following us over on our social accounts in order to receive updates on content in the future!