Learning how to zero your scope may be intimidating. But it doesn’t have to be! Today, I’ll show you how to accomplish a few things:
- Get your scope zeroed.
- Share a few tips that may help you determine what zero distance is best for you.
Keep in mind that each scope varies slightly and may have different adjustments. This is just a priming article, but it will give you all of the basic information that you need.
If you want additional tips for make zeroing easier, check out my video below!
Setup for Zeroing a Scope
Before you fire your first round, it’s important to set up for success. The following tips could be the difference between getting an actual “zero” with your rifle and just hitting somewhere on your target.
Mount your Scope Correctly
It may seem like there isn’t anything extraordinary required for mounting your rifle scope. Just slap it on the rifle, and tighten it down, right? Not exactly. there’s a lot of factors that could affect whether or not your scope will be reliably mounted. With scopes, both over-tightening or under-tightening can cause serious issues with achieving repeatable accuracy.
We will cover this process in a future article, but the best place to start is to to reference your specific optic or scope mounting manual. Do this before you go to the range. Some may require a specific torque value, or adding loctite to the screws before tightening them down.
Use One Load of Ammunition
Not to be confused with caliber. It’s imperative you shoot ONLY the caliber specified on your firearm. For most calibers, there are a multitude of brands and different loads available that have unique characteristics. The various ammunition will translate to different impacts on target. Changing or mixing your ammo while you zero will add frustration, because you will have inconsistent groups.
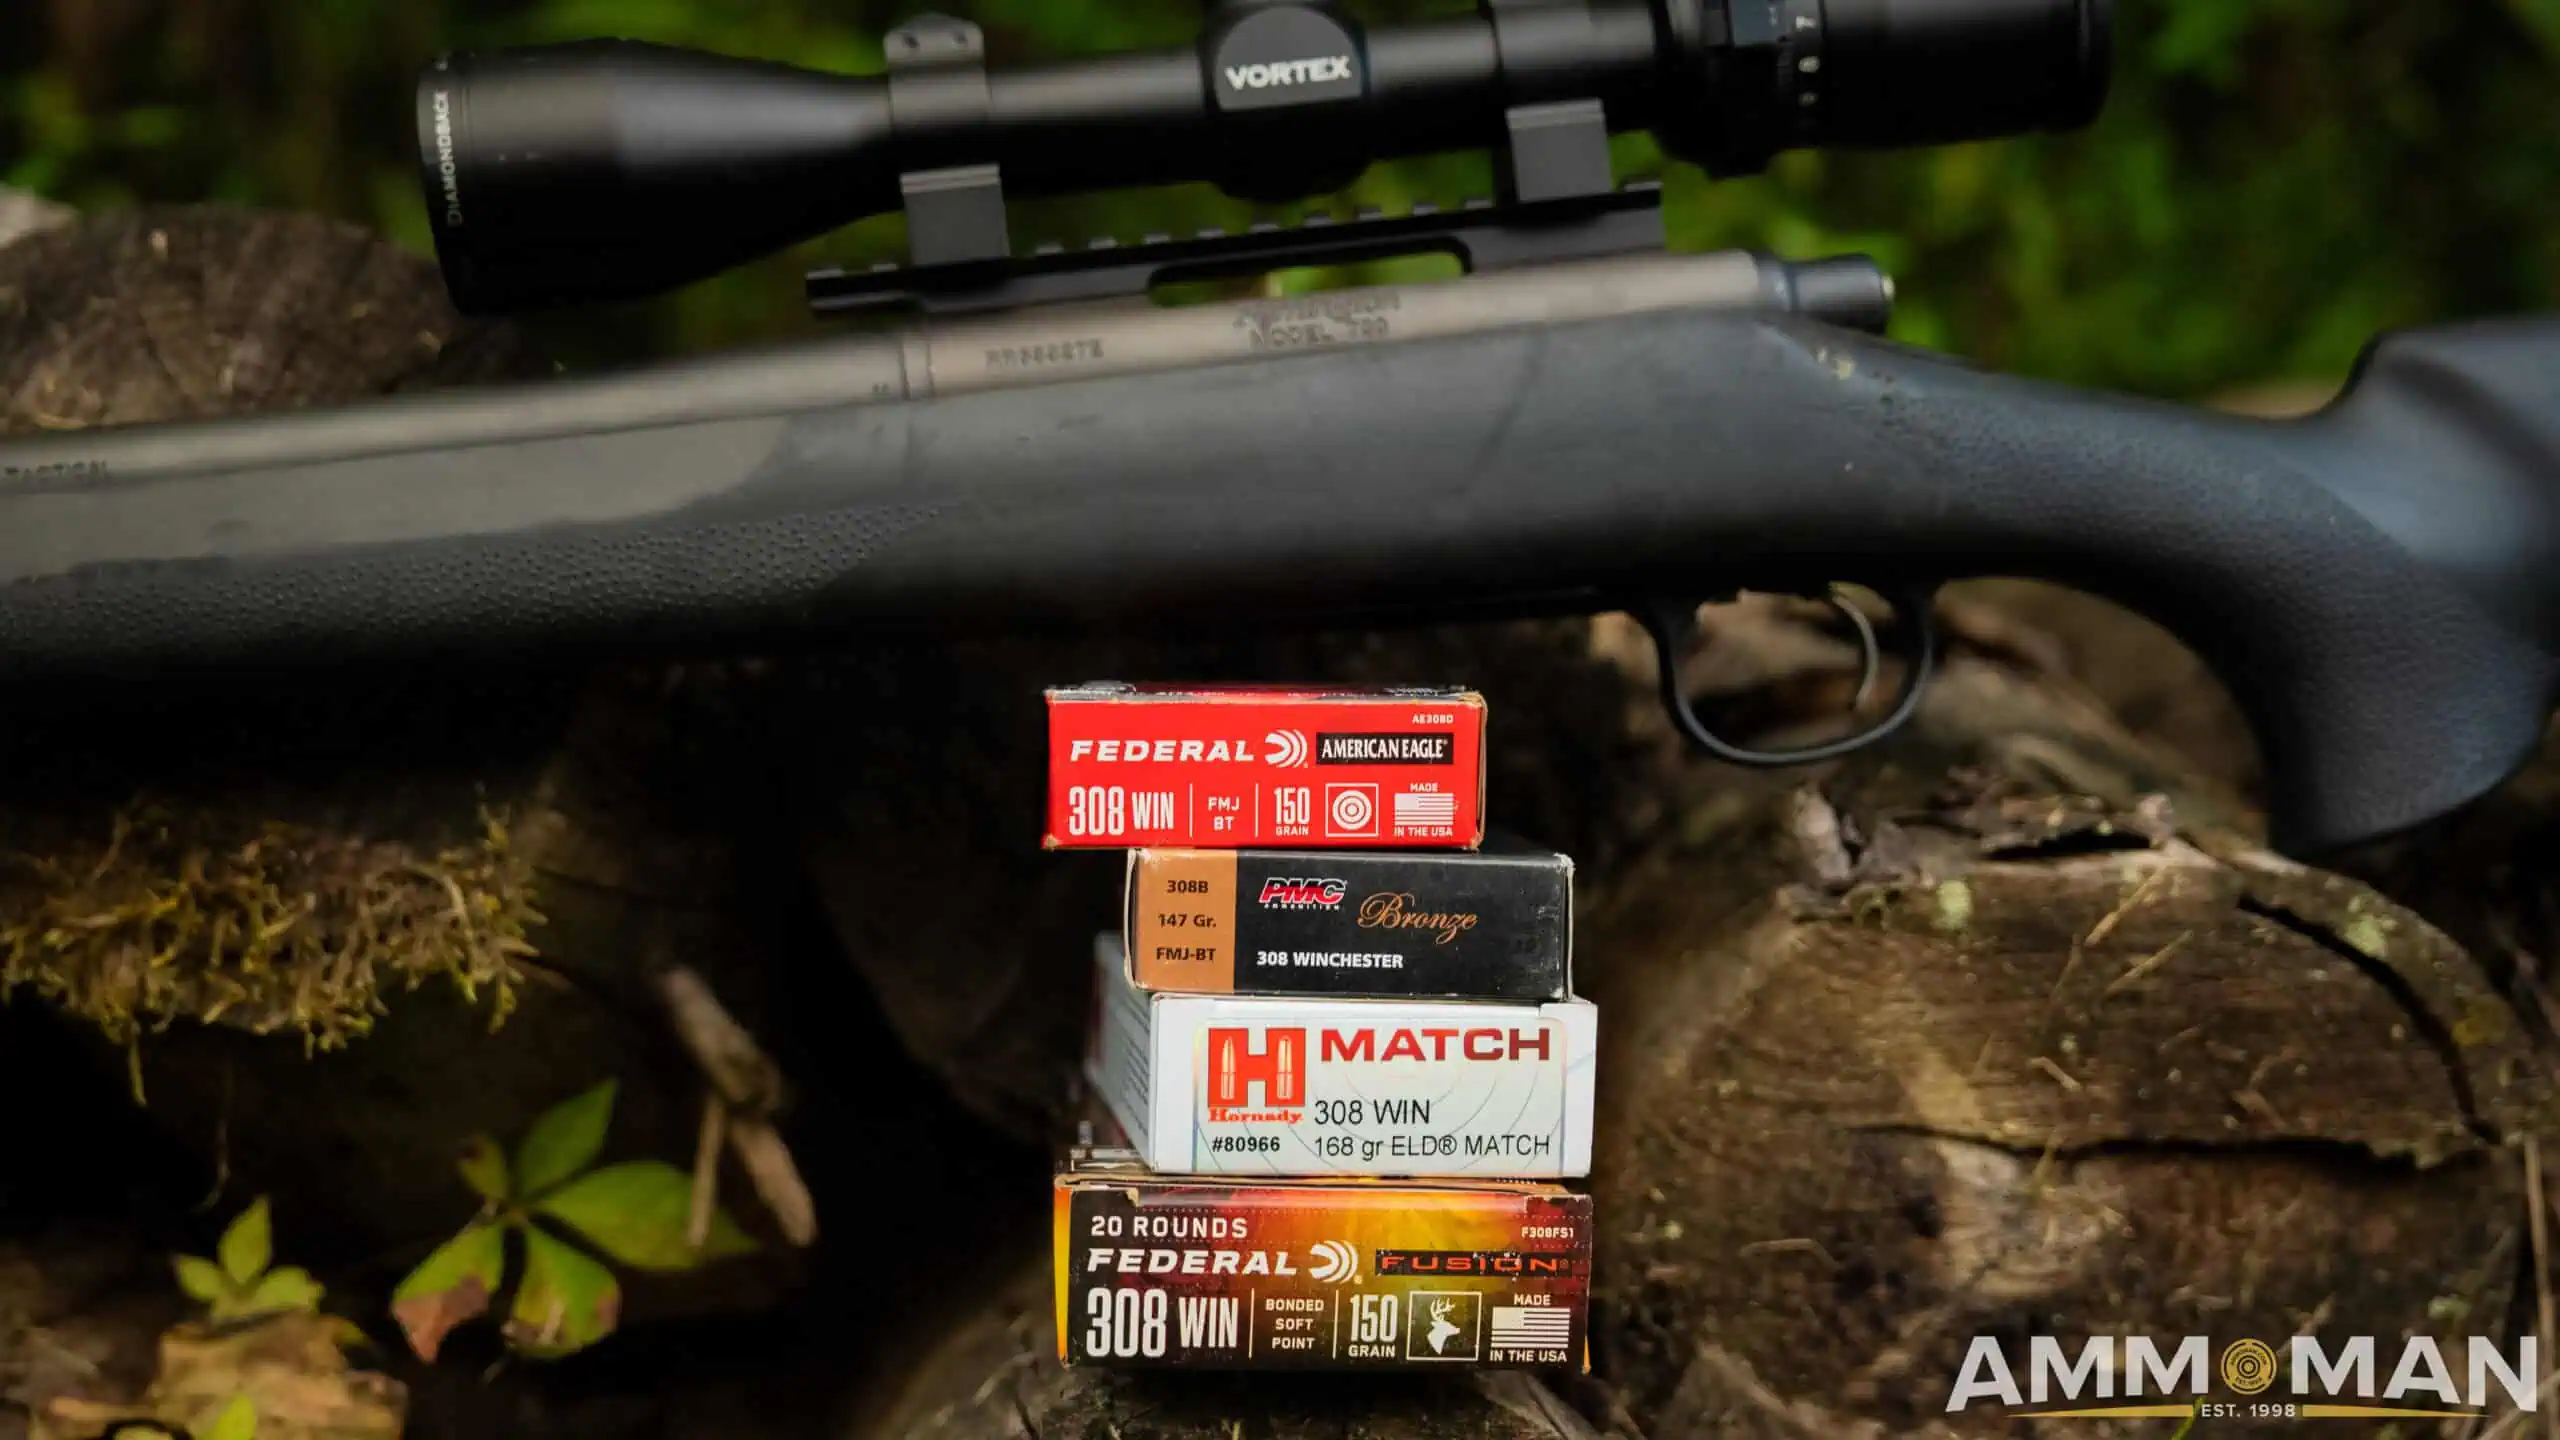
Various types of .308 ammunition.
To keep things simple, zero with the ammo you wish to use regularly, or hunt with. It’s a good idea to shoot groups with and without your suppressor if you own one. This will show you the shift between them if any.
Shoot from a Supported Position
When you are zeroing, it may help to think of each shot like it’s the most important one. In order to do this you must be comfortable.
If you are shooting from the prone position, make sure you are straight behind the gun, instead of having your body and legs off to one side. Keep your legs and feet down and get comfortable enough to lay down and not have any muscular input on the gun besides pulling the trigger.
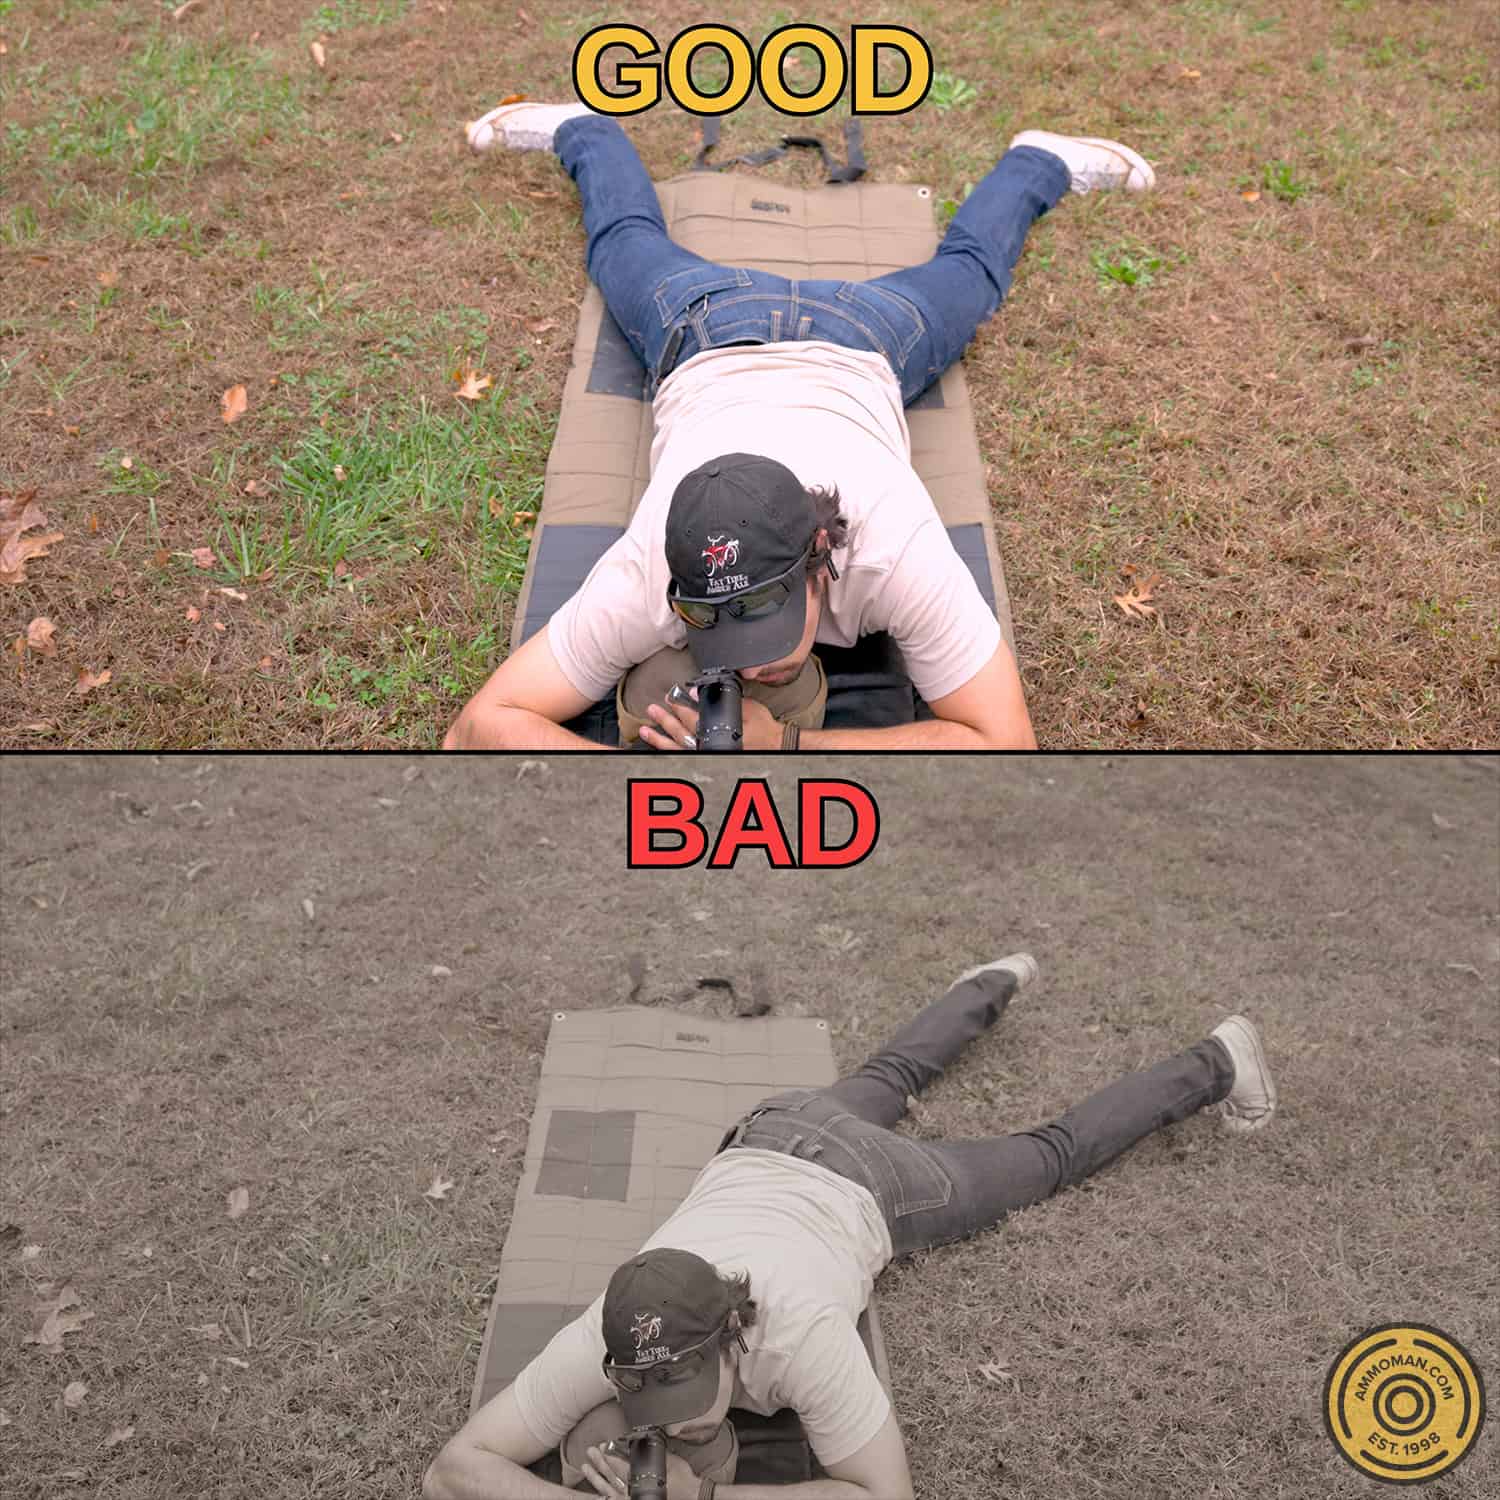
Good and bad posture for prone shooting.
Another option is to shoot from a bench. This is a great way to zero most firearms. Remember that similar to the prone position, you need to ensure you are not adding undo muscular input into the gun while shooting.
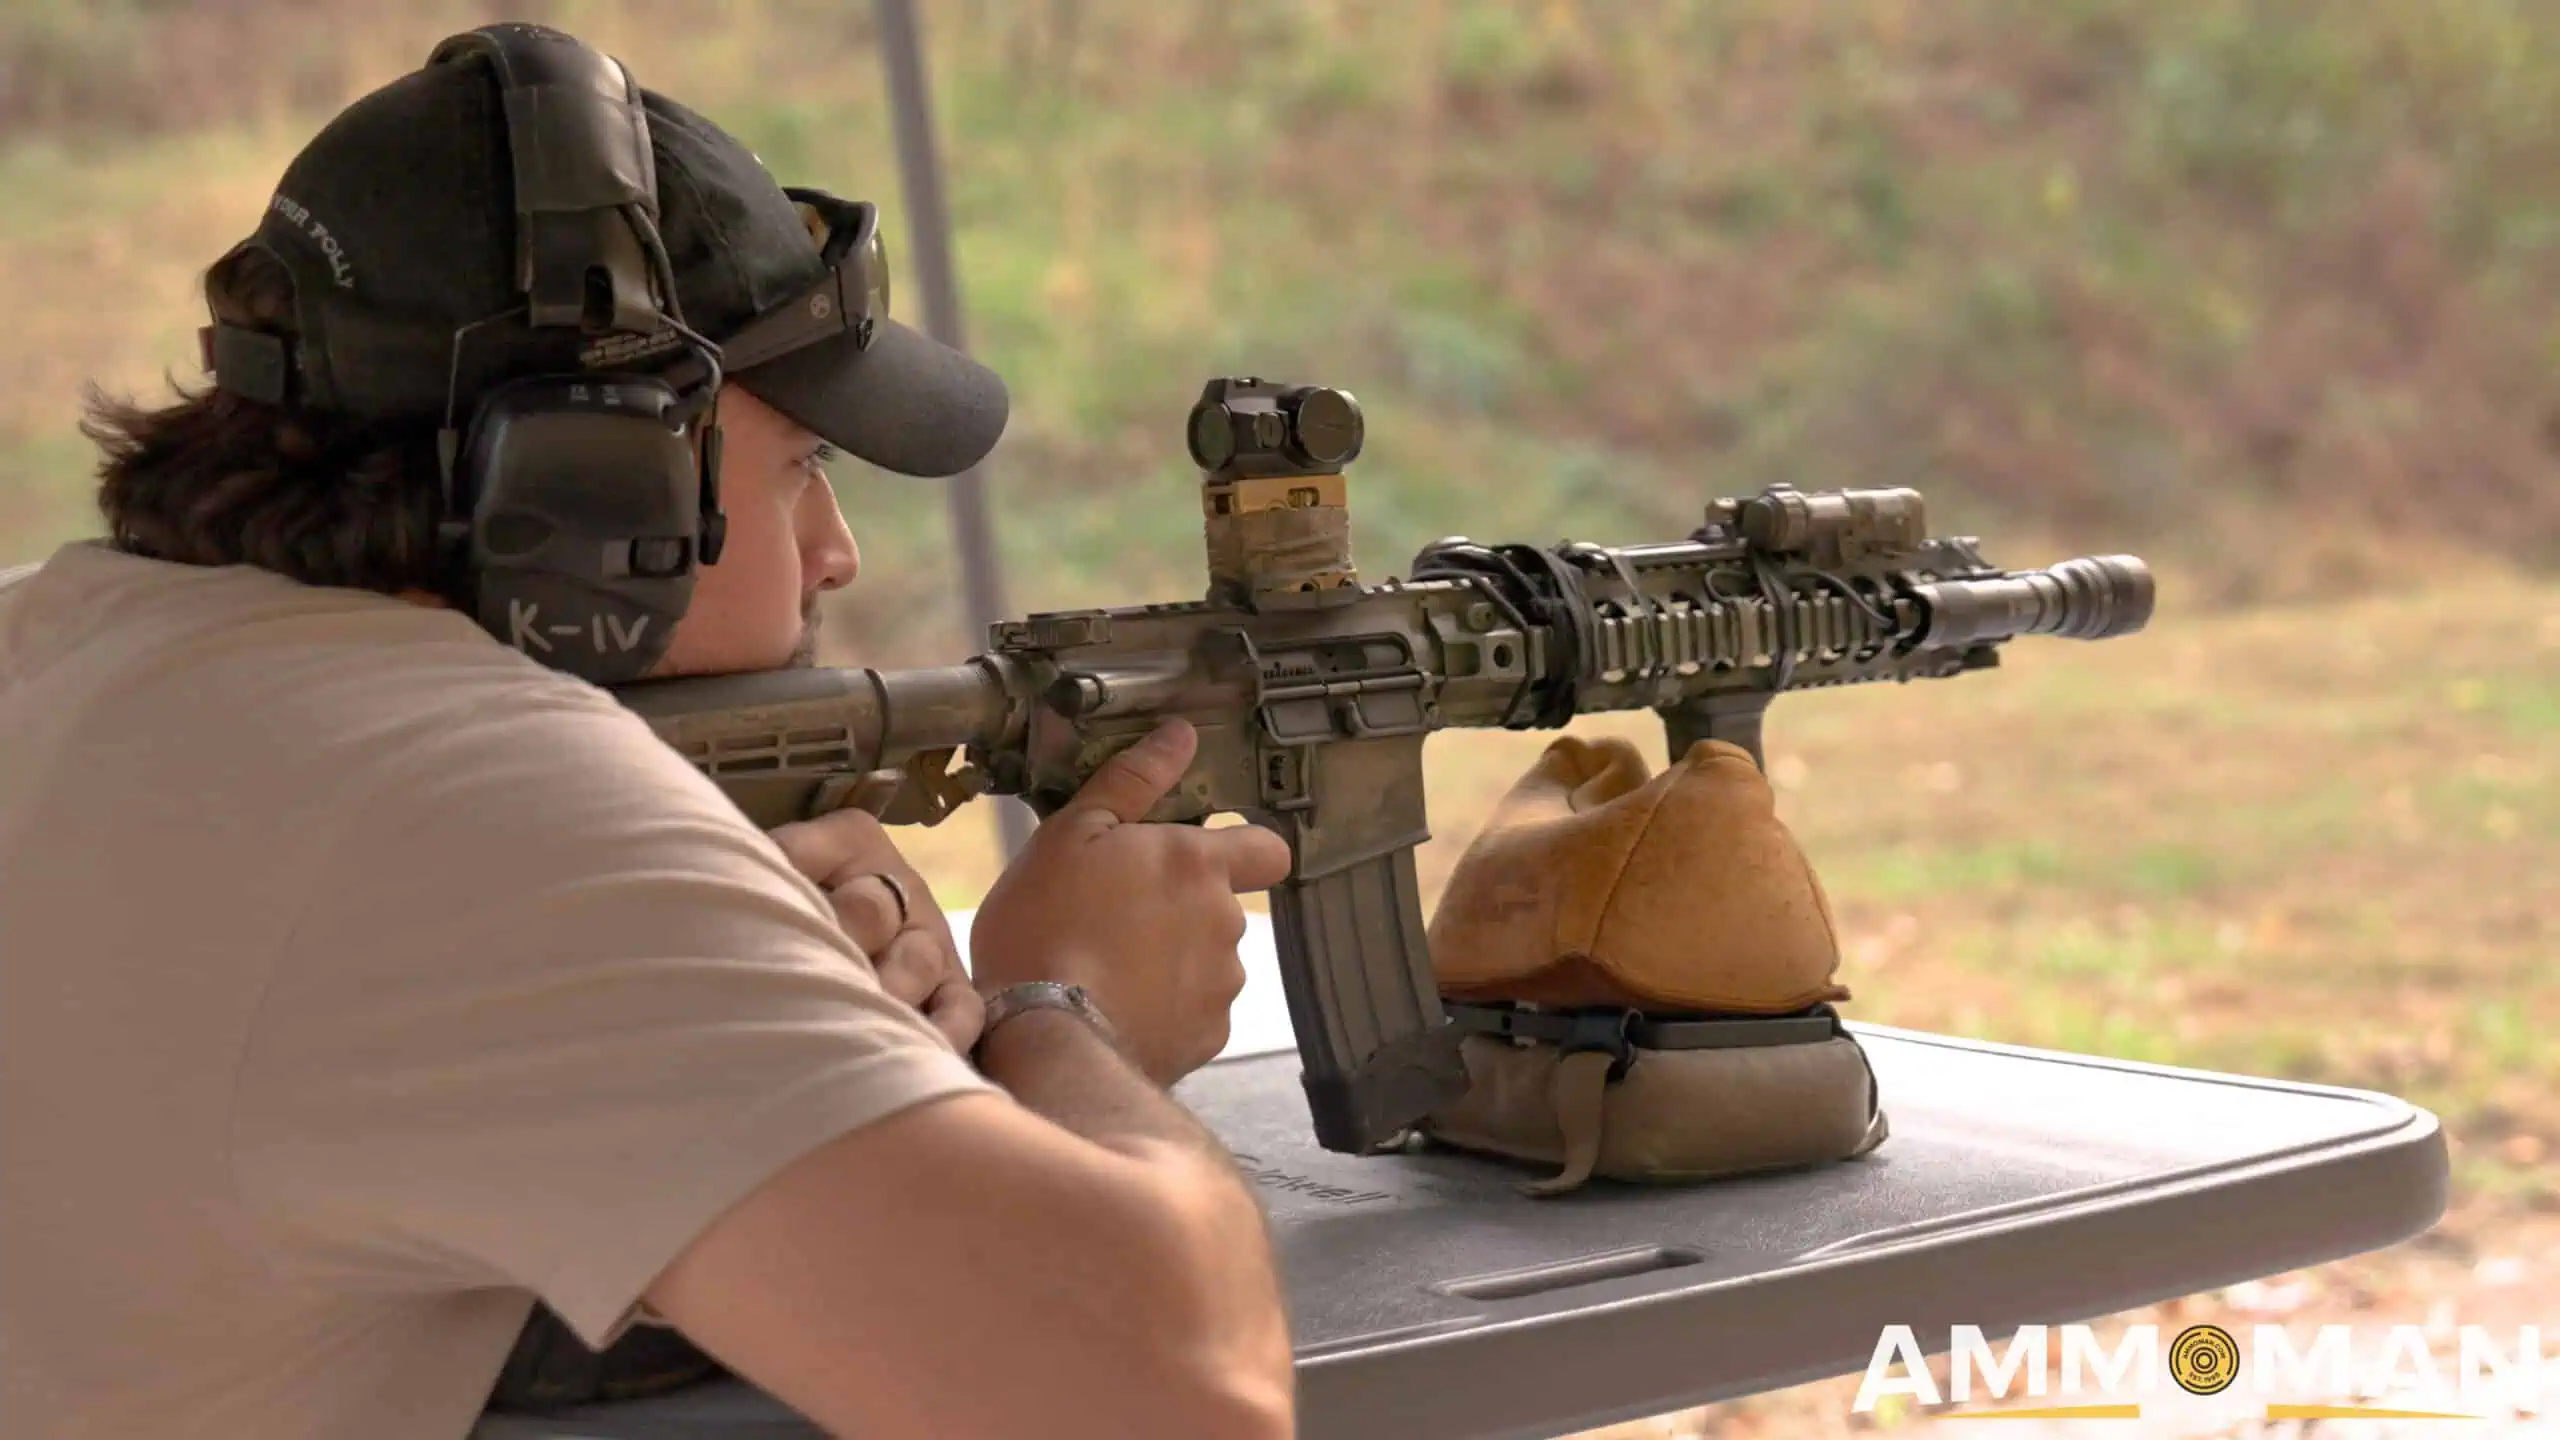
Shooting from a bench rest.
For any position, using a support bag will be incredibly helpful, although not critical. As long as you are comfortable and do not need to hold the gun on target, you will get good results!
3 Steps Zero your Rifle Scope
With your optic mounted, ammo selected, and the proper tools, it’s time to head on to the range! You should be able to zero your rifle scope by following these 3 easy steps.
Step 1: Start Close
Set up a target somewhere between 10-15 yards. Start with a three shot group at a small target. A one inch target should suffice. This will allow you to see if your sights are starting off to the sides, or above your aiming point.
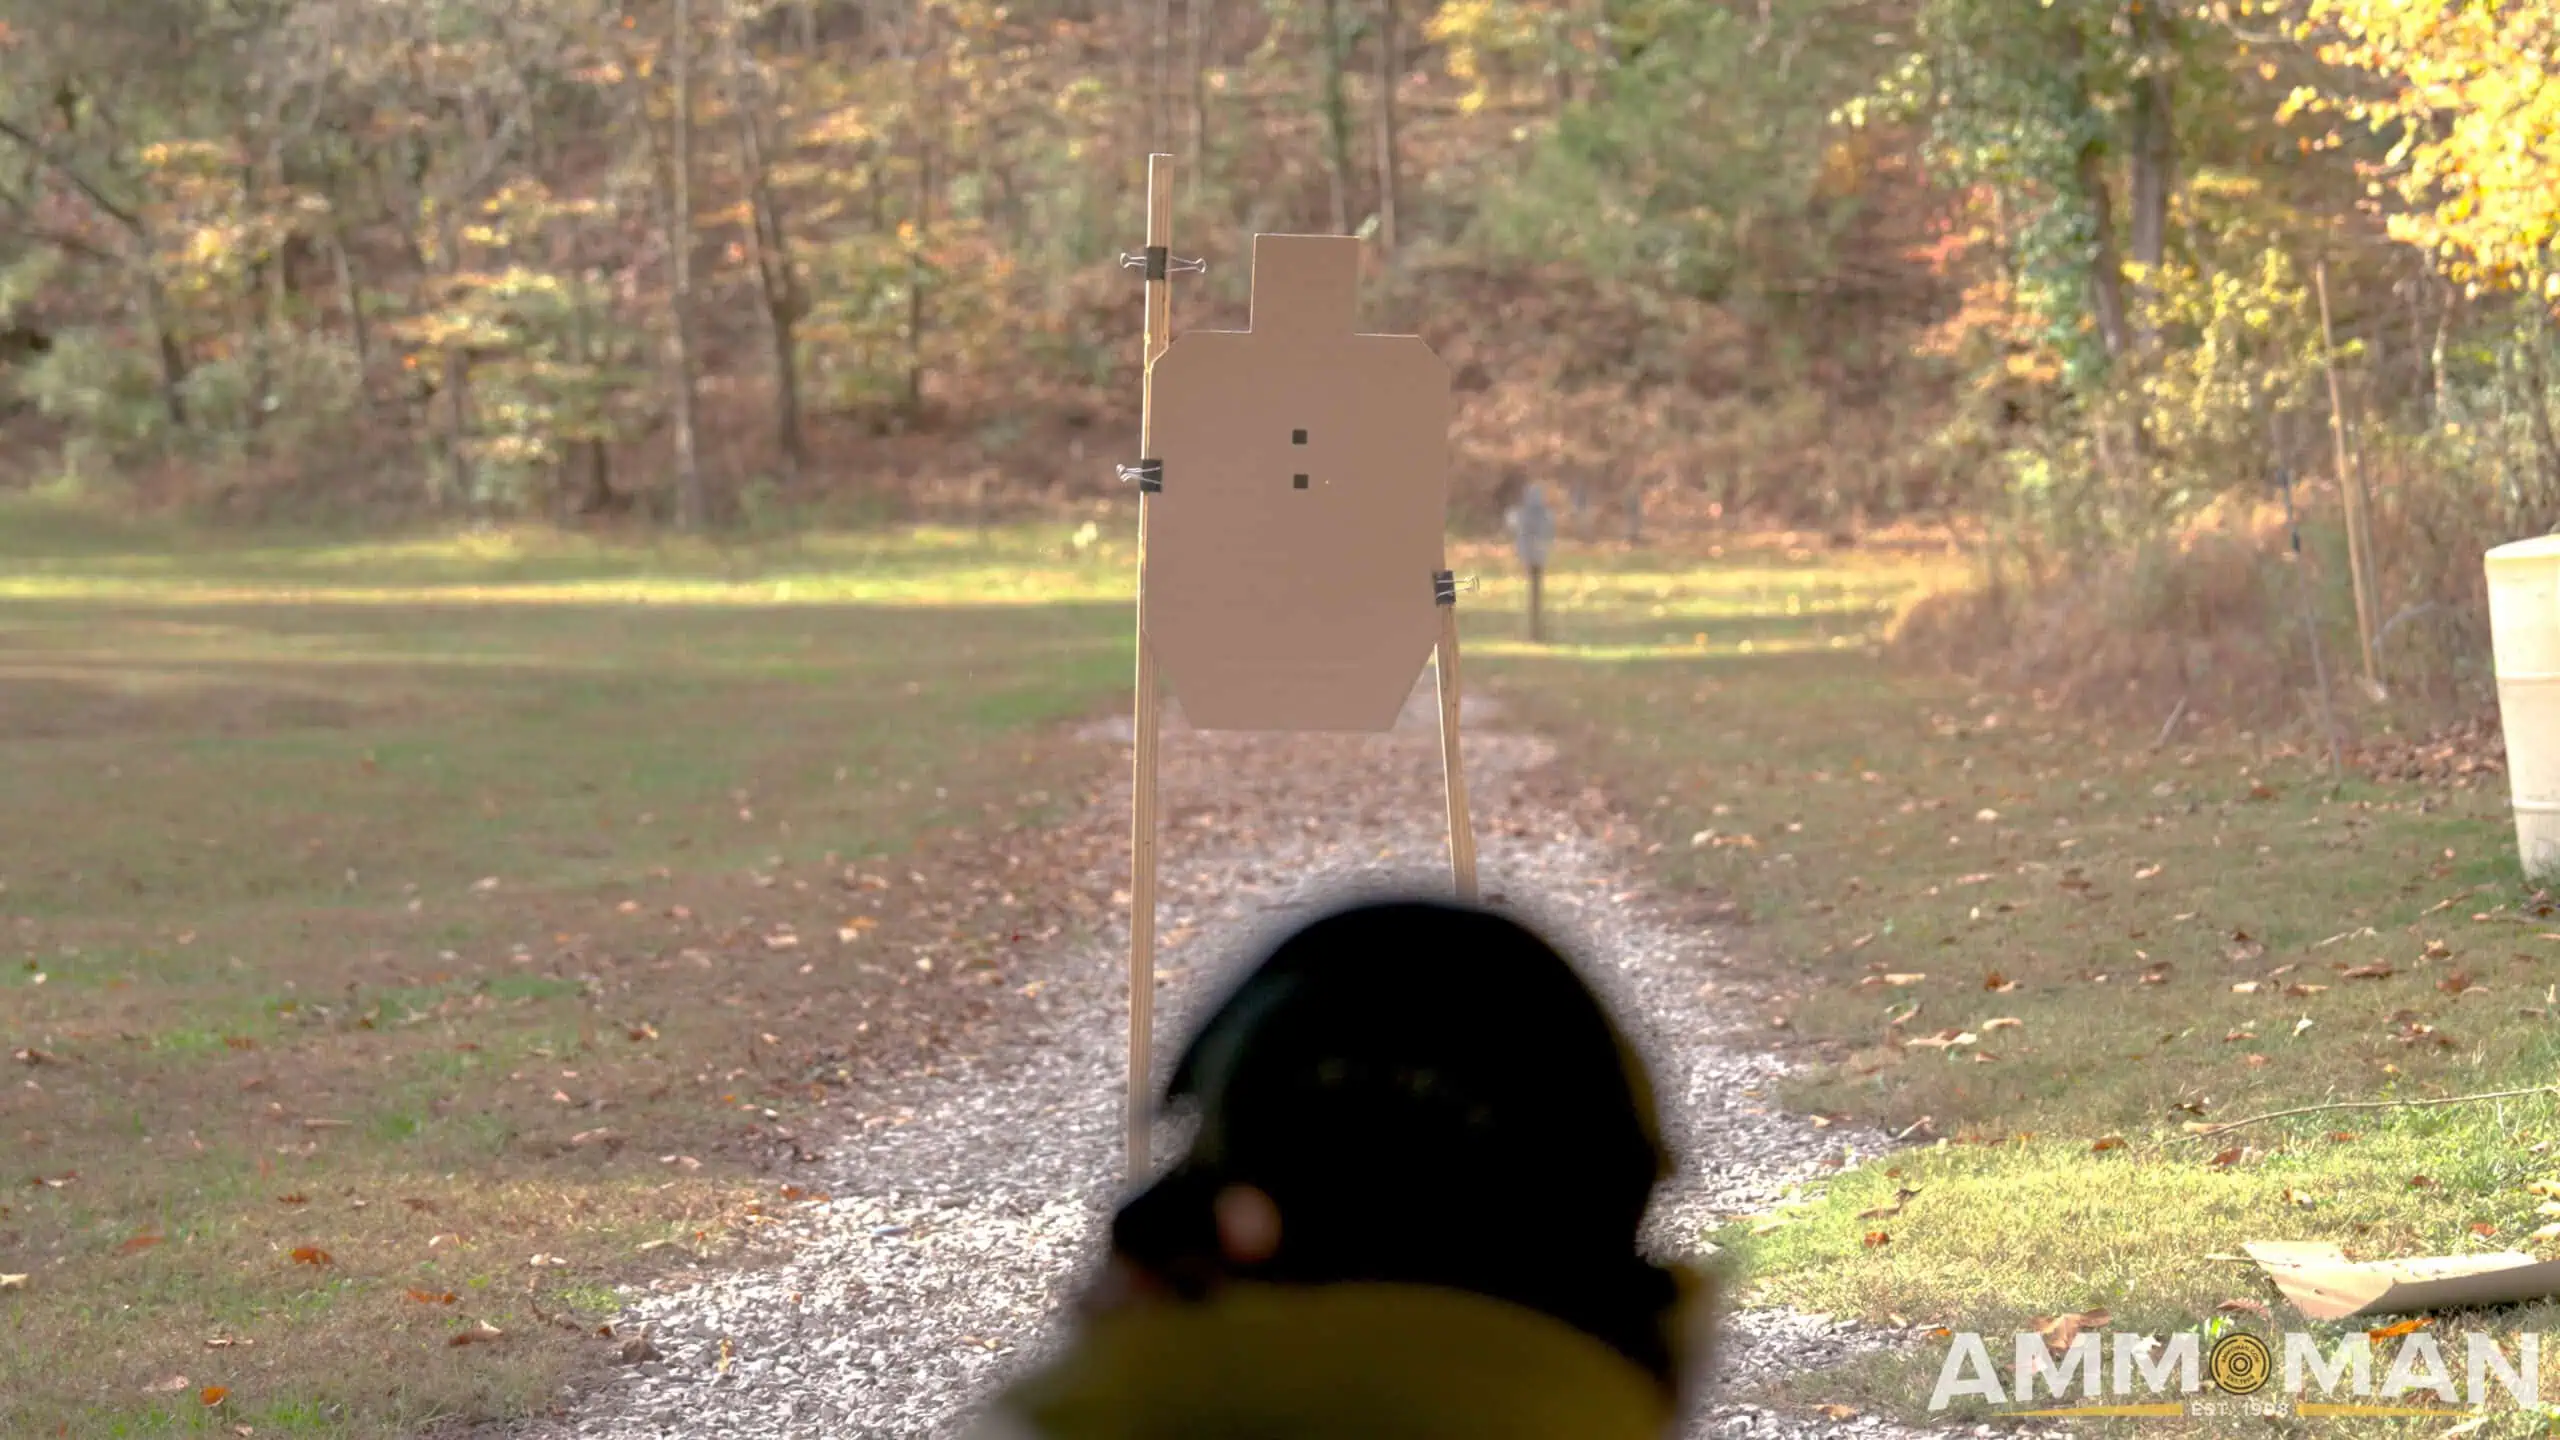
Getting an initial zero up close may save you time and frustration.
If you have a sight that is taller than your barrel, you will want the round’s to impact below where you are aiming on this close target.. This is called “height over bore.”
Start by getting the rounds lined up on the left to right axis. And at a minimum making sure that your rounds aren’t going HIGHER than your aiming point.
Step 2: Adjusting your Sights
To adjust your sights, each scope has an adjustment turret on the top and right side. The top turret is your elevation adjustment. The turret on the right side will move the strike of the round left or right. For most scopes, turning the turrets counter-clockwise will move the strike of the round UP/RIGHT. Turning clock-wise will move the round the opposite direction. Check to see what your specific scope says on the turret.
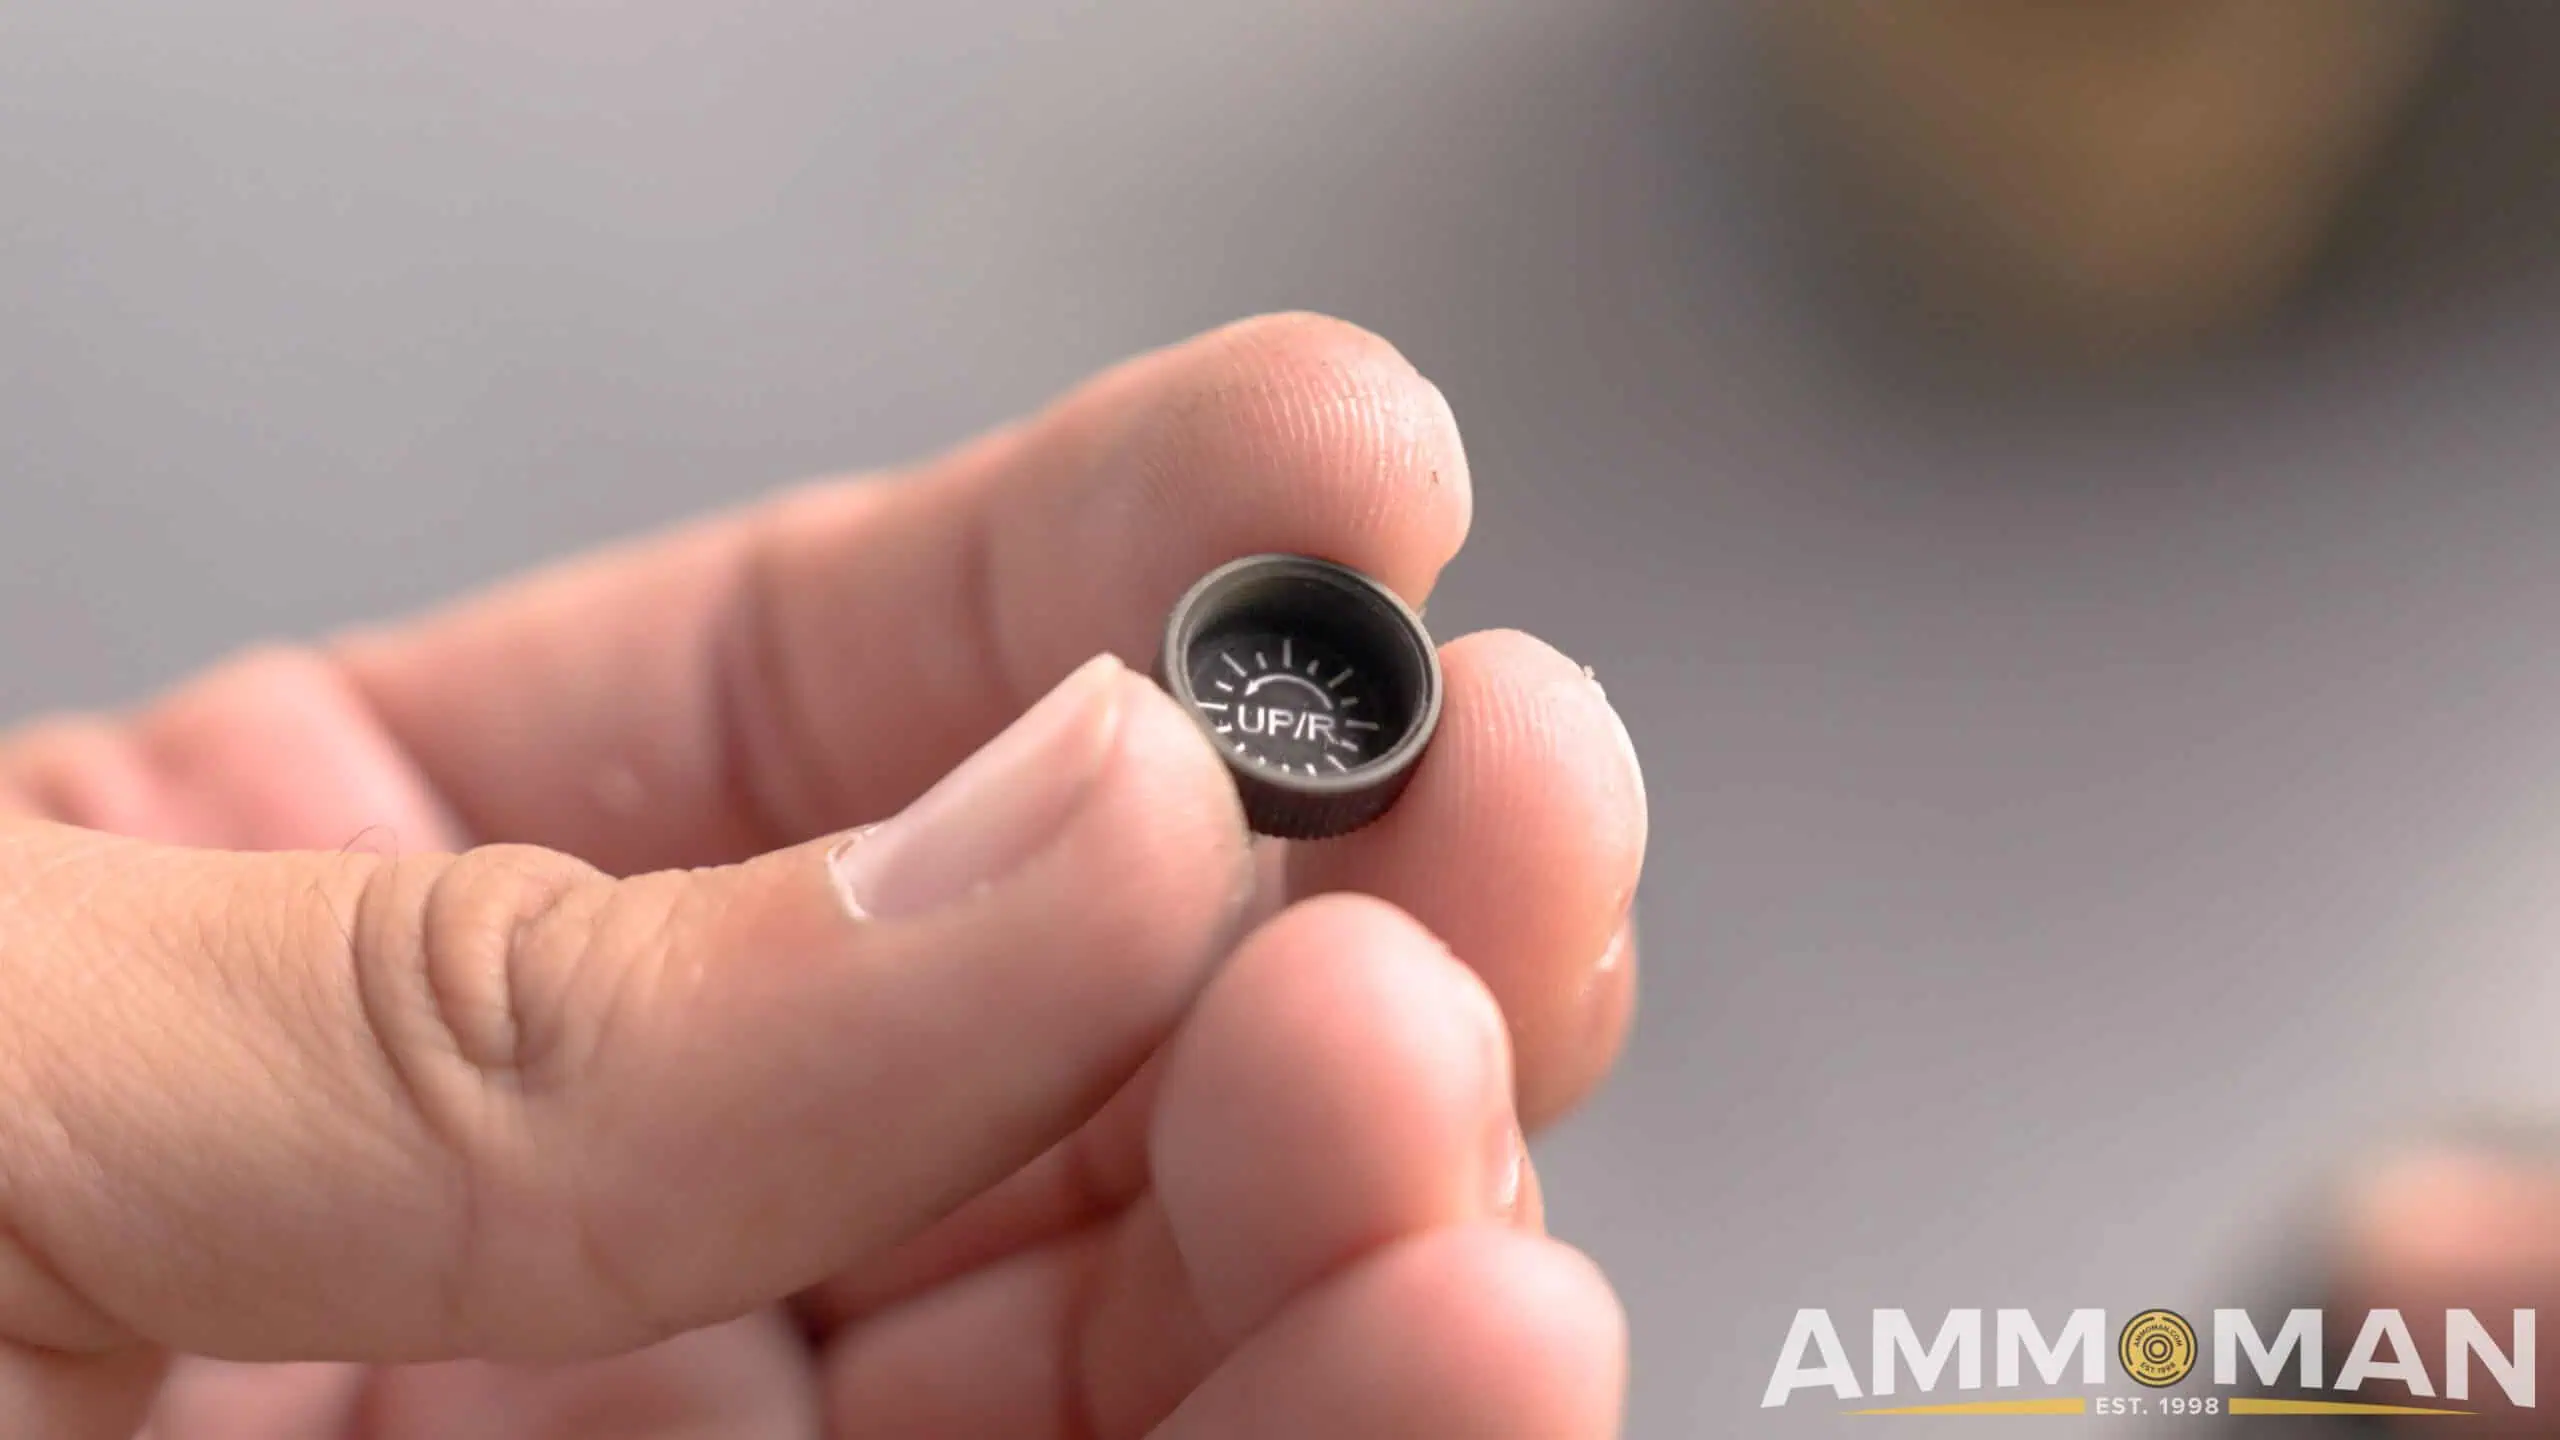
Make sure you are turning your turret adjustment knob the correct direction.
Since you will be shooting up close, it will take quite a few “clicks” of adjustment in order to shift the zero even one inch. I suggest doing anywhere from 10-30 clicks to start in order to see how far it will move the round. It’s easier to do more than you think you need and then fire another round to see if you went too far to one side. Then you can split the difference with clicks the opposite way. Make sure you count clicks so that you can go back if you make a mistake!
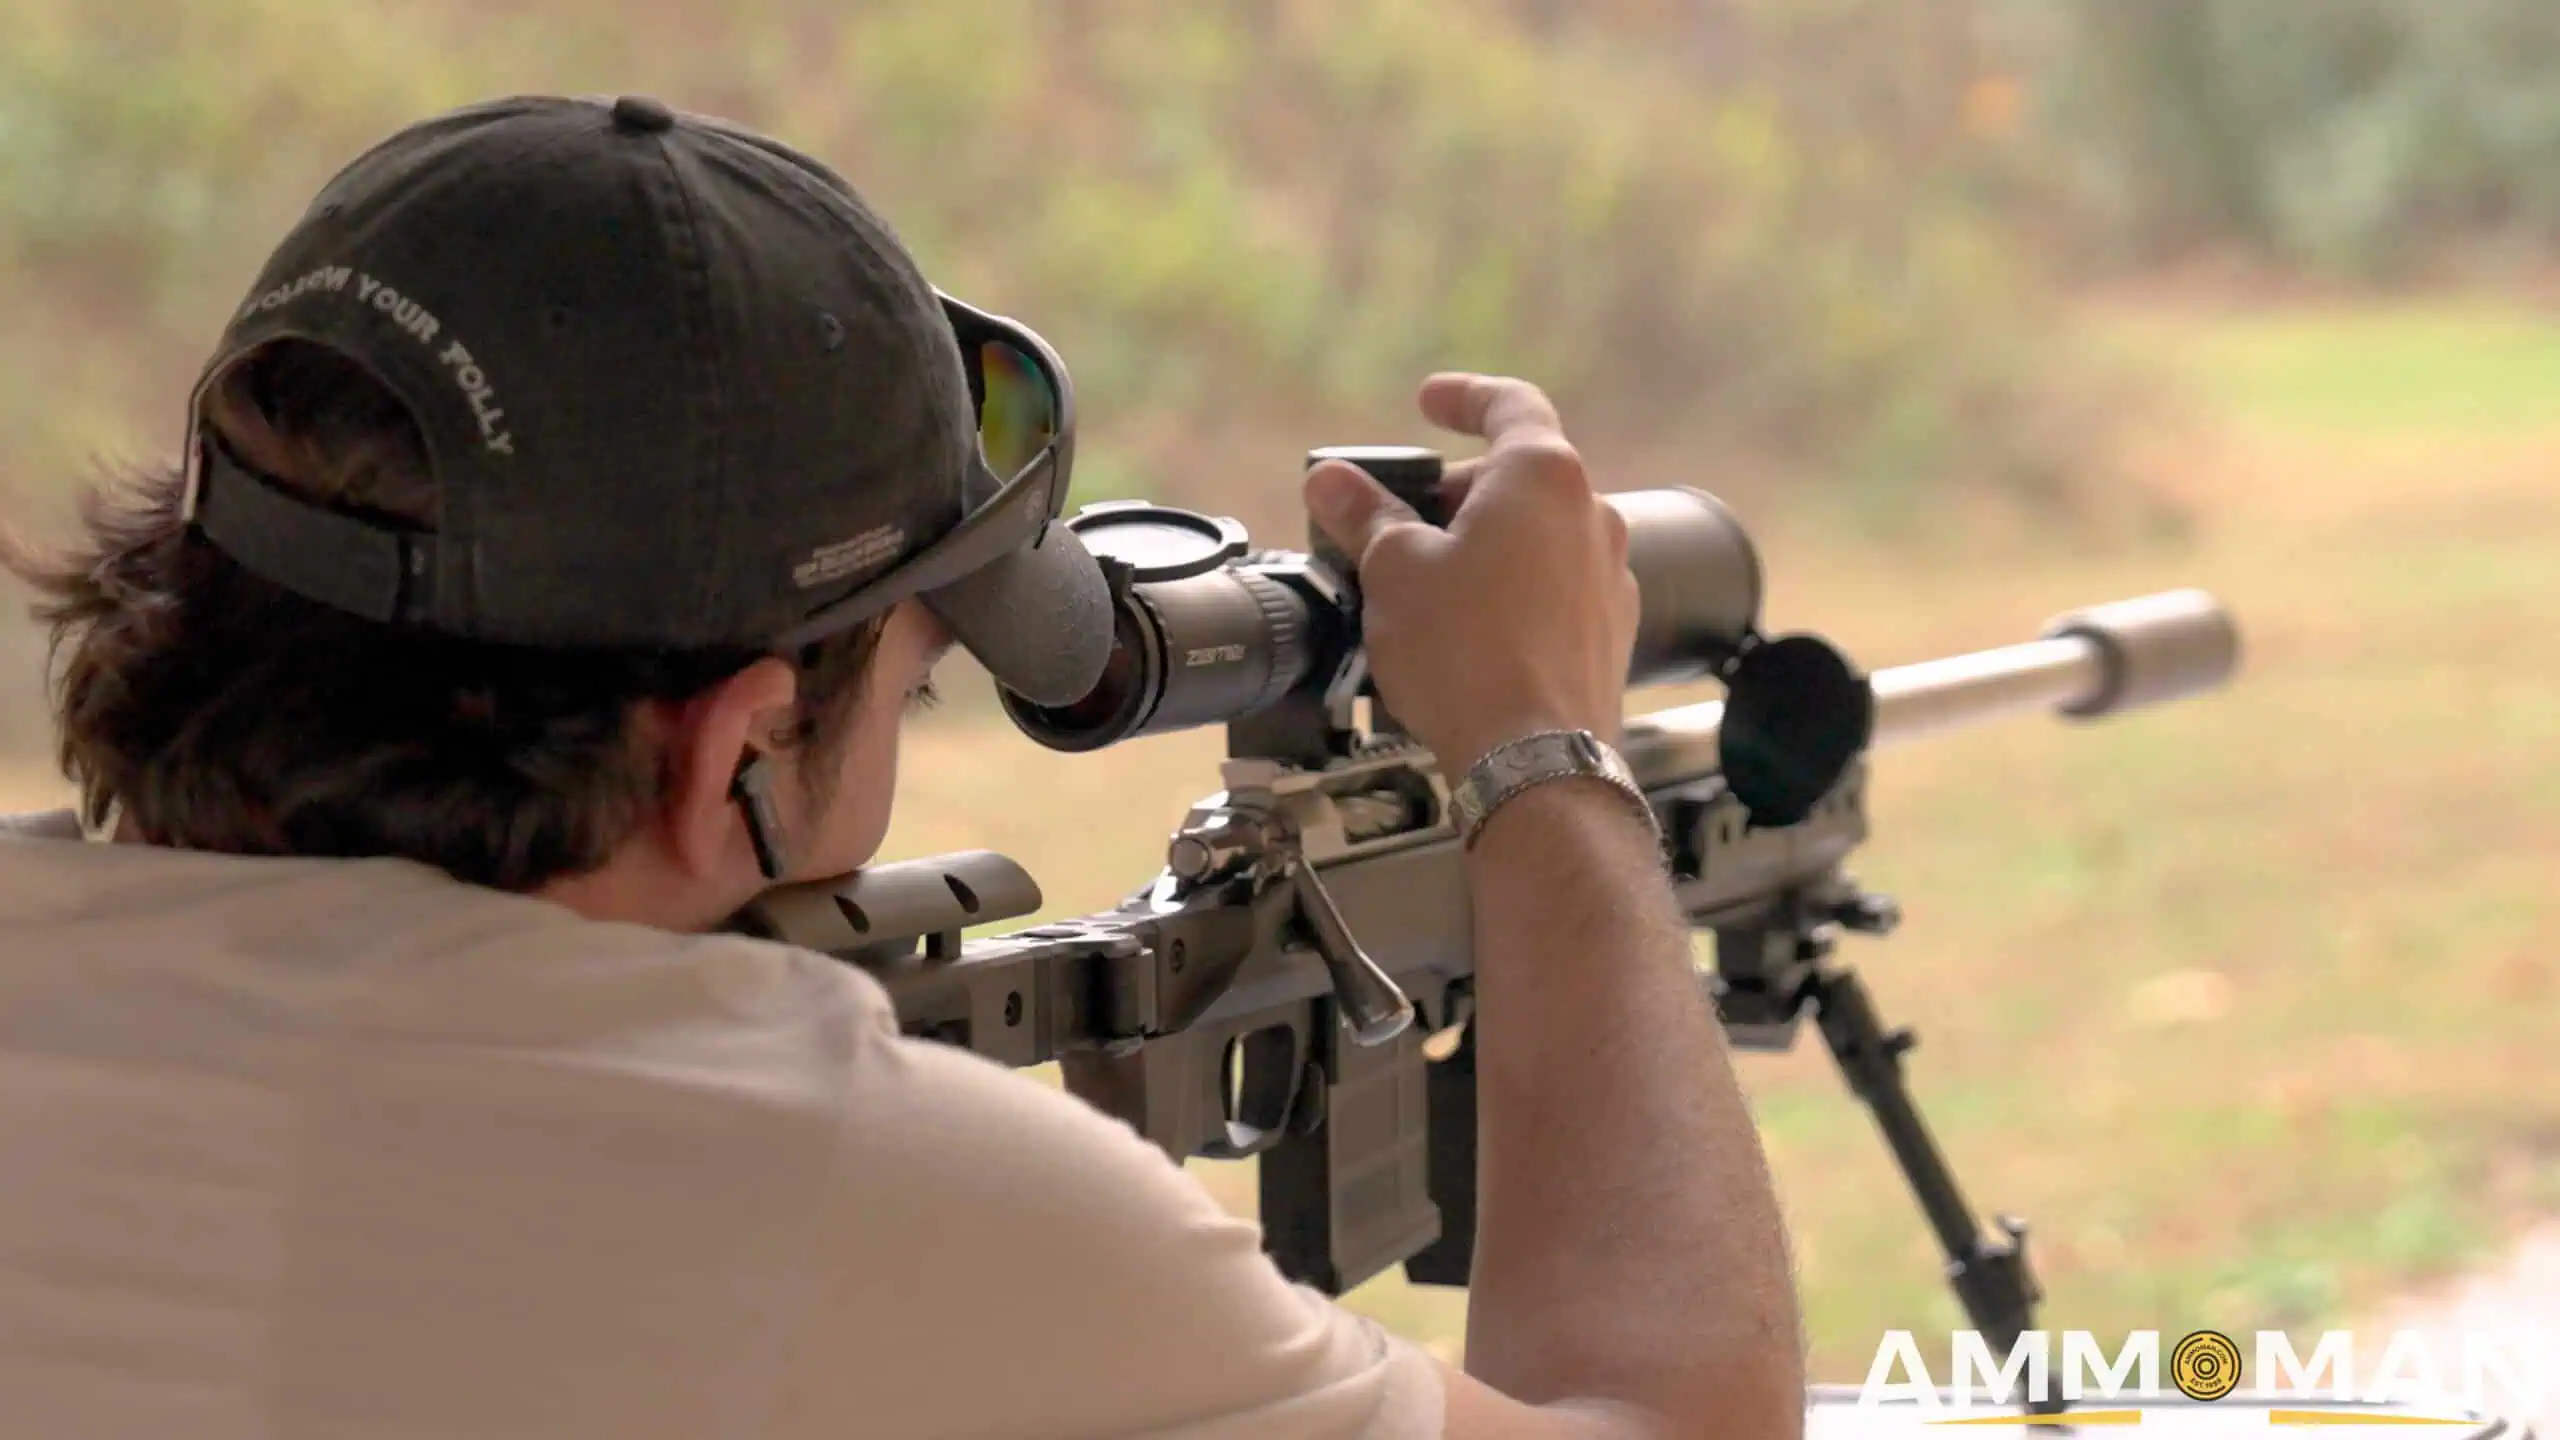
Adjusting rifle scope.
How Does MOA Work?
MOA stands for, “Minute Of Angle.” This roughly translates to 1″ at 100 yards. So if your turret says, “1/2 MOA adjustment” that means that one click will move the strike of the round a half inch at 100 yards.
If you look up what scope you have, and find the “Adjustment Graduation” data, you can use the chart below to see how many clicks will be required to move your round one inch at a few different distances. You will most likely have a 1/2 MOA, or a 1/4 MOA scope, but 1/8 MOA exists as well.
| MOA Adjustment Gradutation | Clicks Per 1" at 25 Yards | Clicks Per 1" at 50 Yards | Clicks Per 1" at 100 Yards |
|---|---|---|---|
| 1/2 MOA | 8 Clicks | 4 Clicks | 2 Clicks |
| 1/4 MOA | 16 Clicks | 8 Clicks | 4 Clicks |
| 1/8 MOA | 32 Clicks | 16 Clicks | 8 Clicks |
Step 3: Shooting Groups at Distance
Now you can move the target back to your desired distance, confident that you’ll have impacts. From here you can make finer adjustments on your zero. Shoot 3-5 shots at a time in order to get the best information on your group before making an adjustment. If you are having trouble determining which hole to adjust from, simply take the average spot between your hits and make an adjustment from there.
Picking. a Zero Distance
Each person has their favorite zero distance. But if you’re just starting out, I would recommend a 50 or 100 yard zero. This will give you a ton of utility for shooting at different ranges.
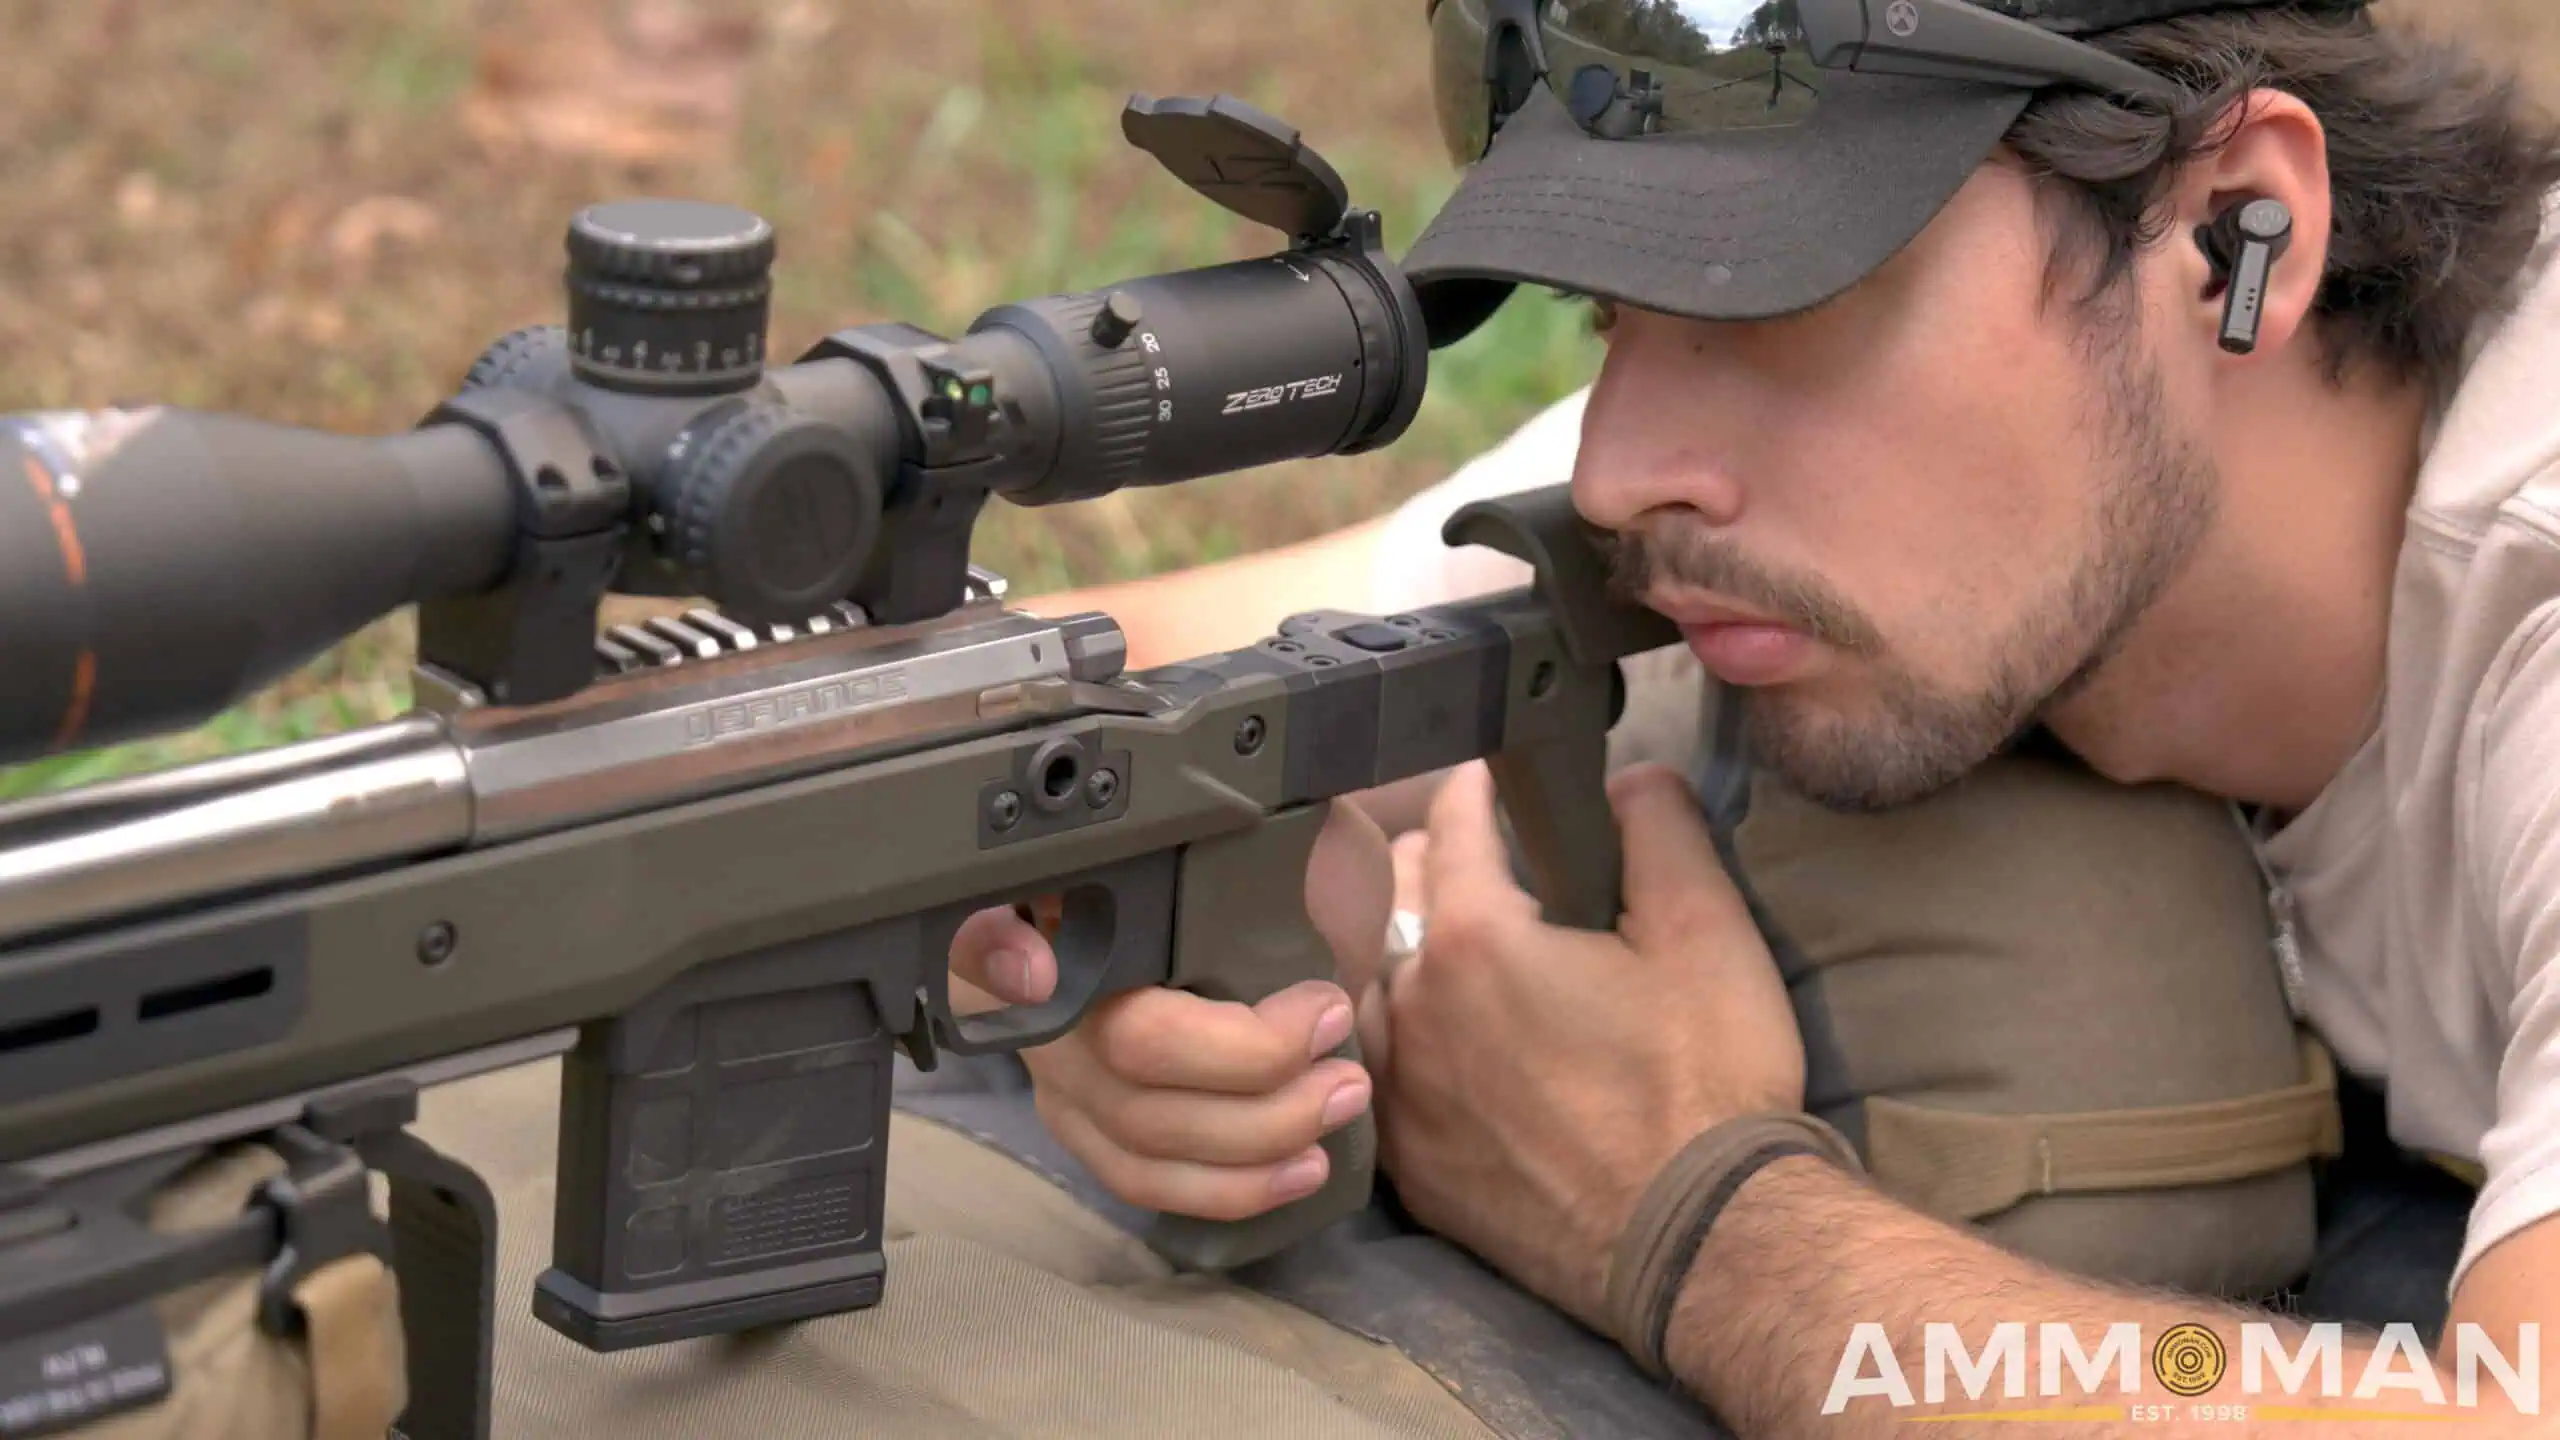
Shooting groups through a rifle scope at 100 yards.
The application of your rifle and caliber you are shooting are the starting point for selecting a zero distance. If you want to have your scope good for 200 yards and closer, you may like the 50 yard zero. But if you are shooting something with more precision, I would recommend the 100 yard zero.
Each distance is only theory until you shoot with your gun, so get out there and find out what you can do!
Step 4: Confirm your Zero
After you make your final adjustments, there is one last step. First, let your gun cool down for a few minutes. When you are ready, shoot one more group at your zero distance. If everything is looking right, you’re good to go!
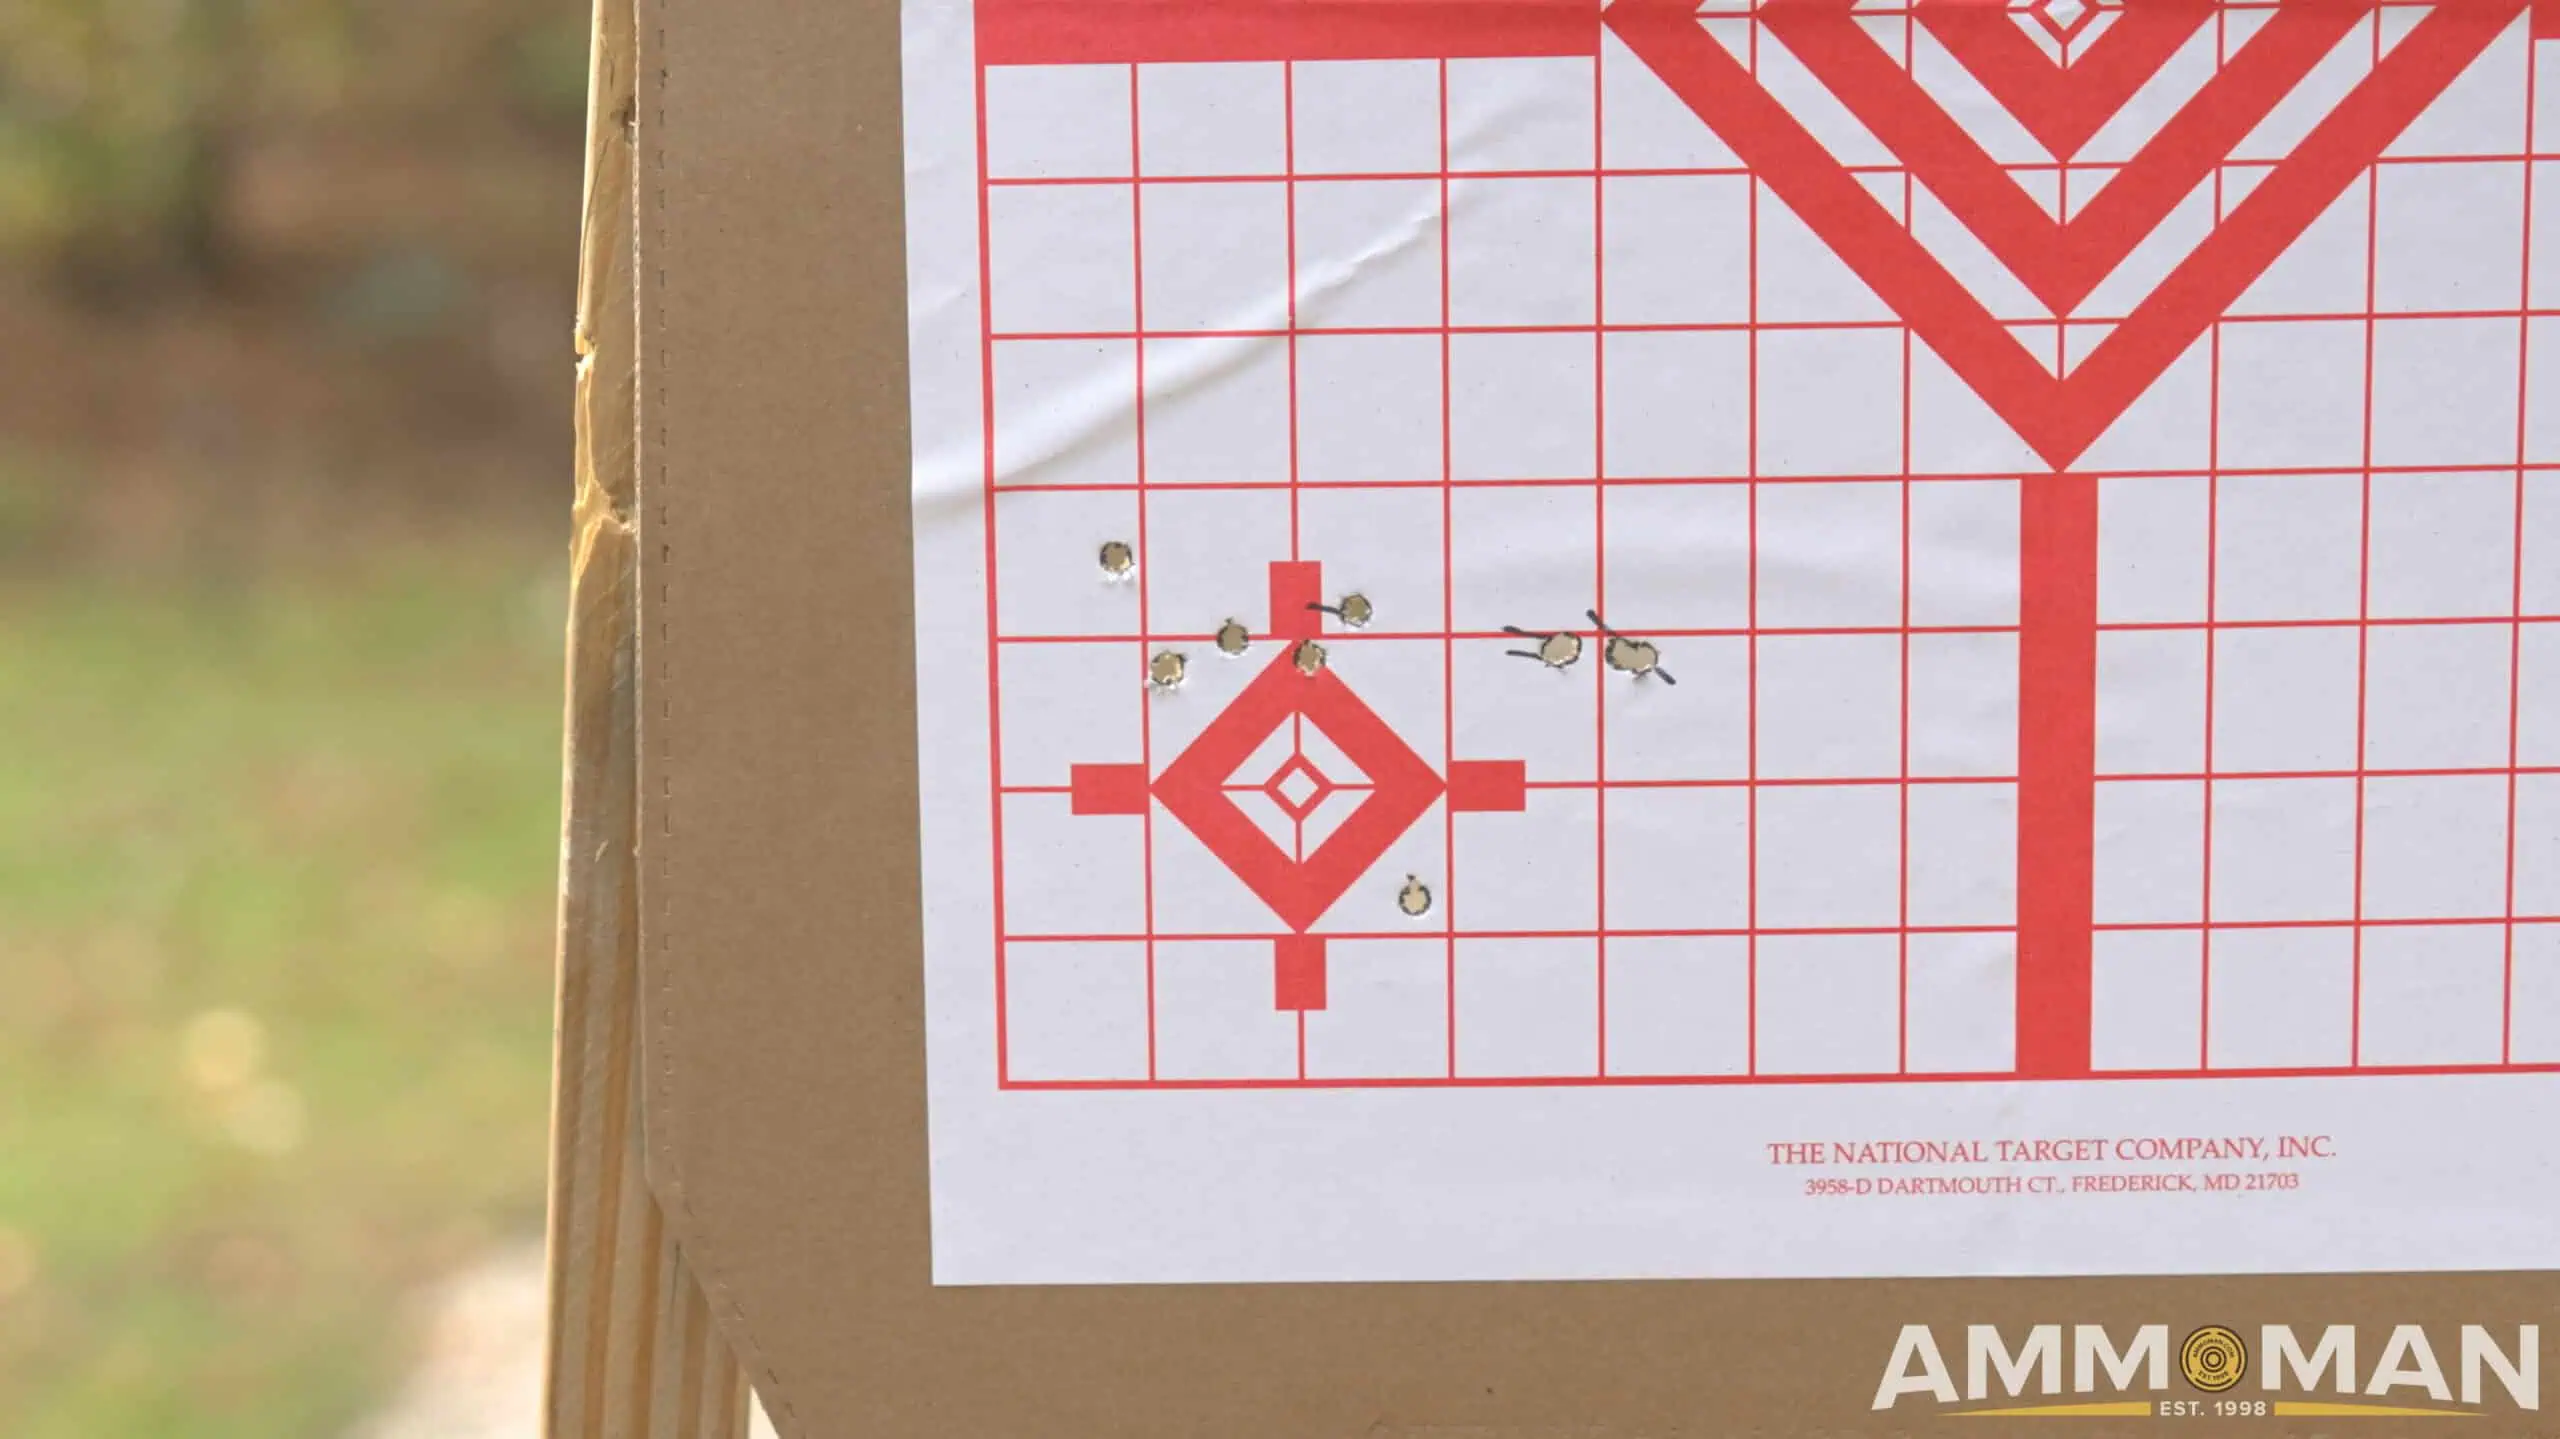
Target with 5-shot groups.
If you aren’t happy with your zero, or it’s shifted, don’t panic. Just make sure your optic is mounted correctly before shooting more. If your groups aren’t as tight as you would like, go back and make sure you are following proper shooting technique. Don’t get too wrapped up in group size for general use. A group size of 1-3 inches is not a bad place to be as a beginner.
Conclusion
I hope this will be helpful to you, and I wish you luck with getting your scope zeroed! Just like a sharp knife is a safe knife, a zeroed rifle is the foundation for all shooting. You’re well on your way to being a true riflemen or riflewomen. We’ll see you next time. Check out our socials for more up-to-date information on when we post new articles.

